Bandsaw Restoration: Blade Guides
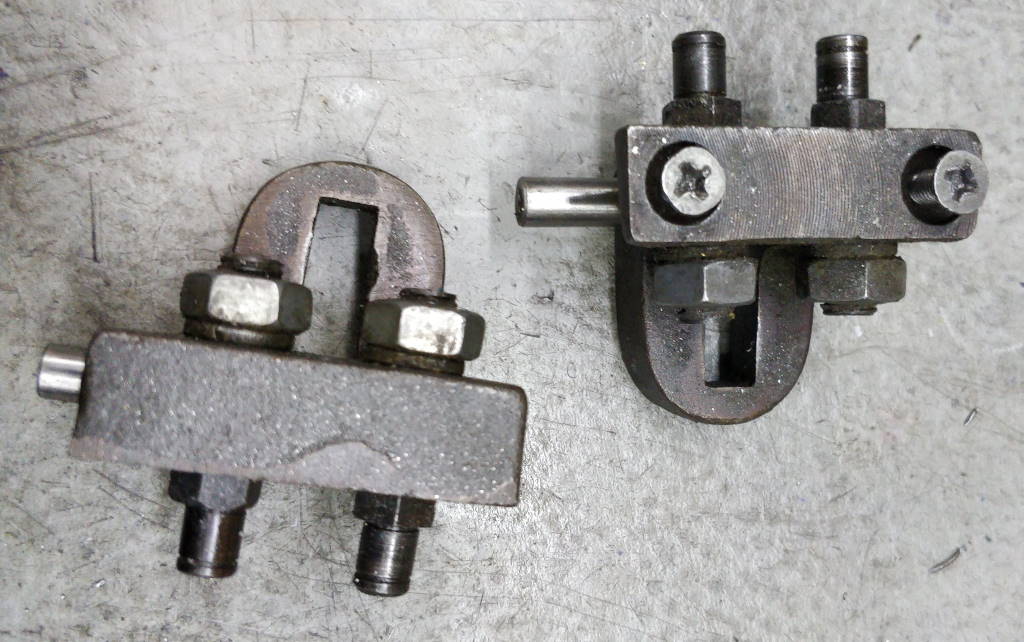 | 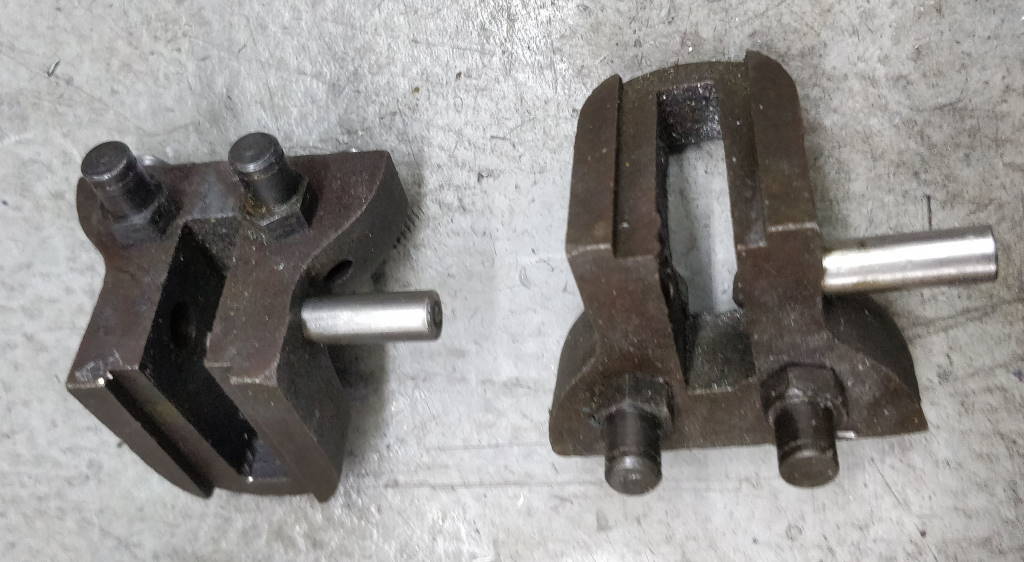 |
These two photos show the blade guides after they had been removed from the bandsaw. The shaft that is protruding from the side of the guides (most clearly visible in the right-hand photo) holds the bearing that supports the rear edge of the bandsaw blade. The two shafts that are held in place with nuts have eccentric cylinders on one end. The bearings that support the side of the bandsaw blade mount on these eccentric cylinders and can be adjusted to ensure that the blade is well supported.
The slotted face on the blade guide attaches to a similar face on the blade guide mounts and allows a small amount of angular adjustment of the blade. This adjustment is very important for ensuring that the blade travels vertically through the work and hence that the cut is at 90°. However, the screw that holds the guides in alignment acts on the cast face visible behind the nuts in the left-hand photo above. This is not a good surface for a screw head to act on and the alignment tends to slip as the screw is tightened.
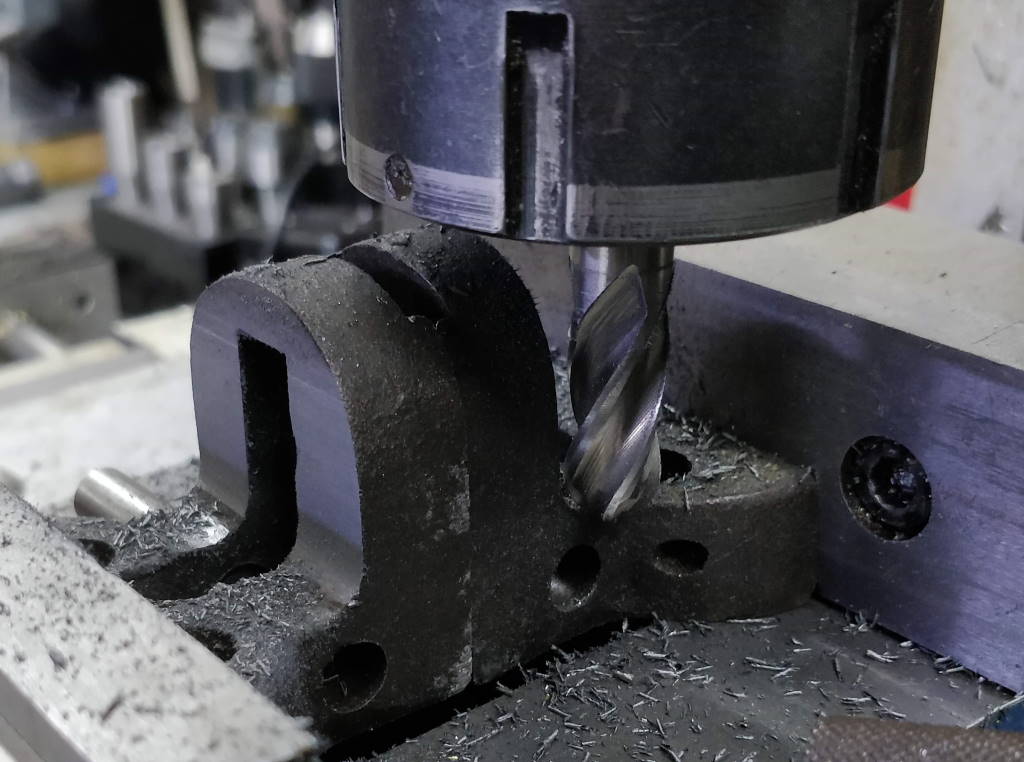 |
To improve the adjustment of alignment, the two blade guides were mounted in the milling vice as shown in this photo. A 12 mm ball-end end-mill was used to take a light cut across each face of the blade guides. The cuts were taken until the face was smooth. This should improve the action of the screw when adjusting alignment. The face on which the nuts for the eccentric adjusters act wasn't machined as they act via a spring washer which should grip well on the cast surface.
Painted Eccentrics
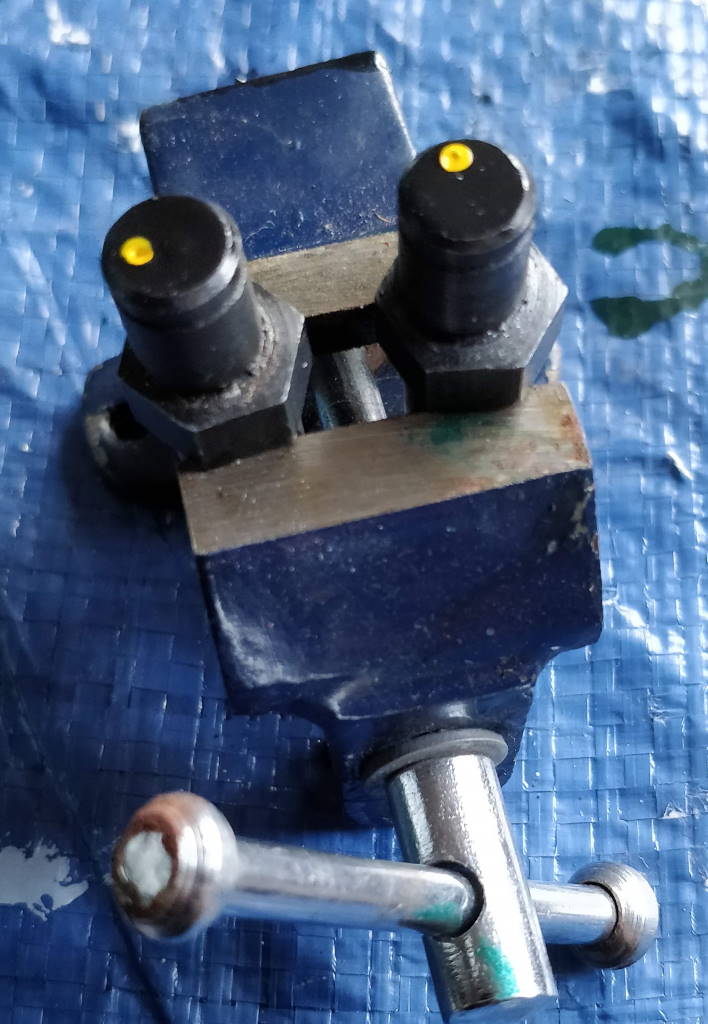 |
While I was painting the rest of the bandsaw, I made a simple modification to the four eccentric adjusters (of which two are shown here) for the blade guides. A centre punch mark was made on the side of the adjuster that is furthest out from the centre of the shaft. A coat of black paint was applied to the whole of the end face and then a dot of Humbrol Enamel from a (decades old) Airfix kit was used to highlight the centre punch mark.
These marks make it much easier to see the orientation of the eccentric adjuster when setting up the bandsaw blade.
Assembly of the Blade Guides
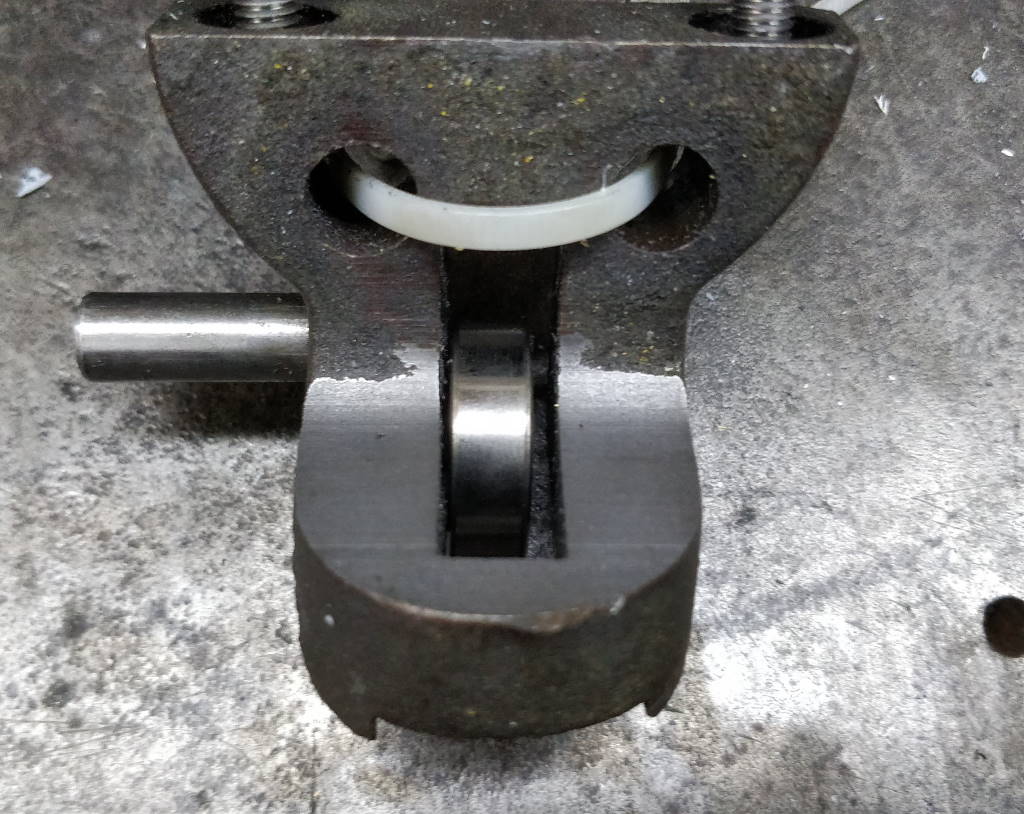 |
This photo shows one of the blade guides with a new bearing placed loosely in its final resting place. It seems the design of the blade guide relies on the tight fit of the bearing on its shaft allowing the shaft to be moved back and forth to centre the bearing within the guide. I didn't like this as it makes assembly slightly more awkward and potentially allows some movement of the bearing (either relative to the shaft or as a result of the shaft moving).
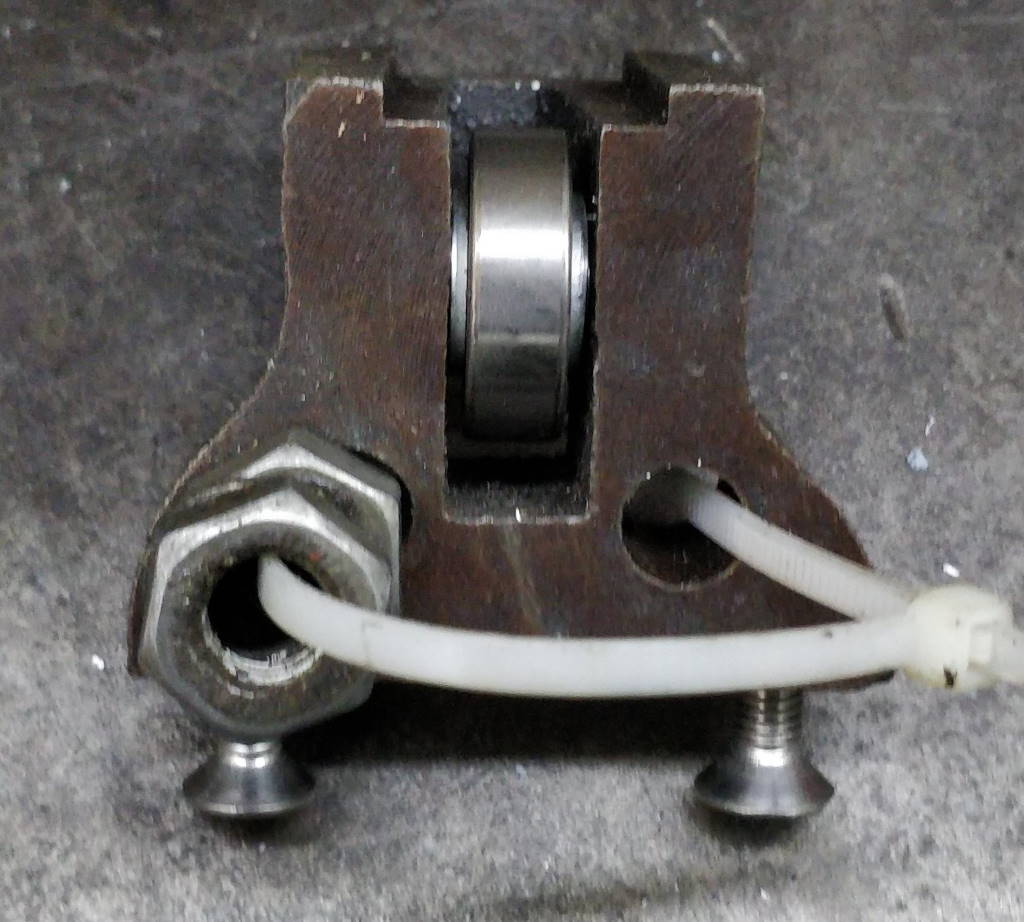 |
To prevent this from happening, I made some carefully sized washers to fill the gap between the bearing and the blade guide. The washers are sized to match the inner race diameter so they don't interfere with the outer race. The photo above shows one of the bearings fitted with its alignment washers. The cable tie is just there to keep the nuts from being lost (although they're a standard metric size so it wouldn't have been the end of the world if they'd been lost).
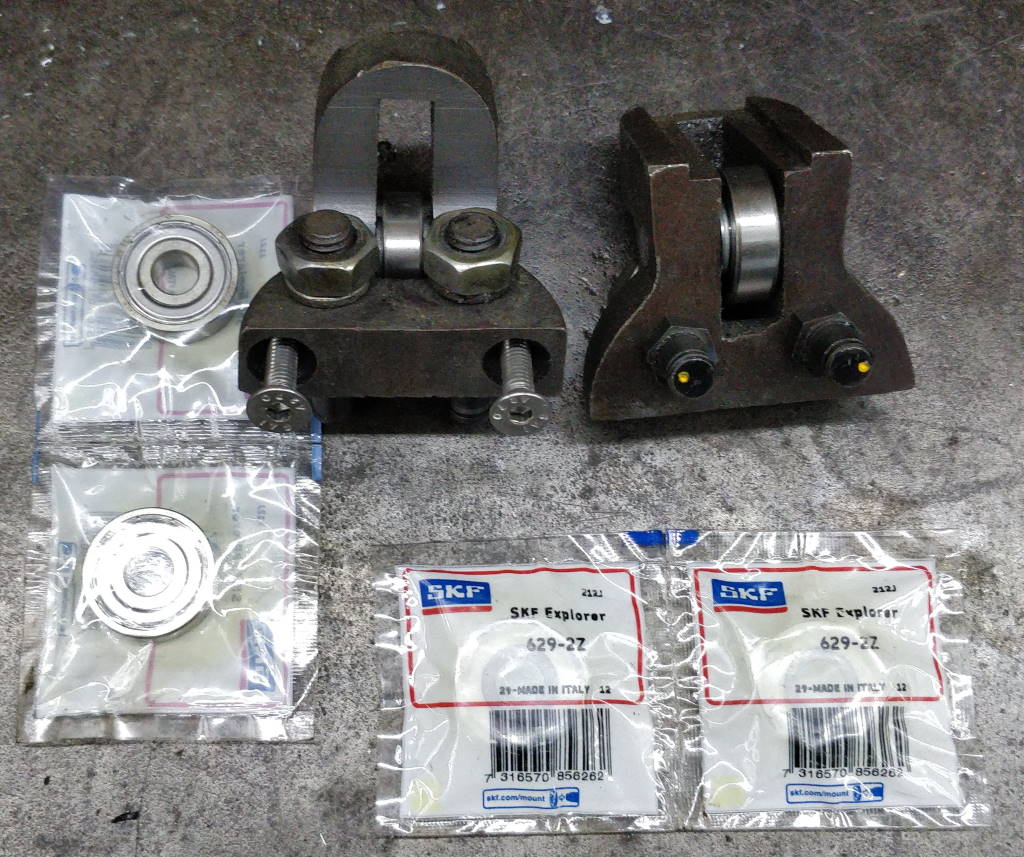 |
This photo shows the two blade guides with the eccentric screws fitted and the bearings ready to be mounted on the shaft (they're held in place with circlips, which aren't in the photo).
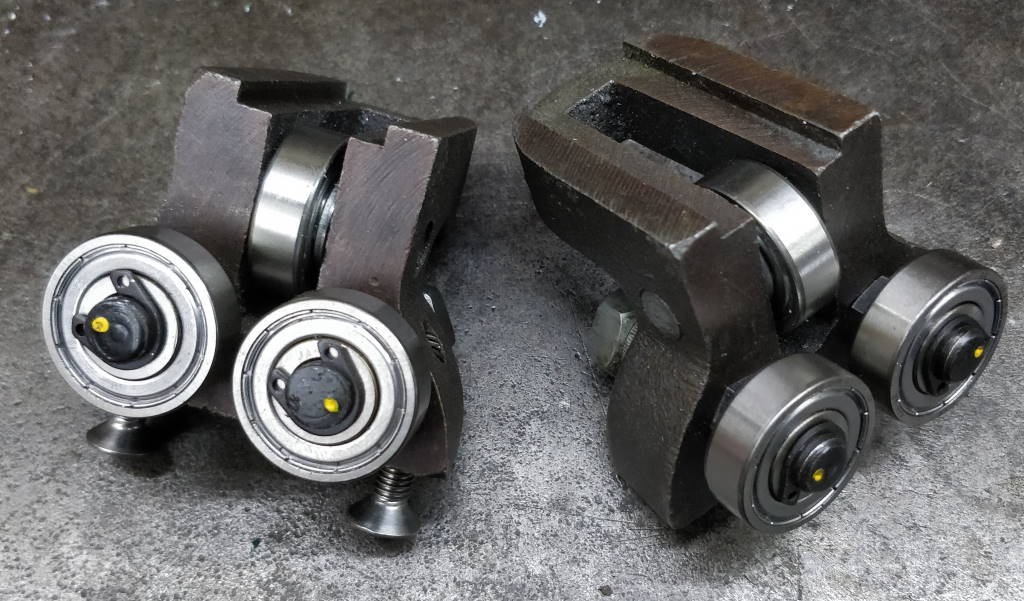 |
This photo shows the finished blade guides. The painted dots on the eccentric screws make the orientation of the eccentrics easy to see.
Fitting the Blade Guides
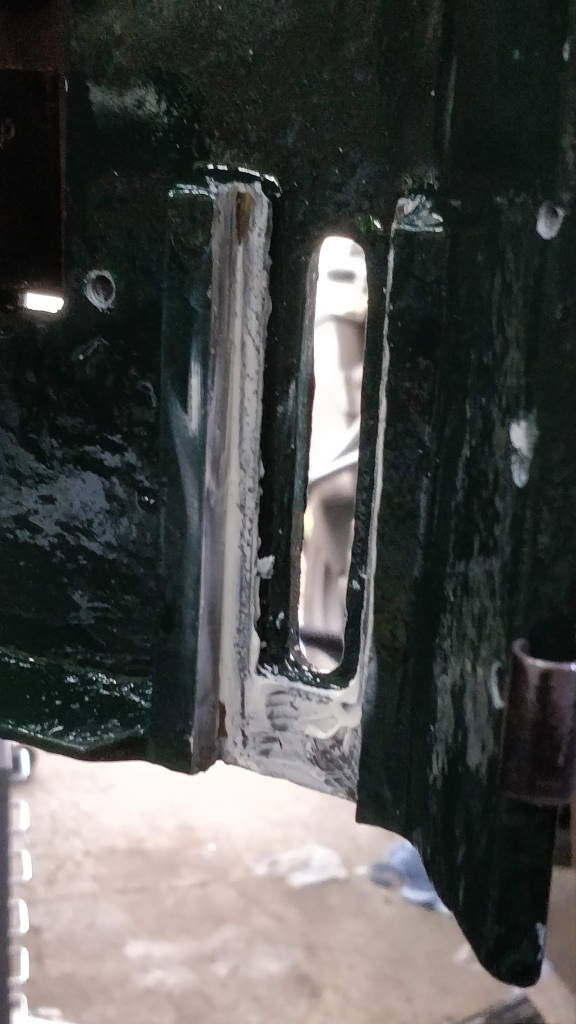 | 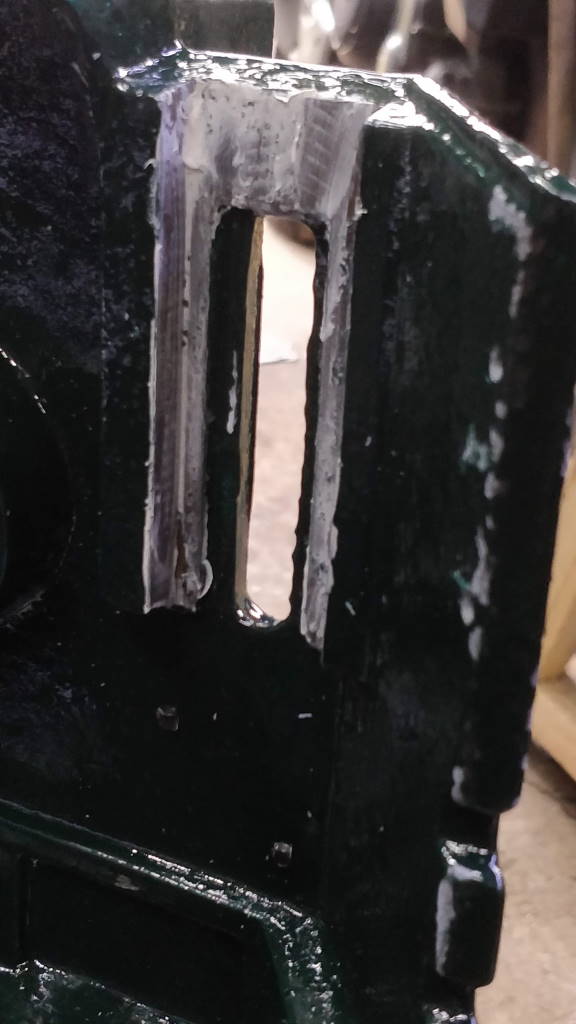 |
Jumping slightly ahead in the process to the assembly of the bandsaw, I applied a layer of white lithium grease to the surfaces on which the blade guide brackets run.
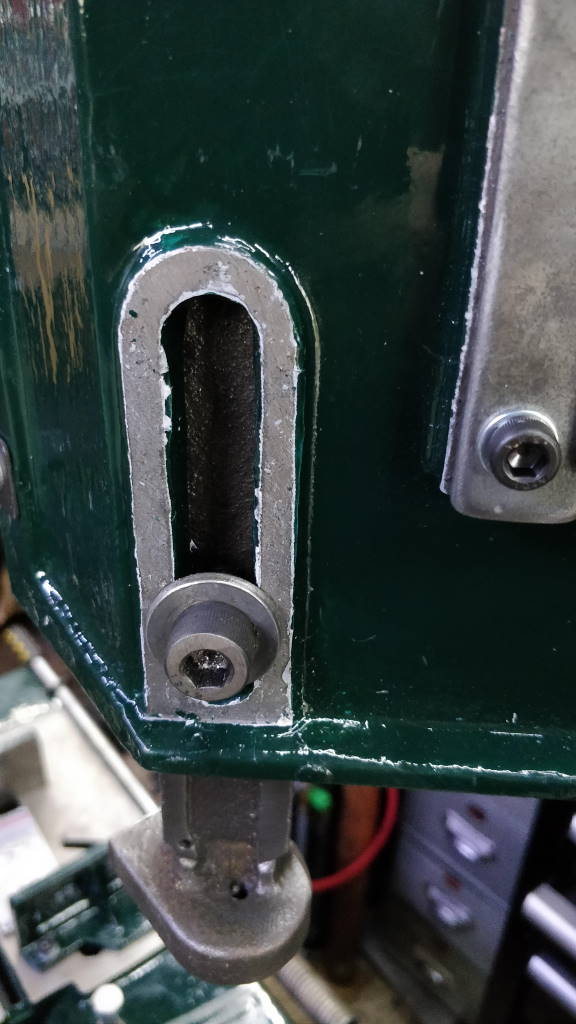 | 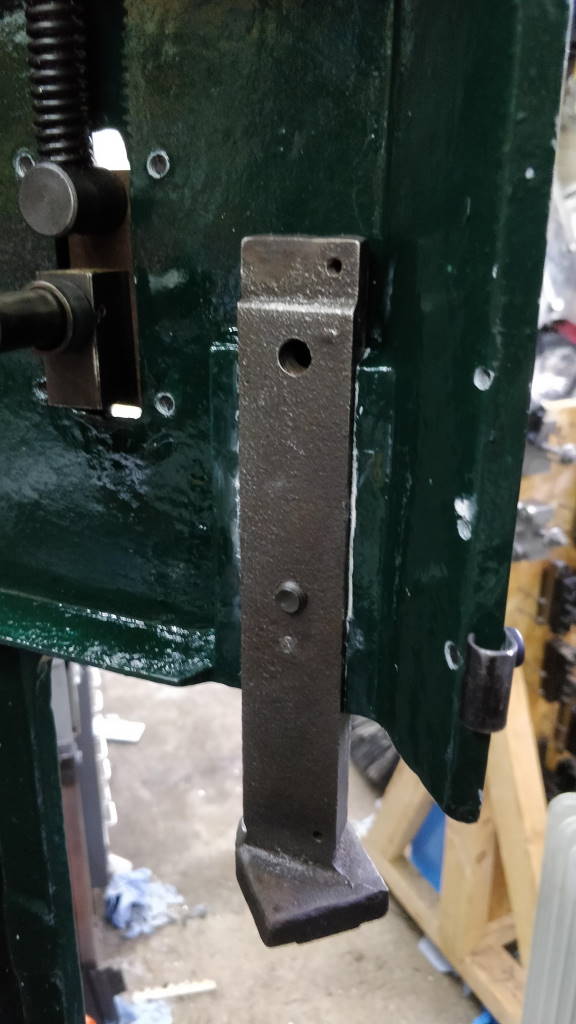 |
These photos show the upper blade guide bracket fitted to the upper casting (with a temporary cap screw). There are two screw holes that can be used to mount the upper blade guide bracket. In most uses the lower hole is used, but when using the saw as a vertical bandsaw with thin material, it is sometimes desirable to switch to the other mounting hole.
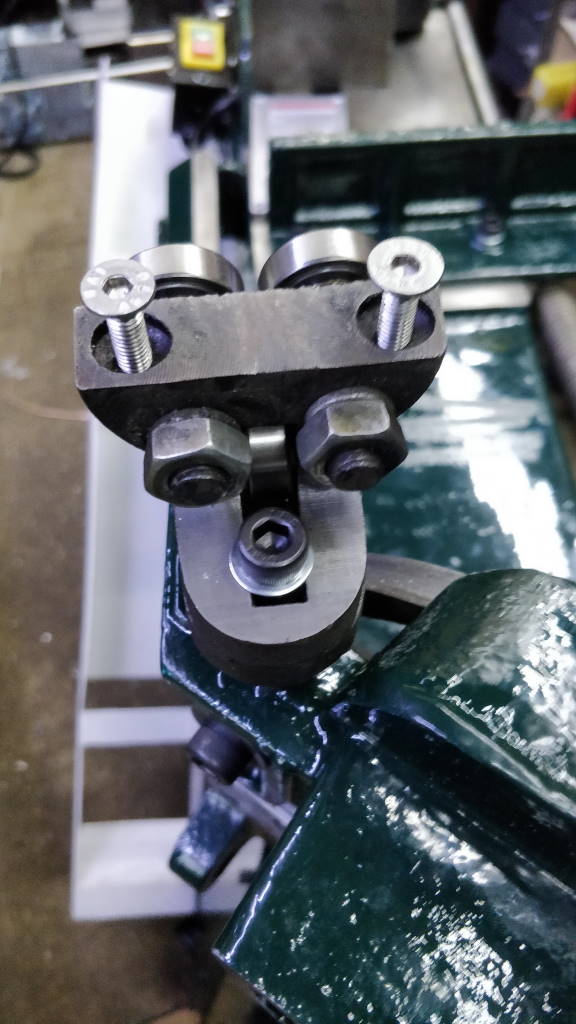 |
This photo shows the lower blade guide mounted onto its bracket.
This website is free, but costs me money to run. If you'd like to support this site, please consider making a small donation or sending me a message to let me know what you liked or found useful.