Bar Clamps Build Process
5/5/2021
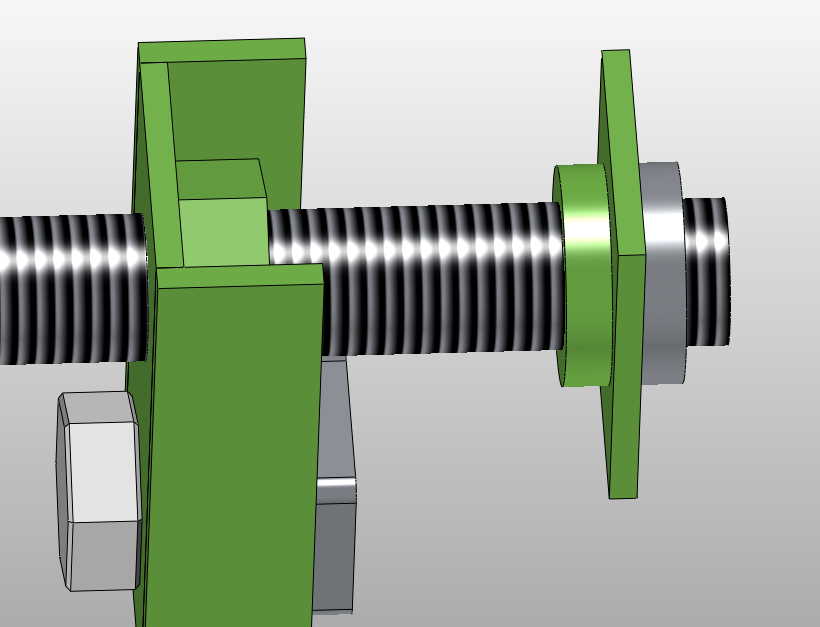 |
The screw jaw is moved by a 150 mm long piece of M16 threaded rod. The plate on the back of the jaw (shown in isolation on the right-hand side of the image above) is held on the threaded rod by two clamping pieces. These are attached to the threaded rod but neither they nor the threaded rod is attached to the plate, so the threaded rod can rotate freely relative to the plate. Although it's not shown in the model, the hole through the plate is oversize (18 mm) and there's a reasonable amount of clearance between the clamping pieces and the plate so that the threaded rod doesn't have to be perfectly perpendicular to the plate or perfectly aligned with the centre of the hole.
In the original video, Neil Paskin made these clamping pieces by holding an M16 nut on a piece of threaded bar in the drill chuck and "turning" them with an angle grinder (and then cutting in half with a hacksaw). That's a perfectly reasonable approach, but I've got a lathe.
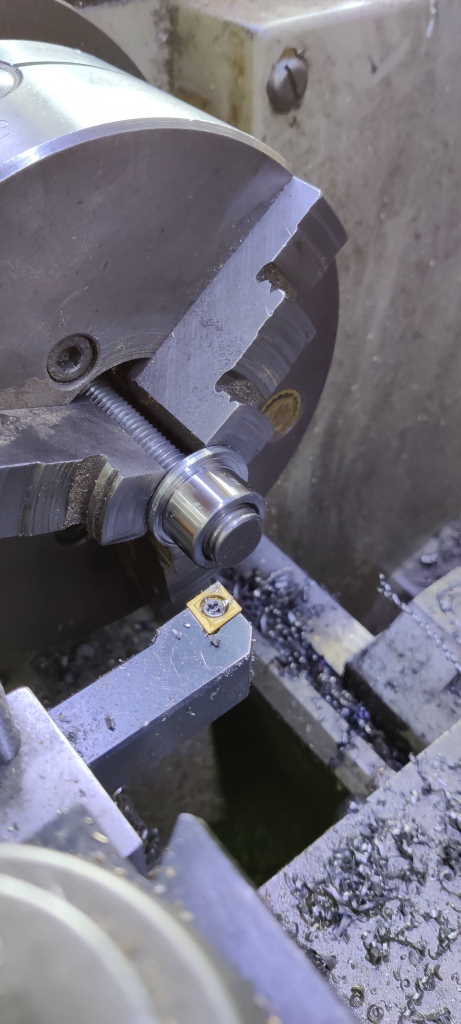 |
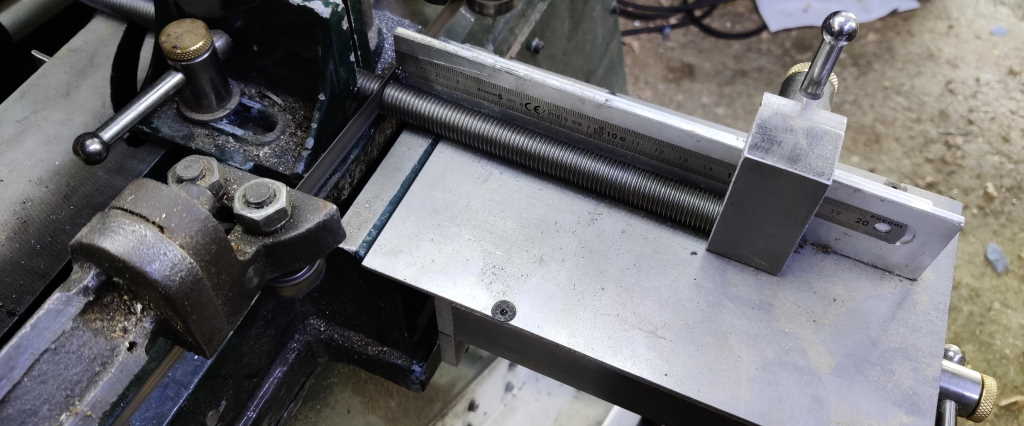
This photo shows the set-up I used for turning the nuts to size: it's just a scrap bit of M16 threaded rod held tightly in the chuck with a washer to hold the nut away from the jaws. This isn't a good way of holding threaded rod as the jaws will damage the thread; I probably should have fitted my collet chuck and used that (as it would have given better concentricity of the gripped thread), but for this application I decided it probably didn't matter and this way was easier.
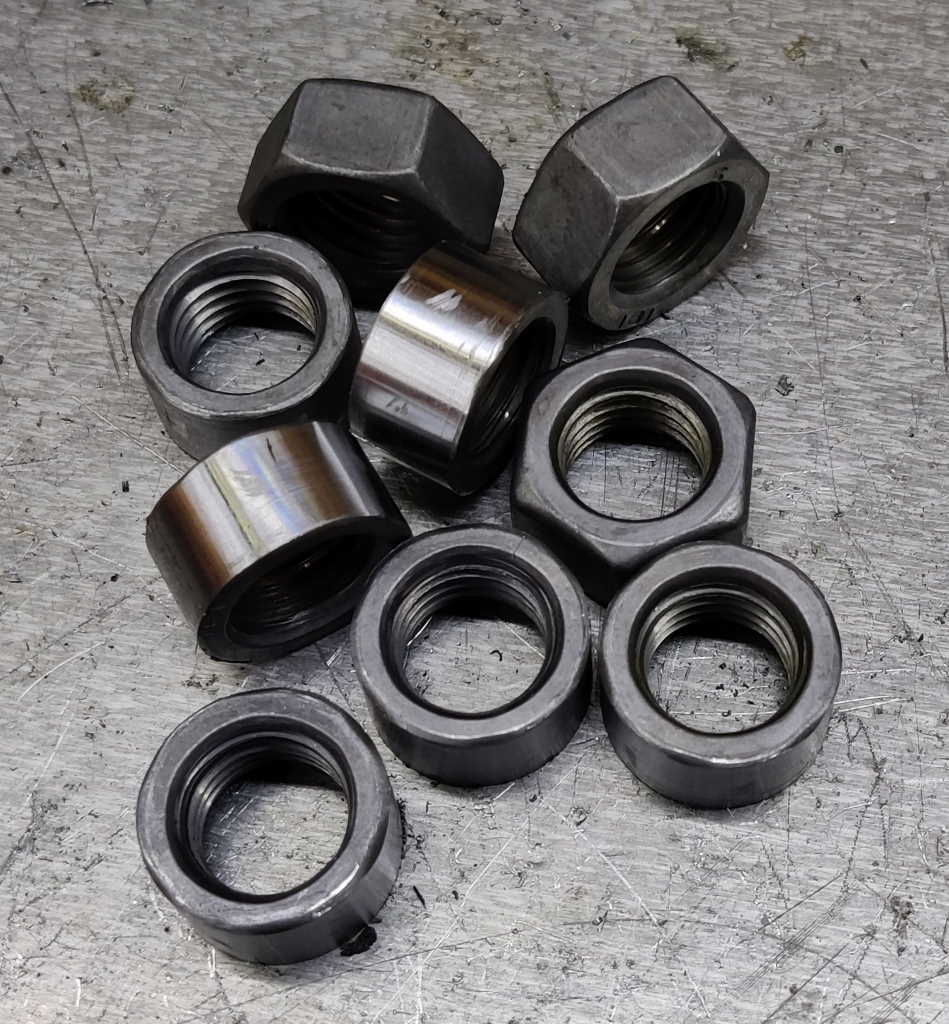 |
This photo shows a sort-of before-and-after of the lathe work - some of the original nuts and some that have been turned.
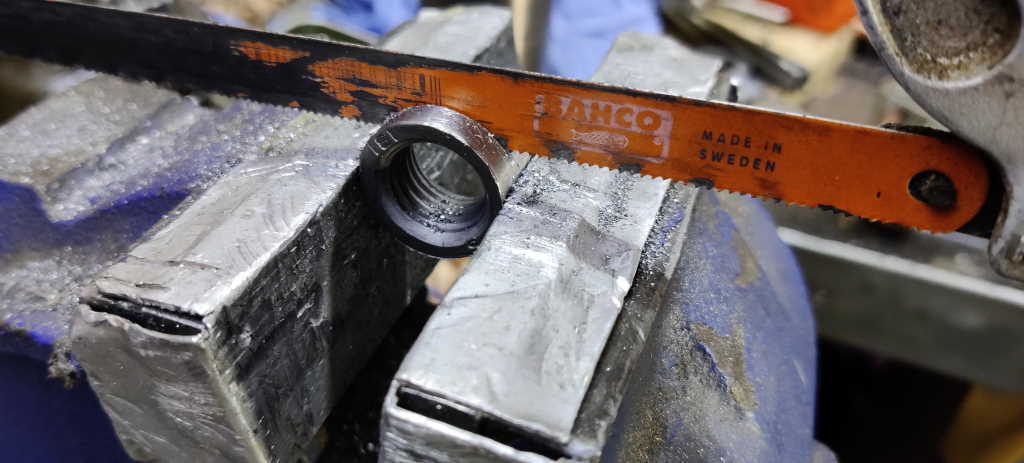 |
I probably could have used a parting tool to cut the nuts in half, but I decided to just do it with a hacksaw.
 |
While I was at it, I used the bandsaw to cut up the M16 threaded bar into 150 mm lengths; my home-made bandsaw cut-off table with its stop made this a very quick process.
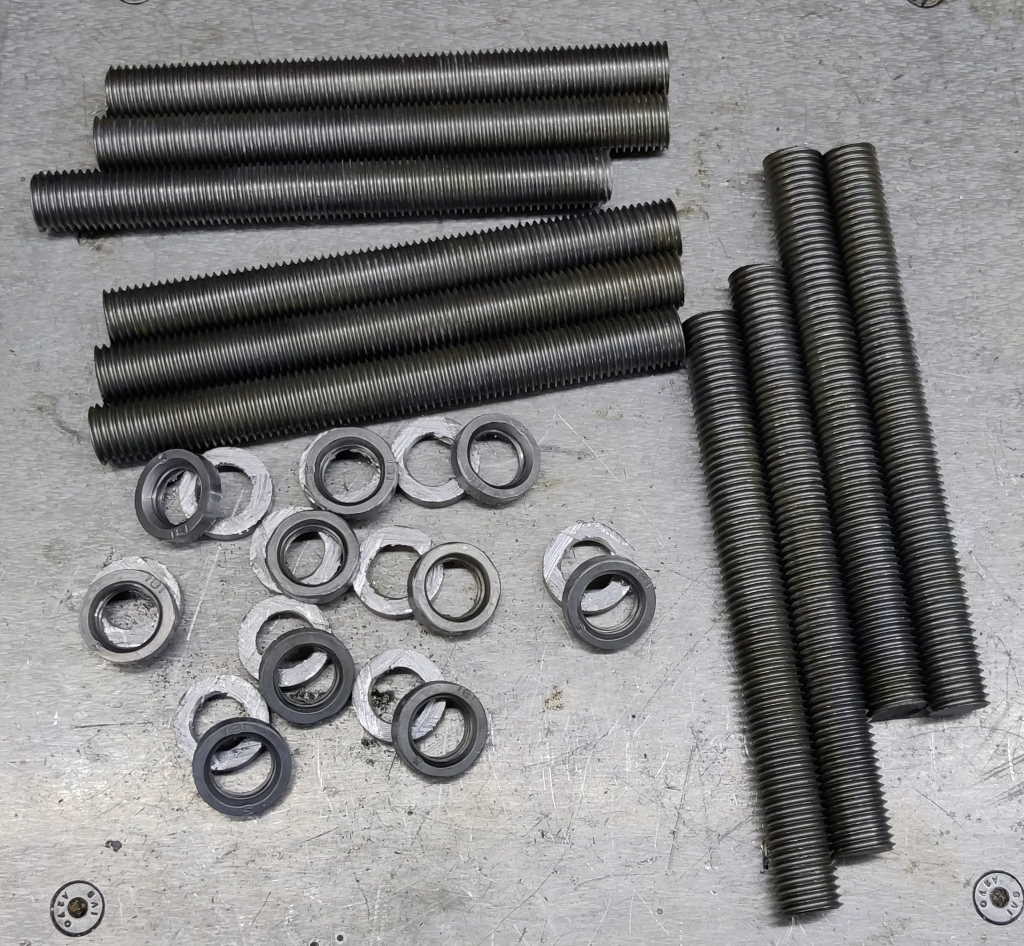 |
The finished clamp pieces are shown in this photo (along with the M16 threaded bar bits). The smooth (outer) side of each half-nut will be against the plate in the screw jaw. The rough hacksawn side will be facing out but the rough finish will disappear once I melt it with the TIG torch.
Page Navigation:
| First (#1) | Previous (#6) | Next (#8) | Last (#32) |
This website is free, but costs me money to run. If you'd like to support this site, please consider making a small donation or sending me a message to let me know what you liked or found useful.