Grooving Planes
 |
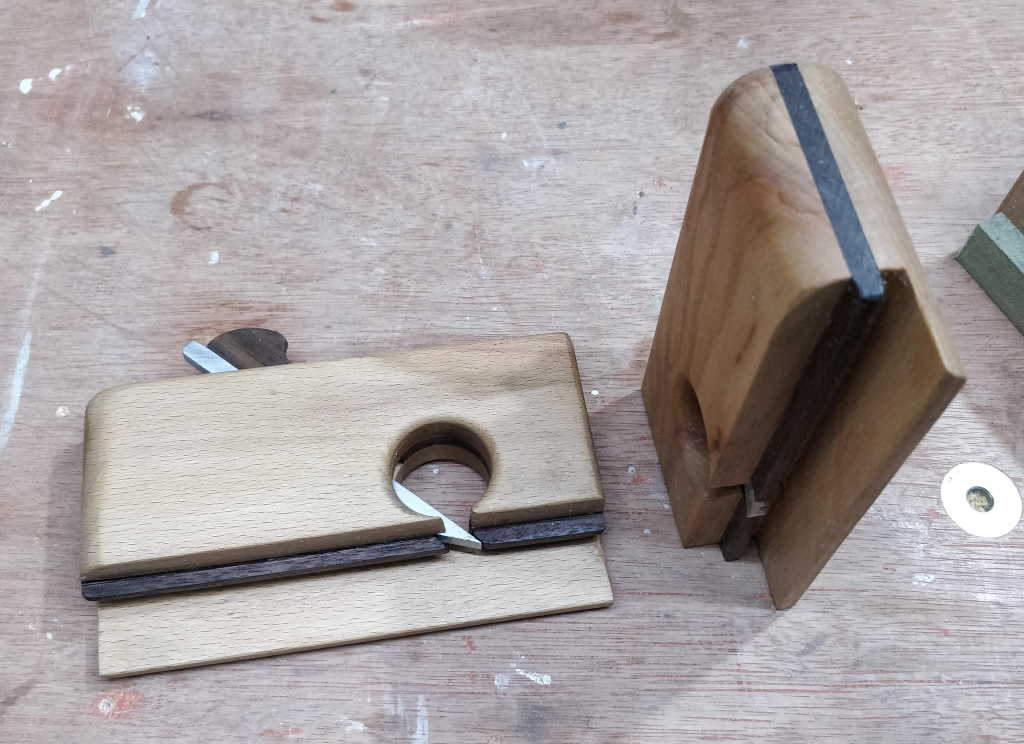
These are some grooving planes (non-adjustable plough planes). They're made out of beech, walnut and gauge plate (ground flat O1 tool steel). They're for ploughing grooves in box/drawer sides for a base. I made these before inheriting a plough plane, but as these are pre-set, they're much quicker to use than setting up a plough plane. Also, the plough plane I inherited came with imperial dimensioned blades and these have metric ones, which will be much more useful. They're in pairs so that I can pick the appropriate one for a given grain direction: two make 3 mm grooves, 3 mm deep, 3 mm from the fence; the other two are similar but replace all the 3 millimetre dimensions with 5 millimetres.
 |  |
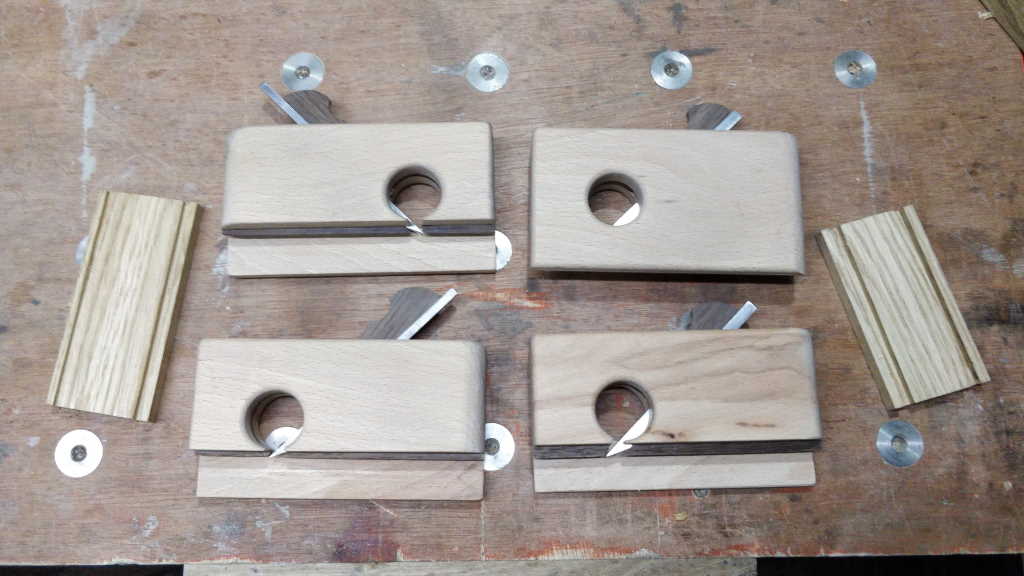
After a fair amount of fettling and getting them set up, I did some test grooves in a couple of offcuts of oak (visible in the picture). In those short lengths, it takes about 10 seconds to plough a groove. I doubt I could even find the right router cutter in that time, let alone set up a router, so I think these will get a fair amount of use.
 |
I made some spare cutters in other sizes too (although I've only hardened & tempered the 3 mm and 5 mm ones). For some reason the 3 mm and 10 mm ones didn't make it into this photo.
 |
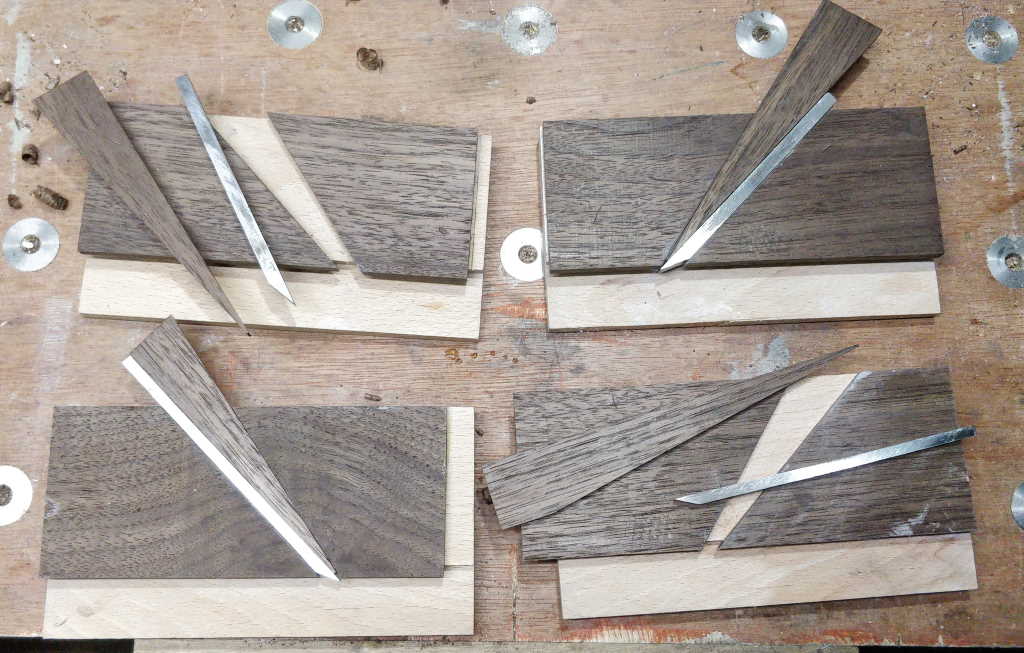
This is an in-progress photo showing how they're constructed. The general construction is based on an idea from Matthew Kenney in a book on woodworking with hand tools. Although I tweaked all the dimensions etc, the construction method and general principle follow the Matthew Kenney's approach very closely. Having made the first two of these planes according to his notes, I would approach the construction very differently next time. The walnut spacer in the middle of the plane needs to meet two conflicting requirements:
- It needs to be very slightly wider than the plane blade in the area sandwiched by the beech pieces so that the blade is able to slide up and down before being wedged.
- It needs to be very slightly narrower than the plane blade in the area not sandwiched by the beech so that it runs freely in the groove cut by the blade.
The "fair amount of fettling" I mentioned above was basically trying to thin the walnut where it protrudes out of the beech. On one side this was easily done with a shoulder plane, but the side closest to the fence had to be thinned using a needle file and it was very awkward.
If/when I make more of these, I'll carefully mark where the walnut leaves the beech sandwich and thin that part of the walnut down before carefully gluing the three parts together.
This website is free, but costs me money to run. If you'd like to support this site, please consider making a small donation or sending me a message to let me know what you liked or found useful.