Saw Jigs
This page includes a few jigs I've made to help improve my sawing accuracy.
Bench Hook
 |
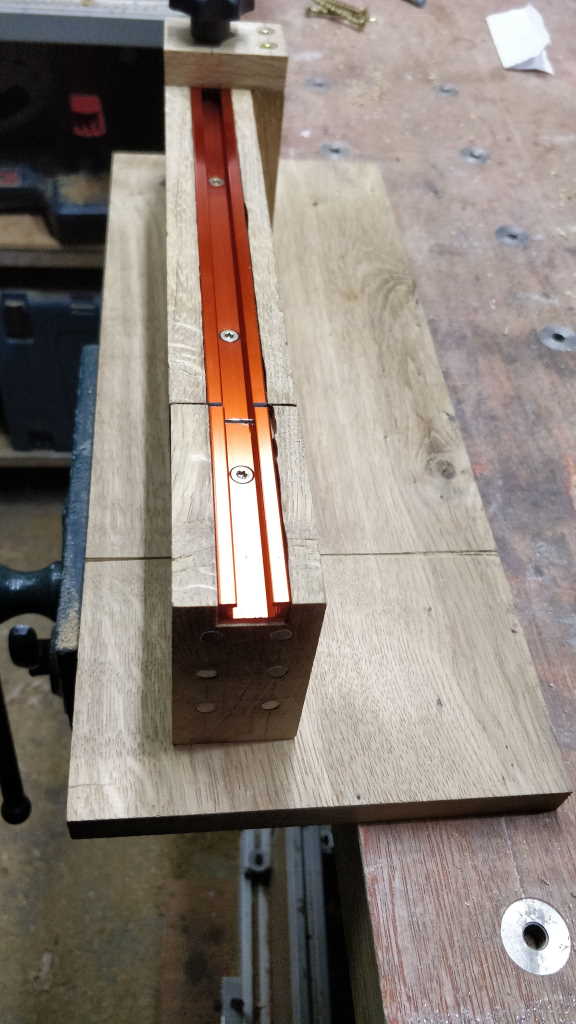 |
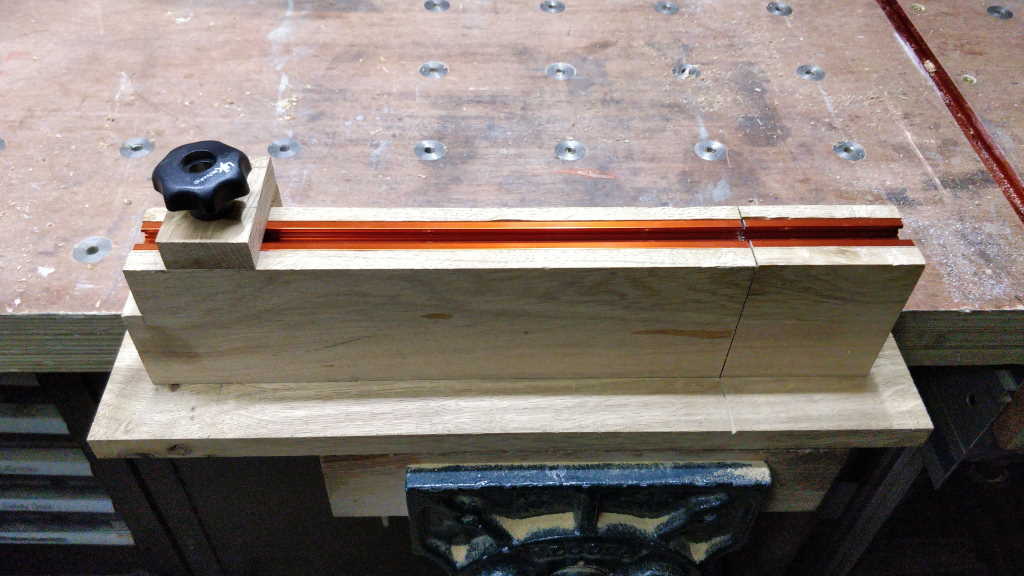
This is a (probably slightly over-designed) bench hook to help me cutting. It's designed to be used "backwards" compared to a conventional bench hook: with the wood the other side of the fence to where I stand. The stop can be used for cutting multiple pieces to a consistent length if required.
The end face has some magnets set into it. These are used to hold my Ryoba saw flush with the face. As it's a pull-saw, the wood sits behind the fence and the magnets ensure the saw cuts straight. There is also a slot part-way along the fence as an alternative method of guiding the saw.
Unlike a conventional bench-hook, it's a bit harder to see what's going on as the fence is between me and the wood. However, being tall I find it quite easy to look over the top to check everything is lined up properly and the bench hook does most of the work of making sure I'm cutting straight and in the right place.
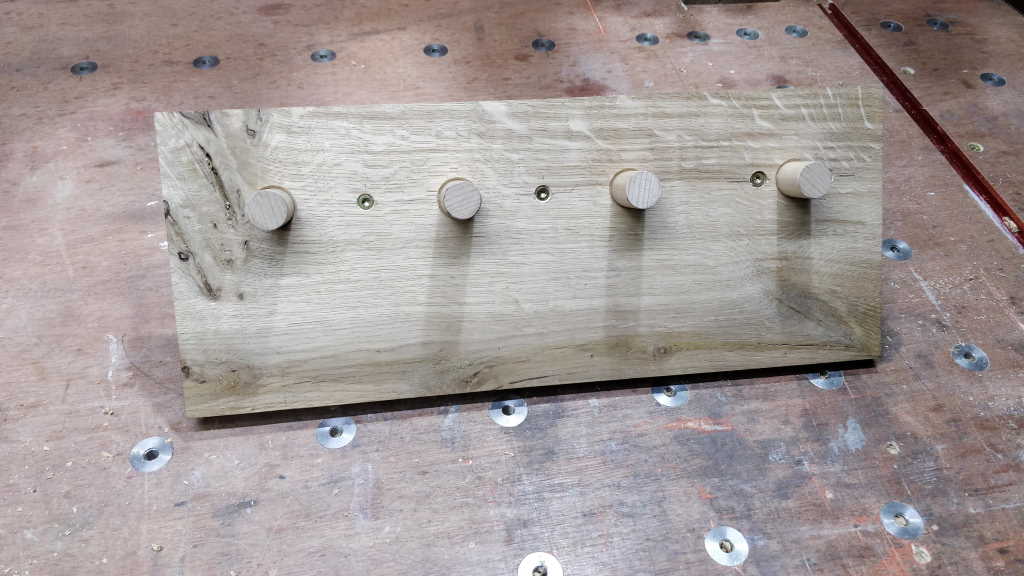 |
Rather than a conventional cleat, I used a row of 20 mm dowels on the base of this bench hook. The dowels can either be clamped in the bench vice or dropped into a row of dog holes on the bench, depending on where is most convenient to use it.
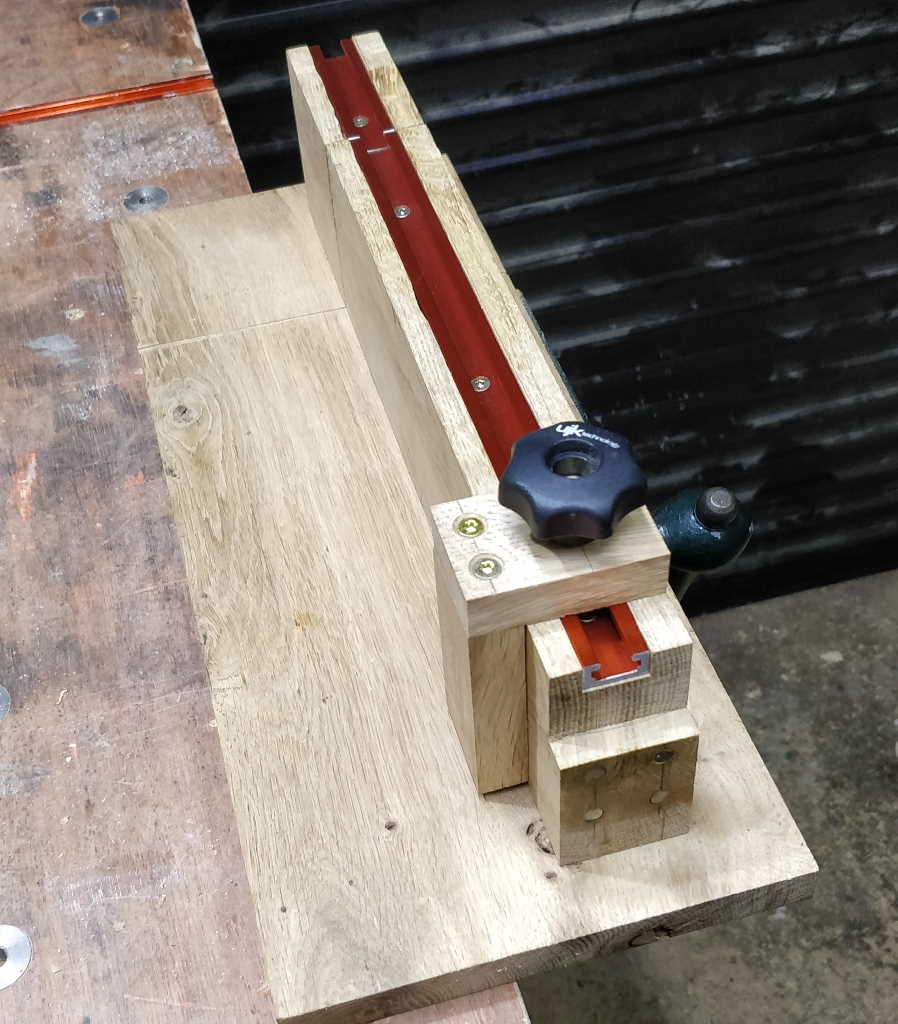 |
The bench hook also has magnets set into the other end of the fence, but this end of the fence also has a rebate cut into the top.
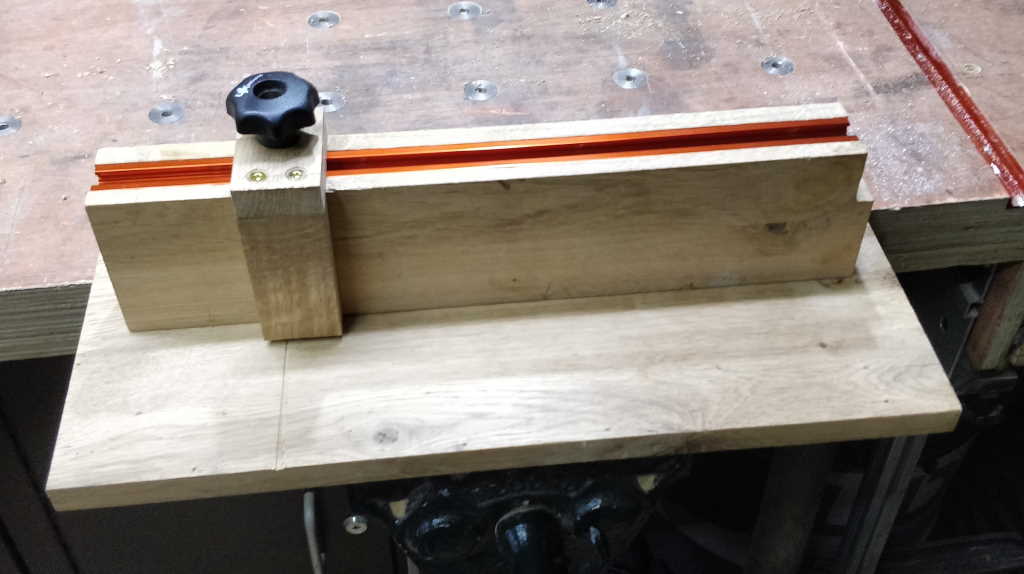 |
To take advantage of these magnets and the rebate, the bench hook is flipped round so the area for the wood is at the front and then the bench hook can be used with a Western push-saw. The only Western tenon saw I have needed the rebate to avoid issues with the spine hitting the fence.
Magnetic Saw Jigs
 | 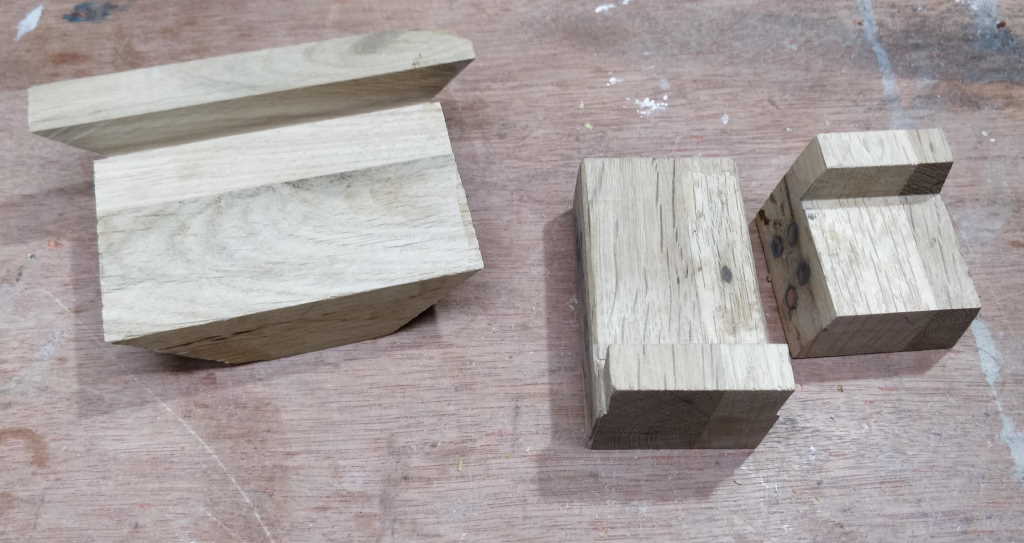 |
These are three simple saw jigs to help with sawing accuracy. They're made out of offcuts of oak worktop. Each has two faces with some magnets glued into the face and a fence on the underside that is perpendicular (in at least one plane) to the magnet faces. The one on the right of the left-hand photo is a simple cross-cutting jig: the magnet faces are perpendicular in both planes to the fence. The one at the top is a dovetail jig that ensures a cut is made square to the wood in one plane and at a consistent angle in the other plane. The largest one was an attempt at a box mitre jig, but the steep angle doesn't work that well as the teeth of the saw tend to lift a little at the start of the cut, reducing accuracy.
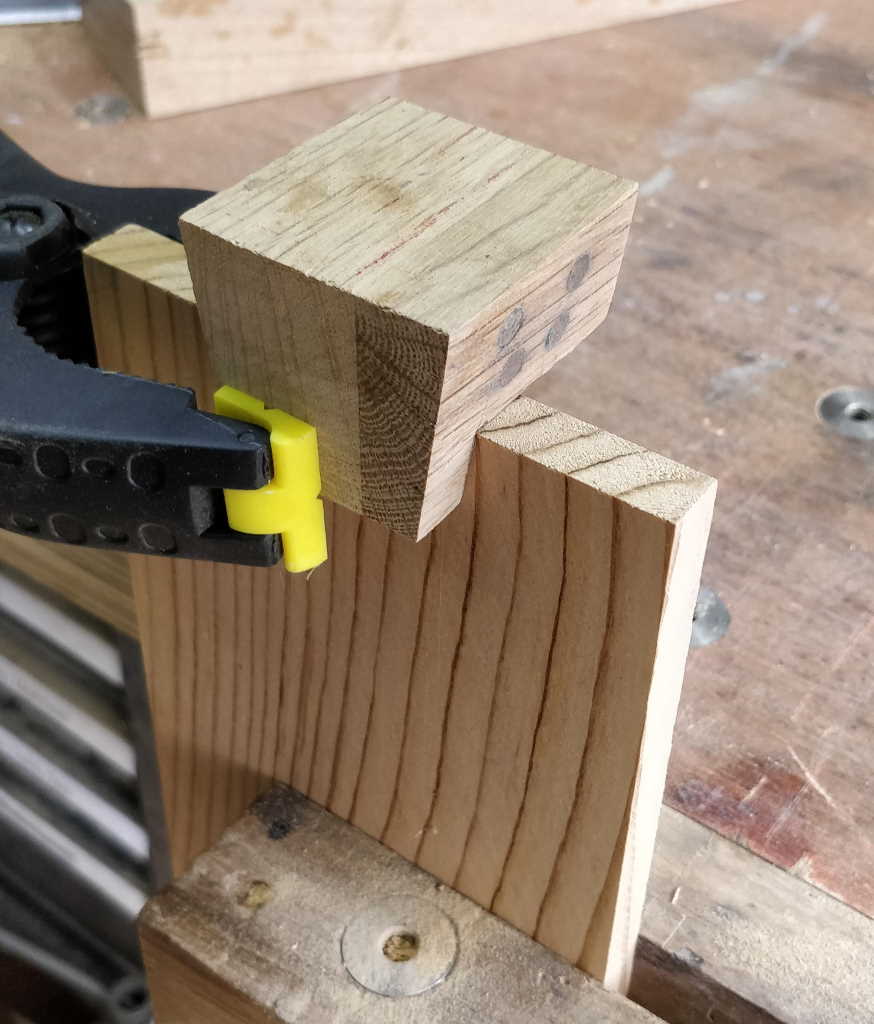 |  |
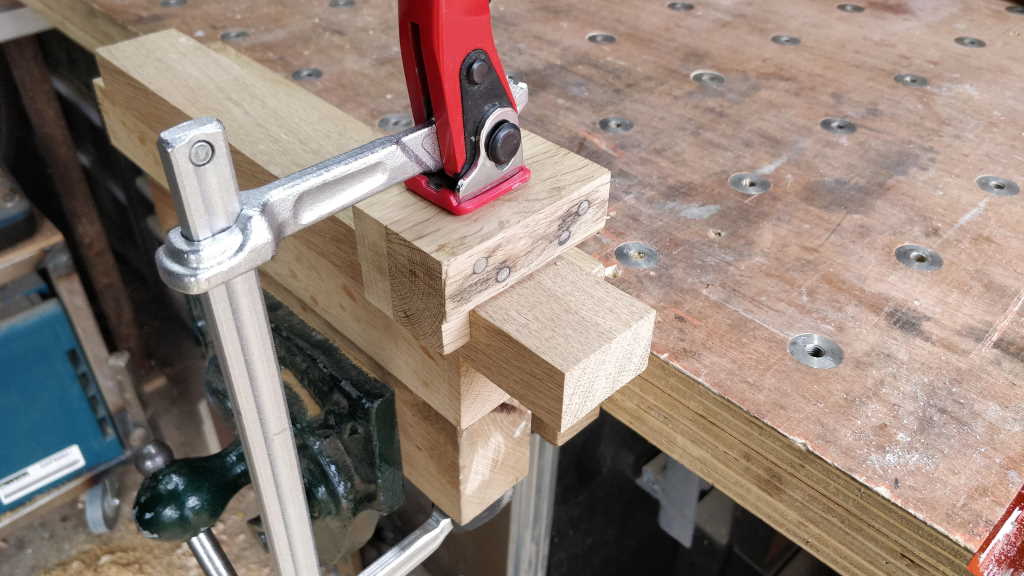
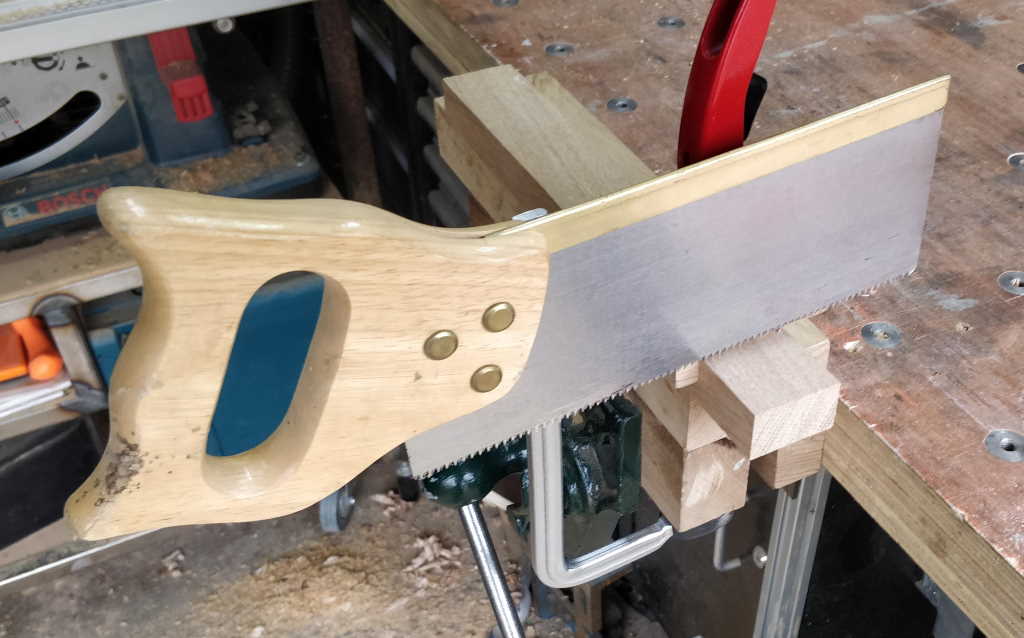
These photos show the dovetail jig with and without a saw being used. Note that the photos show the jig clamped in place but I usually just hold it in my left hand - the clamps are only there as I didn't have enough hands to take a photo and hold the jig.
This jig is very fast to use: as it's guiding the angle of the saw, I don't even mark out the dovetails on the sides of the wood. If I want them evenly spaced, I mark a dot on the top of the wood for each saw cut, mark the width of the pin board (so I know how deep to cut) and then just drop the jig onto the dot and start cutting.
 |  |
 |  |
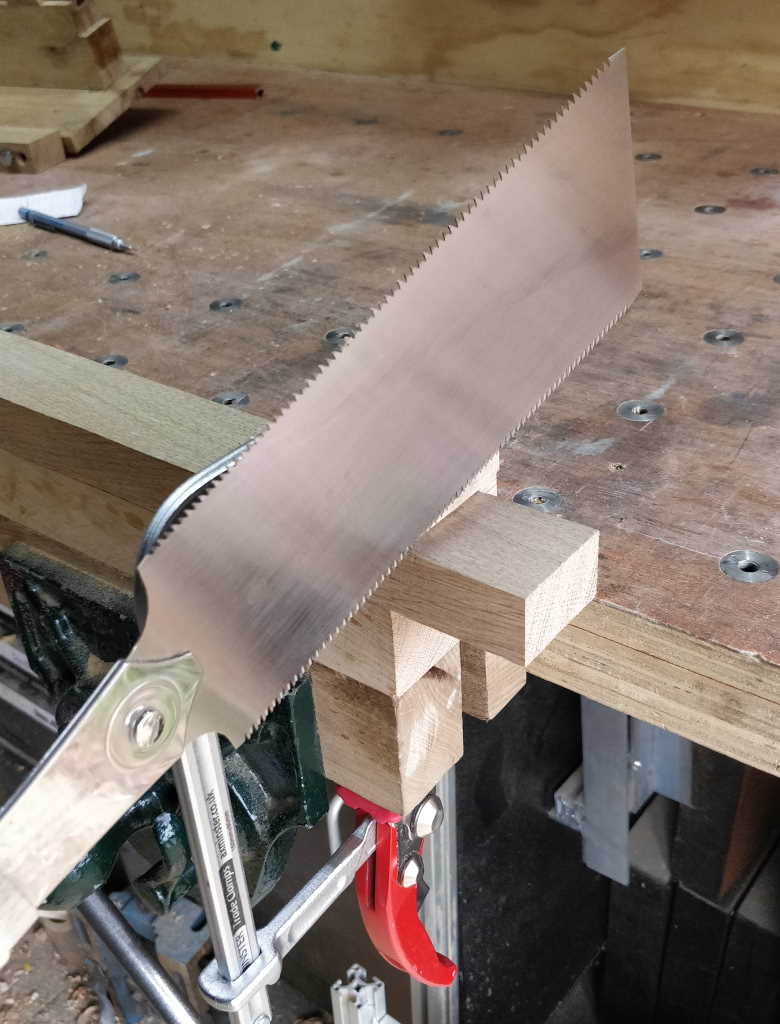
These photos show the cross-cut jig (again clamped purely for photographic reasons) in use with different types of saws. I mostly use Japanese pull-saws, but the jig can be used with the fence either side of the wood depending on the cut direction.
Improved Dovetail Jig
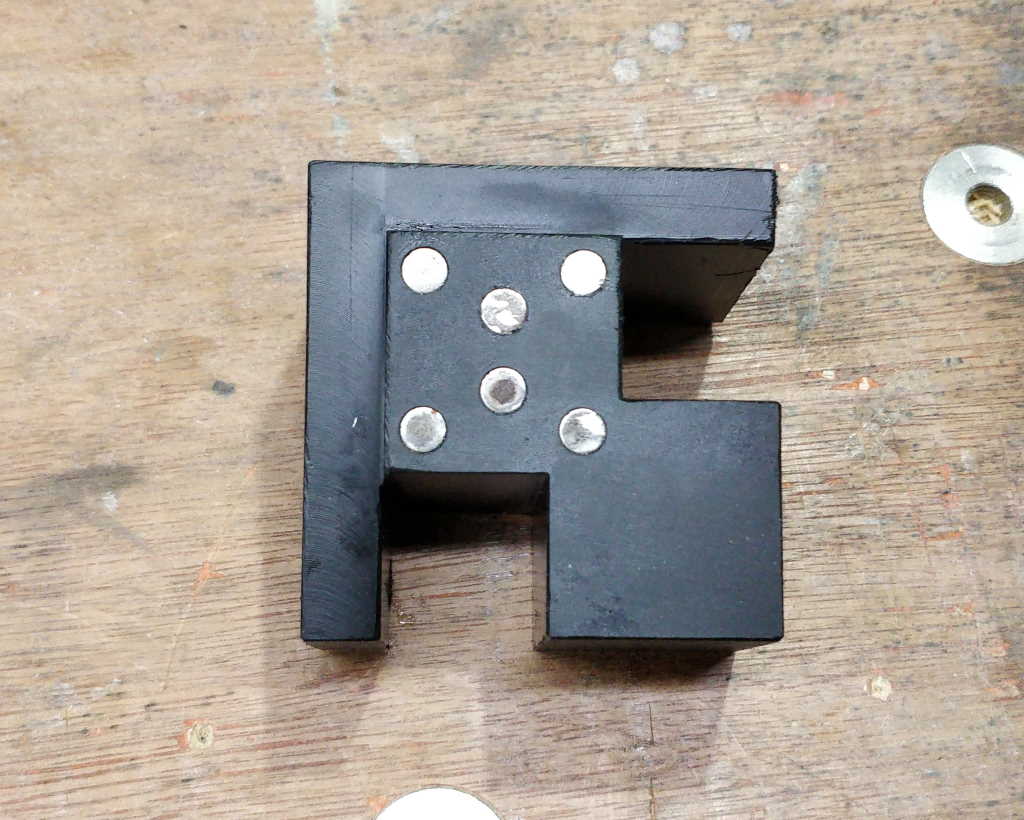 | 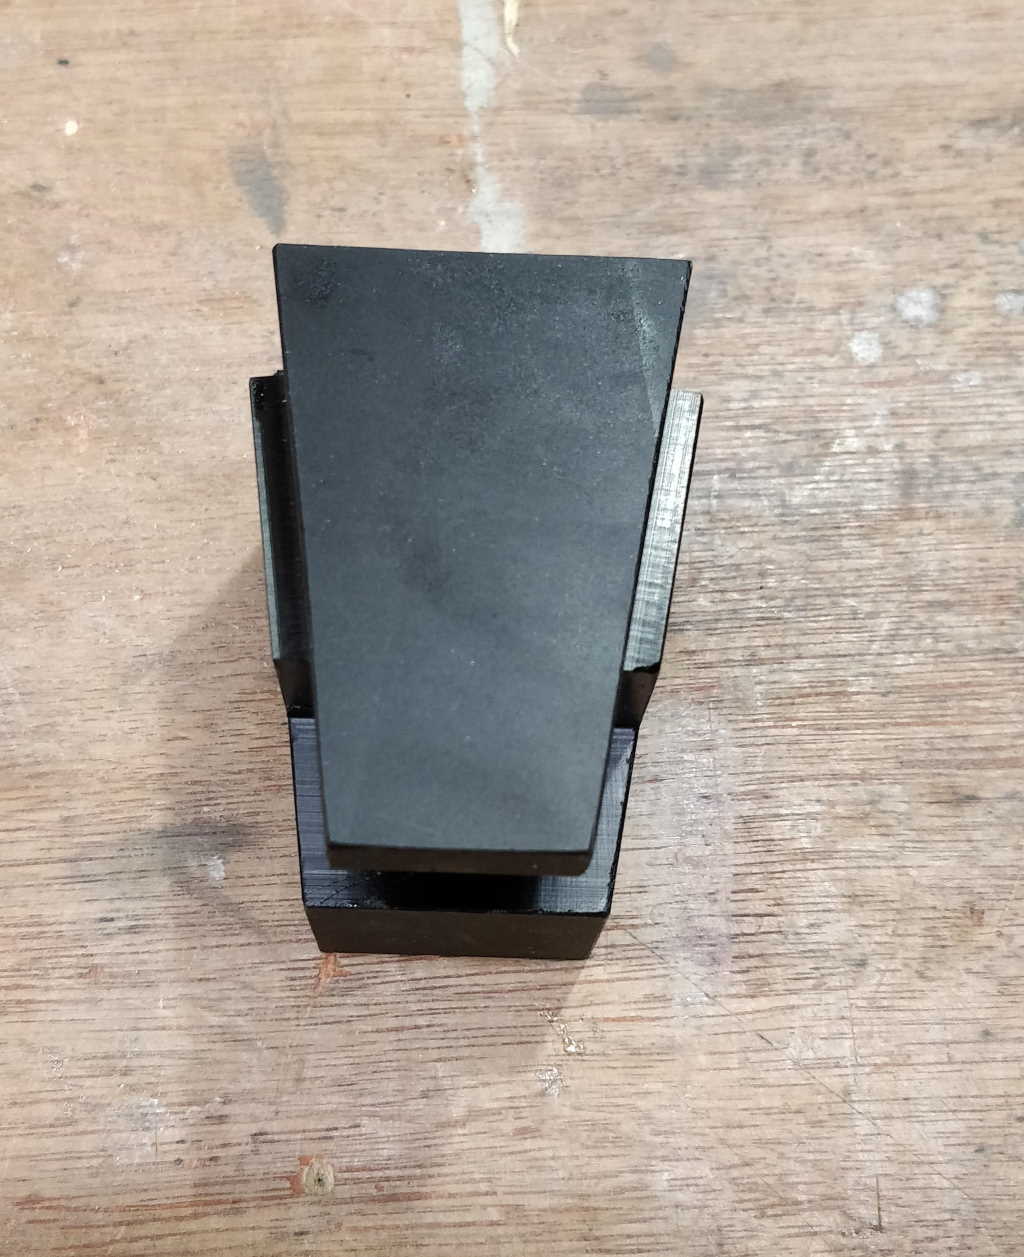 |
This is an improved version of the dovetail jig. The two cut-outs allow the same angle to be applied to both tails and pins when cutting dovetails. The relief around the top and left of the left-hand photo is to allow for the spine of the saw.
 |  |
 | 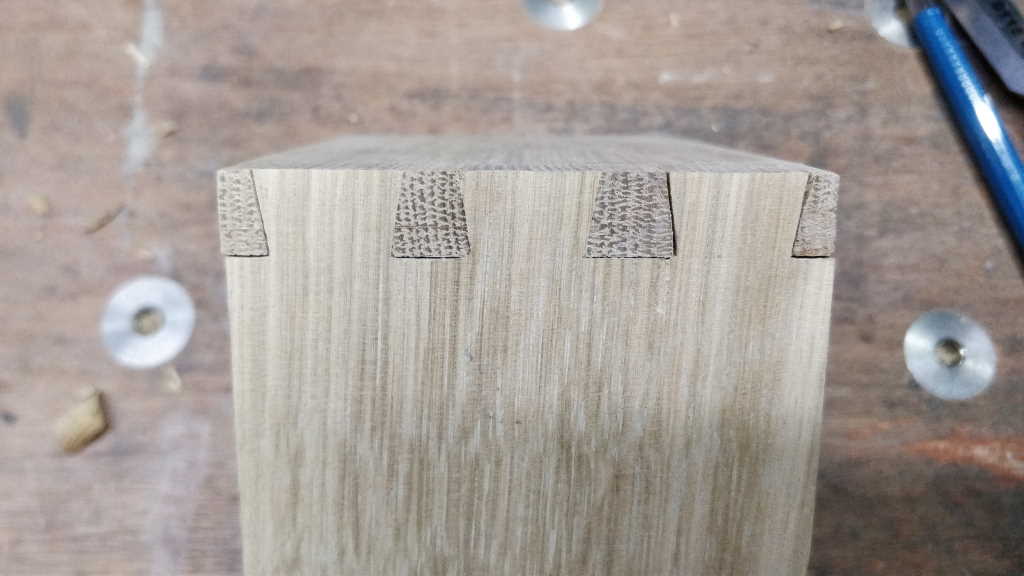 |
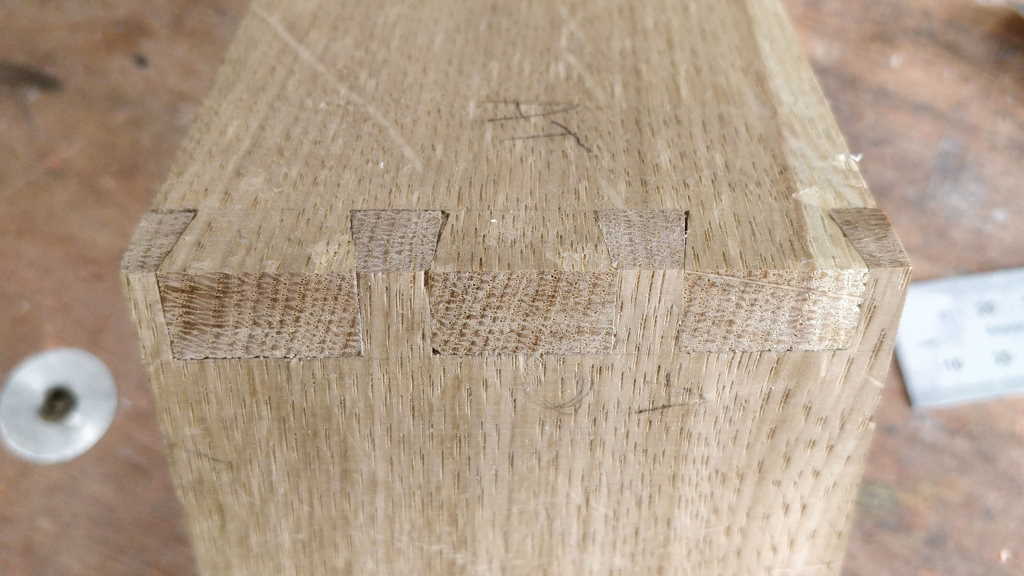
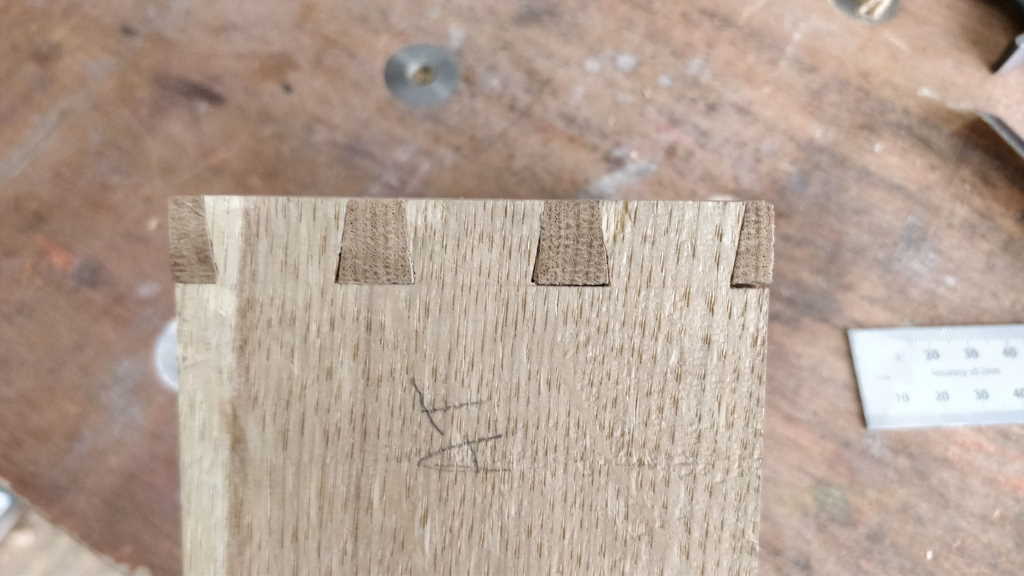
These pictures show the result of the first (top row) and second (bottom row) times I tried cutting a dovetail with this new jig. I still need to work a little on my technique, but these are far, far better than any dovetail I'd cut previously!
This website is free, but costs me money to run. If you'd like to support this site, please consider making a small donation or sending me a message to let me know what you liked or found useful.