Shooting Boards
 |
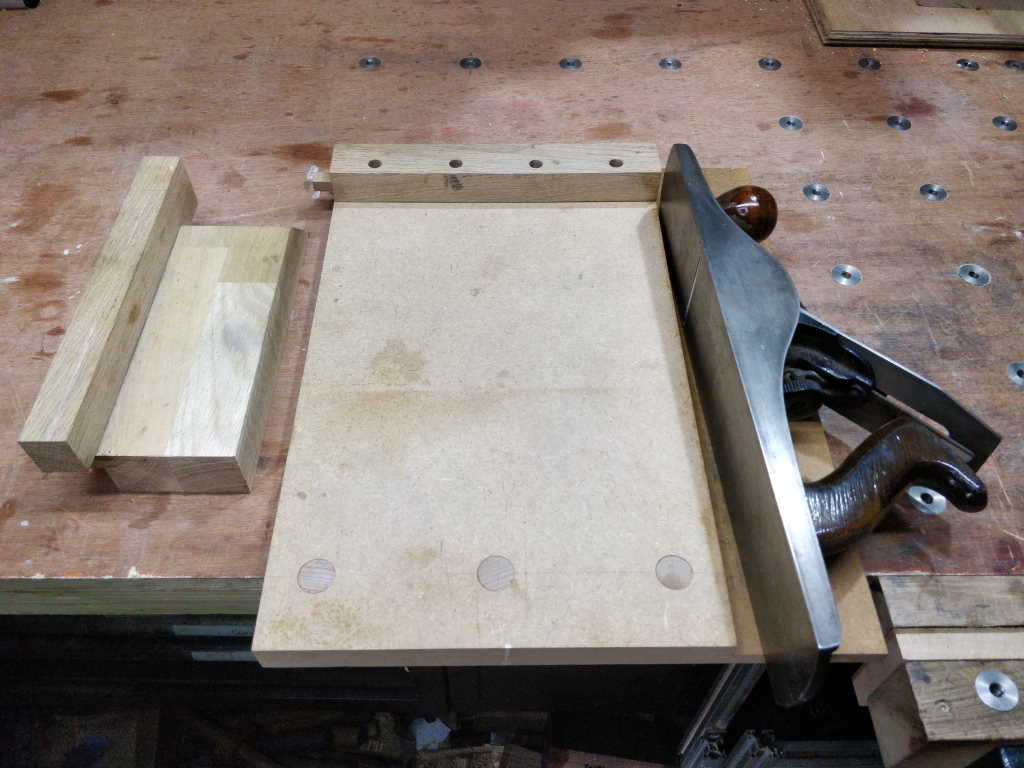
This is one of two shooting boards I've made to date. It's a very simple construction and took very little time to make. It's made out of two pieces of MDF; the top one is slightly narrower than the bottom one and also has a groove cut parallel to its edge for the fence to attach to. There are three dowels acting as a cleat on the underside of the shooting board. These can either be hooked onto the end of the bench, put in the vice jaws or dropped into dog holes on the bench, depending on what's most convenient for the job in hand.
 |
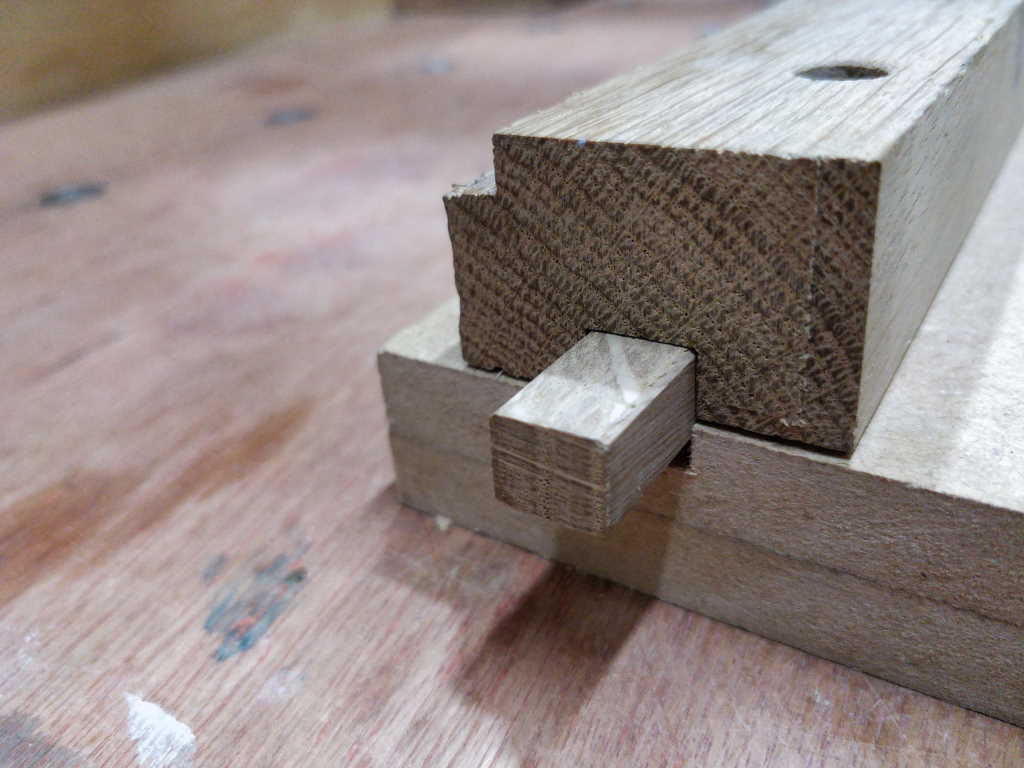
This shows how the fence is attached. The smaller oak bar fits into a matching 12 mm groove in the MDF and the fence. I've never got round to trimming the oak bar to length! The rebate in the fence is simply there because I used a piece of oak that I'd previously used to test a rebate plane!
 |  |
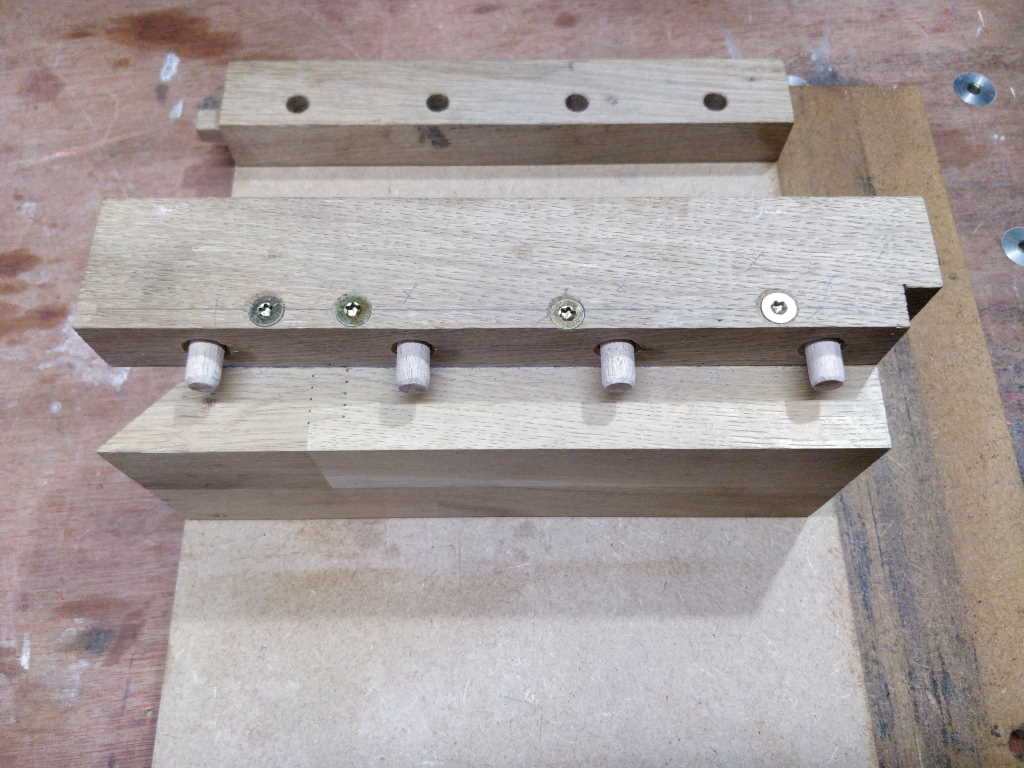
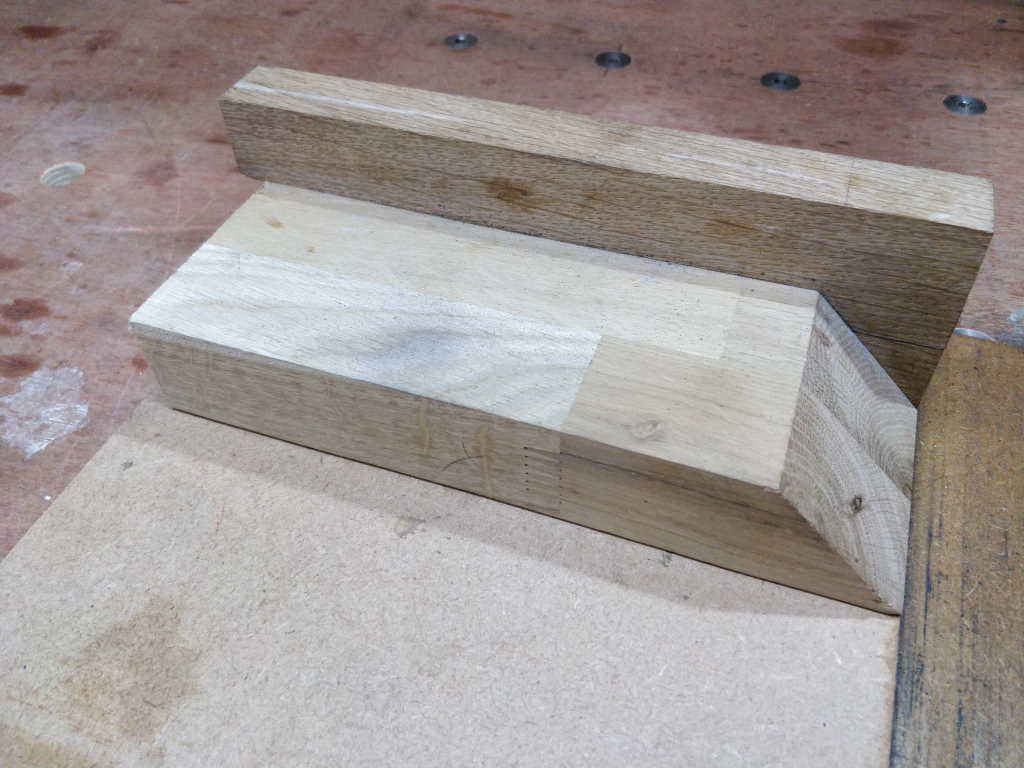
These photos show an attachment that I made for the shooting board for shooting box mitres. It drops into the fence using dowels for attachment and allows 45° cuts to be made on the end of boards. I may make a wider version of this at some point; the size was dictated by the size of an offcut of oak worktop that I had.
 |
This is the second of my shooting boards; designed for shooting the edges of longer pieces of wood. It has a cleat that is held in the bench vice; I tend to support the other end by clamping the fence (which is attached in the same way as the fence in the first shooting board) down to the workbench.
This shooting board has two steel rules set into the face. These were (very) cheap metric steel rules and are set just under the surface of the shooting board. It took a while to get these into the right position (using some slow cure glue and lots of testing). The purpose of these is that if I want to plane a few boards to the same width, I can clamp a fence (anything with a straight edge) to the shooting board, using the rulers as guides to get the right width. I can then put the boards to be planed up against this fence and keep planing until the plane stops cutting (because the body of the plane is running against the shooting board's top layer). Treating multiple boards this way results in multiple identical boards.
The rules are only positioned to be accurate to about a millimetre as I didn't spend that long carefully calibrating them. If I need boards to be absolutely parallel, I set up the fence for a slightly oversize cut using the rules and then tweak the position of the fence with light hammer taps until it's in the right place (doing test cuts after each adjustment). Once done, I can get very consistent and parallel boards.
This website is free, but costs me money to run. If you'd like to support this site, please consider making a small donation or sending me a message to let me know what you liked or found useful.