Bar Clamps Build Process
20/5/2021
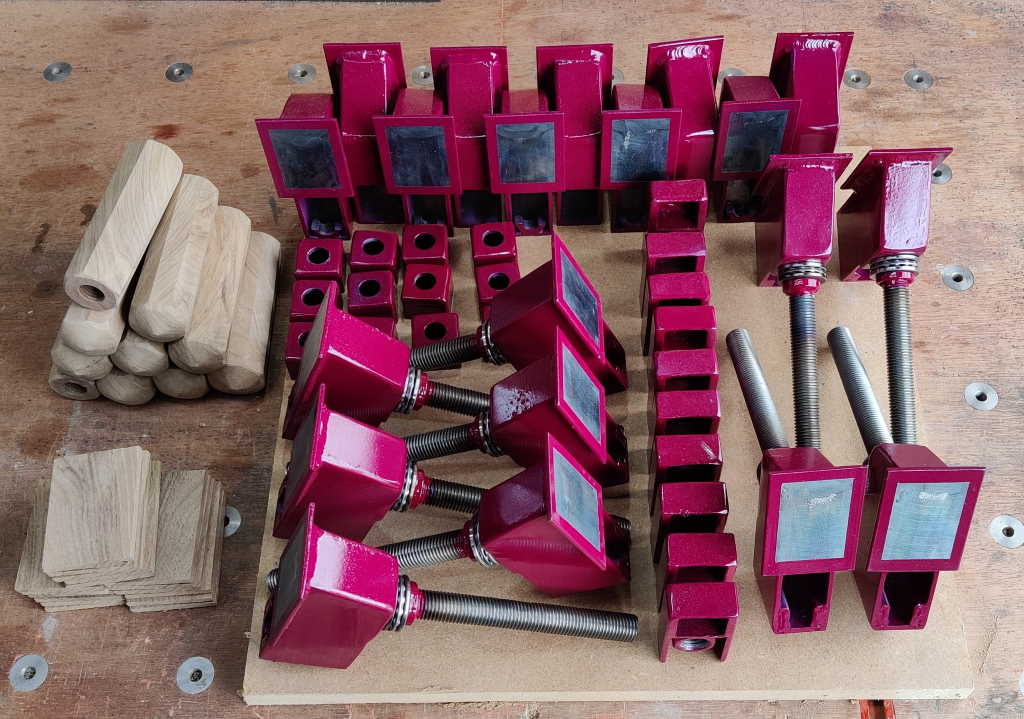 |
I managed to get up at 5 o'clock this morning so I had time to do the second coat of paint on the split nuts before I started work this morning. That meant it had dried enough by this evening that I could get on with other things. The photo above shows all the parts ready for assembly.
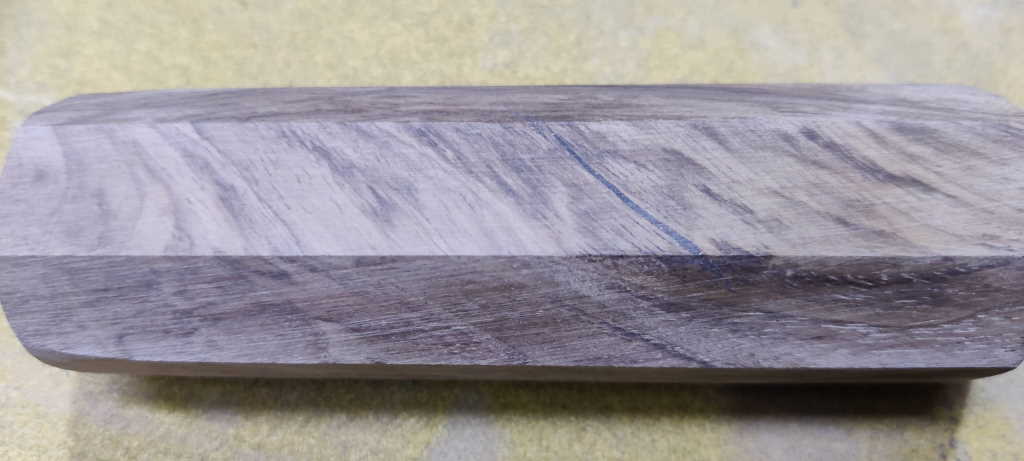 |
The first job I did was sand down the epoxy that I'd used to fill the crack in this handle.
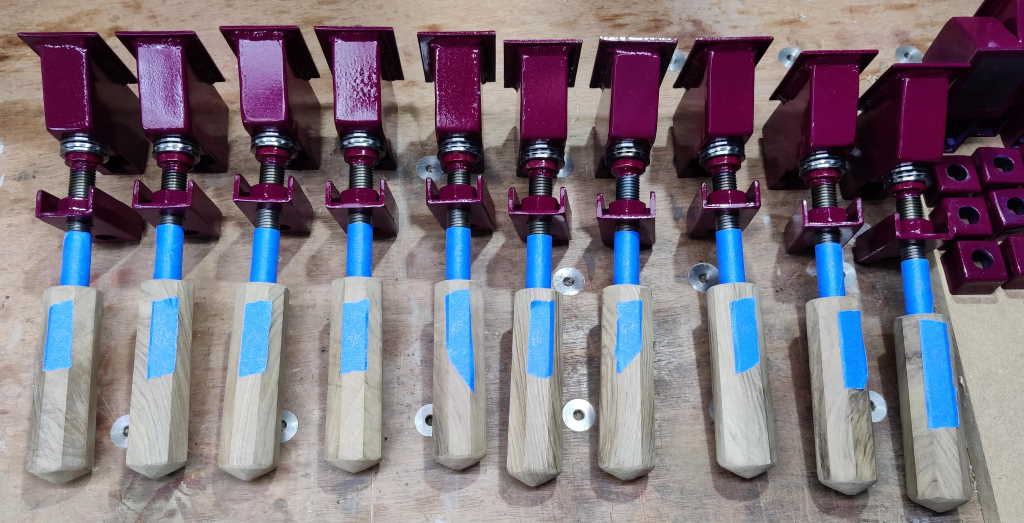 |
With everything ready, I installed a handle onto each screw jaw so that I could see how far they went on (they should all be the same as the threaded rods were all the same length and the drilling was done to a consistent depth, but I thought it better to err on the side of caution and check). I put some masking tape on the threaded rod to mark the end position and also to stop the thread filling up with epoxy if any got squeezed out during installation of the handle. I then put a bit of masking tape on the handles so I could mark the paired handles and threads as "A1", "B2", "C3" etc. I like this sequence for marking parts as smudged handwriting can confuse "A" and "D" or "6" and "8", but "A1" will never be confused with "D4" and "F6" will never be confused with "H8". With them marked as pairs I can be sure the masking tape will be in the right place when the handles are installed.
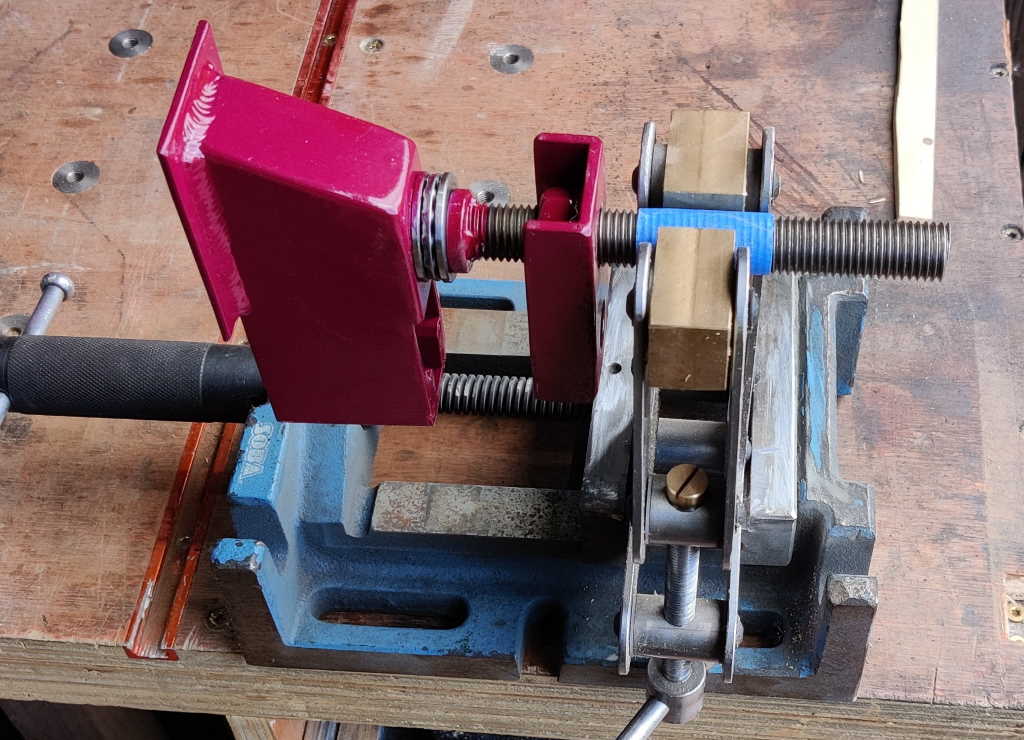 |
I put one of my home-made cantilever clamps into a vice and used it to grip the masked threads of each screw jaw. The cantilever clamp has a v-groove cut in each brass jaw, so this seemed like a good way to hold the parts.
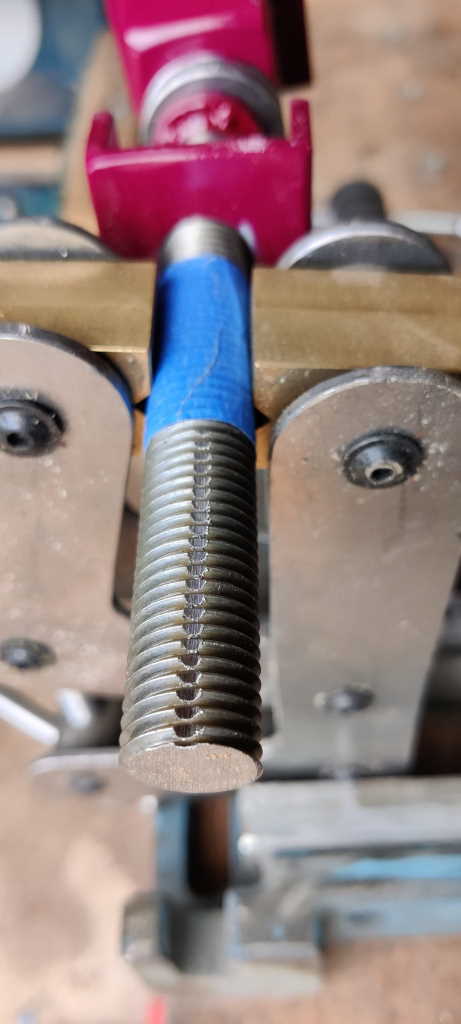 |
With the thread clamped, I used a cutting disc in an angle grinder to cut a narrow slit along the thread (to give the epoxy an escape path and make sure the handle can go all the way on), using the masking tape as a guide to make sure I didn't cut too far.
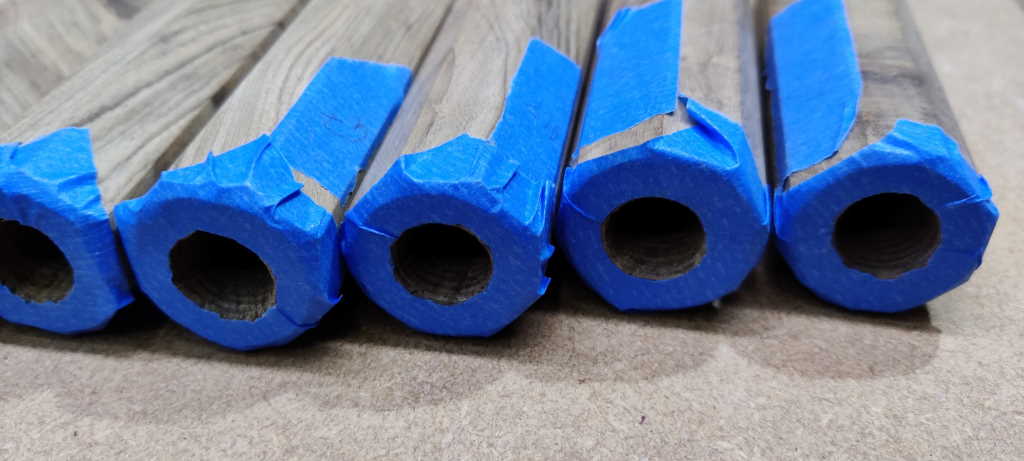 |
For the same reason as the masking tape on the threads (to catch epoxy squeeze-out), I put some masking tape on the ends of the handles and cut out (with a craft knife) around the hole.
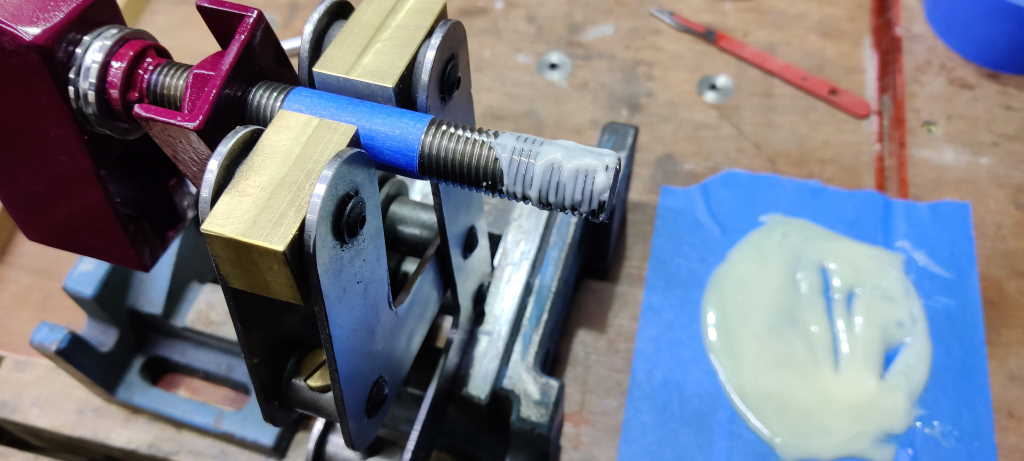 |
I mixed up an entire packet of Araldite Standard on some masking tape and put a blob of it inside each handle and around the last circa 30 mm of the thread (which was again held in the cantilever clamp).
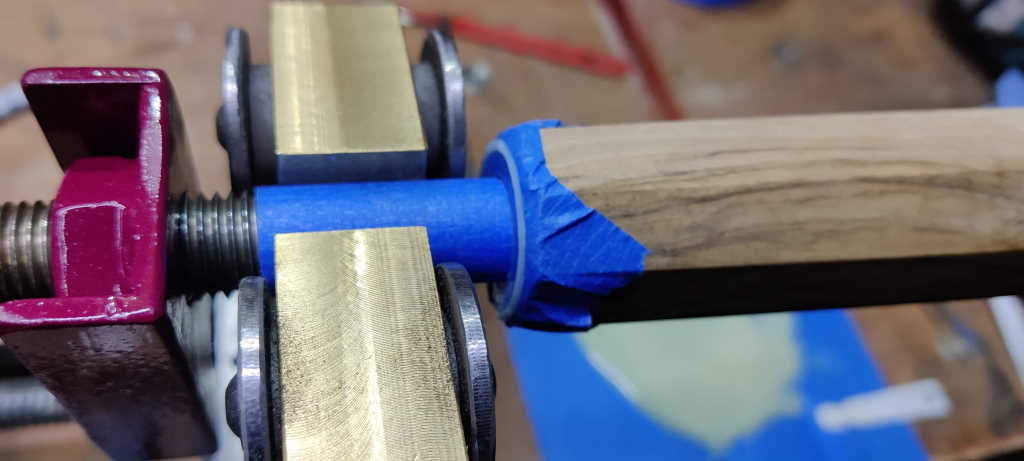 |
I then screwed the handle on, using one of the Araldite-provided spatulas to push the squeeze-out into the threads as the handle was screwed on tightly.
Once the handle was tightly in place, I removed the masking tape (to stop it getting epoxied in place); I didn't get any photographs with the masking tape removed but I'll take some tomorrow.
Tomorrow I'll get the wooden jaws fitted and get everything assembled onto the bars. The handles and jaws will then get a couple of coats of Danish Oil & unless I've forgotten anything, the bar clamps should then be complete.
Page Navigation:
| First (#1) | Previous (#29) | Next (#31) | Last (#32) |
This website is free, but costs me money to run. If you'd like to support this site, please consider making a small donation or sending me a message to let me know what you liked or found useful.