Bar Clamps Build Process
15/5/2021
The next job was to weld the threaded bar to the rods.
 | 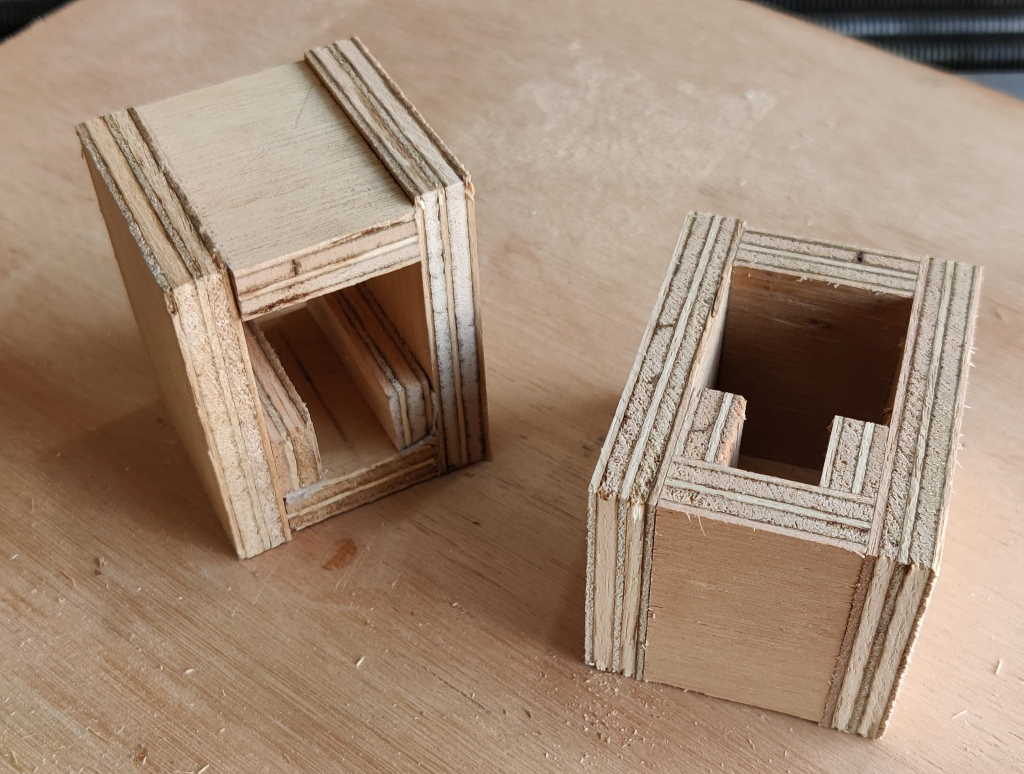 |
These photos show the jigs I made (based closely on the idea in the original video) to make sure the threaded rod is mounted centrally on the main box section bar. They were made out of a bit of 9 mm plywood, cut into strips and stuck together with double-sided tape. The short pieces in the middle that support the sides of the threaded rod are 6 mm thick (cut down from 9 mm on the table saw). I then cut the long jig into shorter pieces to make multiple jigs for holding in different places along the length of the bar.
 |
These jigs worked well for the prototype but had some minor disadvantages. Being made of wood, they're non-conductive so the welding return current connection has to be attached via another method rather than through the jig and the bench. Also, they don't hold the threaded rod especially rigidly so there's a chance the rod could move off centre. I was planning to use the jigs again to make the final bars but it occurred to me that there was another option for a very effective alignment jig: the sliding jaws I've just made.
The next challenge was to find somewhere to put the bars to make welding the threaded rod relatively straightforward. The longest bars are considerably longer than my welding bench (and a bit longer than my woodworking bench: I'm not expecting to use the longer ones until after I've moved house and got a bit more space!). When I made the prototype, I placed the prototype box section bar on a couple of V-blocks on my bench. The V-blocks provided the current path (so I didn't have to mess around attaching the earth clamp to the bar itself) and also held the bar at the ideal angle for welding in the join between the rod and the box section. Sadly, this isn't practical with the long bars on my short bench!
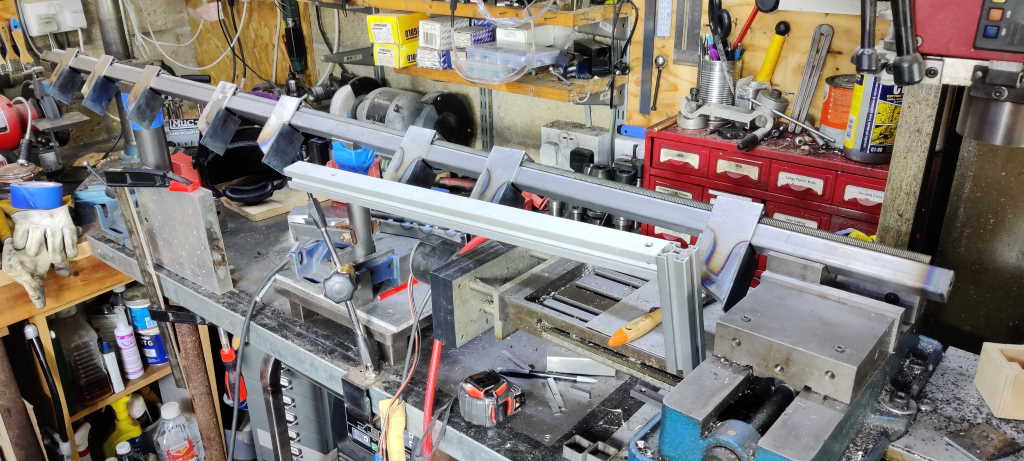 |
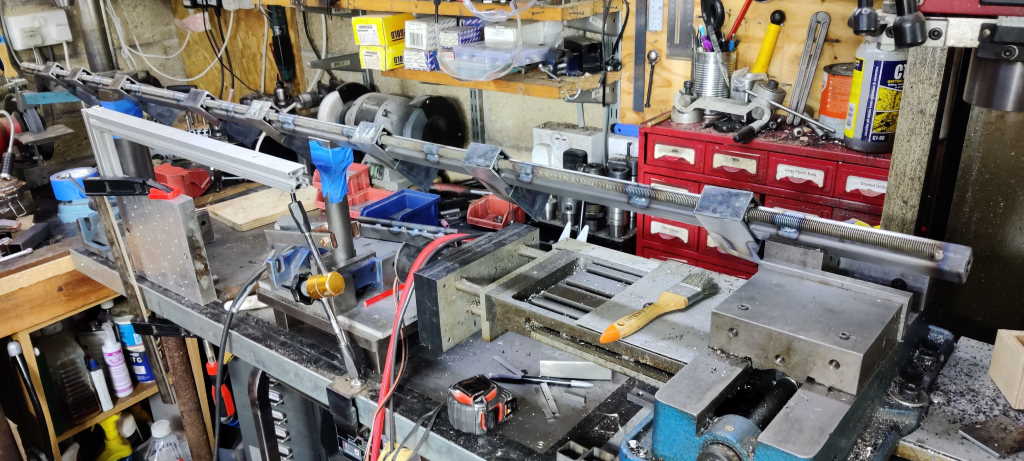
The photo above shows the set-up for the longest bars. There's quite a lot going on in this image (if you're looking at this on my website, you can click on the picture for a bigger image). On the right-hand side, the bar is supported in a V-block held in the milling machine vice. At the far end, there's another V-block sitting on the bench drill's table (which has been adjusted to be at the right height). In between are two further V-blocks, attached to some bits of bar stock with masking tape; each piece of bar stock is held in a vice and one has the return current clamp attached to it. My welding arm support is attached to the bench and supported on the milling machine's table to give me somewhere to rest. Over to the left, a block of aluminium is clamped to the bench so that when I've gone half-way along the bar, I can spin the welding arm support round and rest it on that block to do the next bit of bar.
 |
Although it really isn't important, I decided to try to space the welds relatively consistently along the length of the bars. To help with this, I used a crayon to mark every 150 mm along the bar. That doesn't result in them being evenly spaced relative to the ends, but it's good enough for me. When I made the prototype bar, I tacked both ends of the threaded rod and then did the beads along the sides of the threaded rod. That mostly worked, but the threaded bar ended up bending out of position (probably as a result of the threaded bar expanding with the heat). This time, I tacked one end and then worked my way along the bar (doing both sides of the threaded rod at each position before moving to the next position).
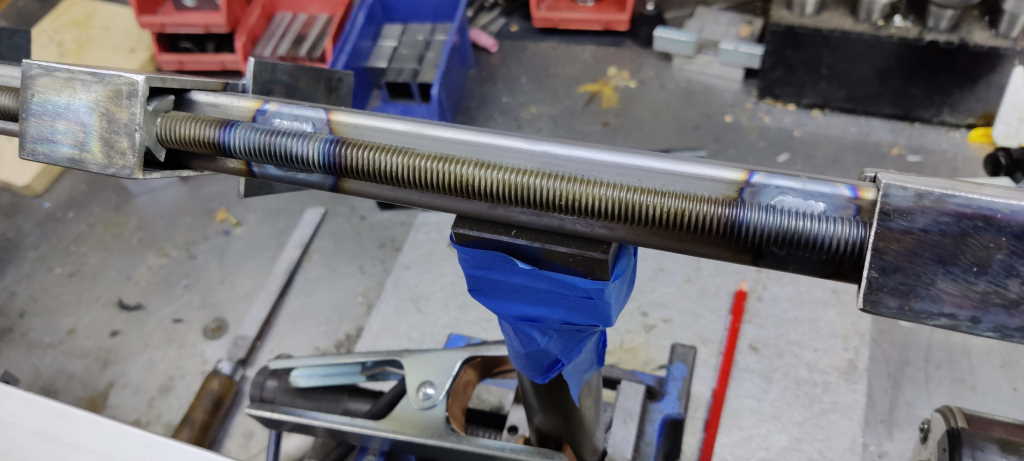 |
This photo shows a close-up of a couple of the welds. You can also see the masking-tape holding the V-block in place.
To try to minimise the chance of corrosion, I did this welding straight after the threaded rod had been in the citric acid bath (to remove zinc). I took a bar out of the acid, gave it a blast with the air line to get rid of most of the moisture and then immediately put it on the jig to weld. I figured the heat from welding would get rid of any remaining moisture. After welding, I put the first bar aside while welding the second one; once the second bar was welded, the first bar had cooled down enough that I could brush some ACF50 onto the threaded rod to protect it from rust.
So far I've only welded the four long bars. I figured these would be most awkward so I'd start with them. They've distorted slightly, which I was expecting but didn't think I could do anything about. As the threaded rod cools, it'll shrink in length and pull the box section in slightly, causing the box section to bend towards the threaded rod. I'm hoping it'll be less severe on the shorter bars and also that it isn't enough to cause any actual problems when using the long ones. Time will tell.
Page Navigation:
| First (#1) | Previous (#20) | Next (#22) | Last (#32) |
This website is free, but costs me money to run. If you'd like to support this site, please consider making a small donation or sending me a message to let me know what you liked or found useful.