Bar Clamps Build Process
9/5/2021
I started today by cutting up all the remaining bits of bar and some short lengths of 25 mm × 25 mm × 2 mm box section that sit inside the sliding jaw.
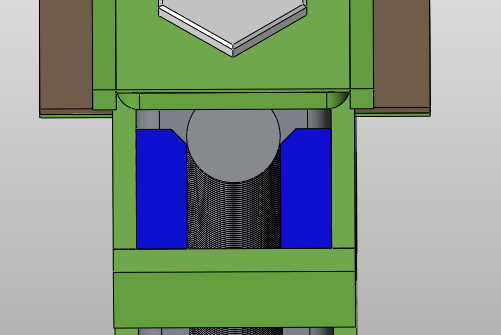 |
The pieces shown in blue in this image are shown as two single pieces, 6 mm × 15 mm × 50 mm. As I'm making everything else out of 3 mm flat bar stock, I'm making each of these out of two pieces, each 3 mm × 15 mm × 50 mm. The chamfer you can see at the top of each part is to give clearance for the weld beads attaching the M12 threaded rod to the box section bar.
 |
On the prototype, I cut this chamfer using a hand file, but given I've got rather a lot of them to do, I decided it would be quicker and easier to use this little chamfering end mill I picked up at the Bristol Model Engineering Exhibition a few years ago. With the home-made X-axis power feed on my milling machine, this dealt with all the chamfers very quickly.
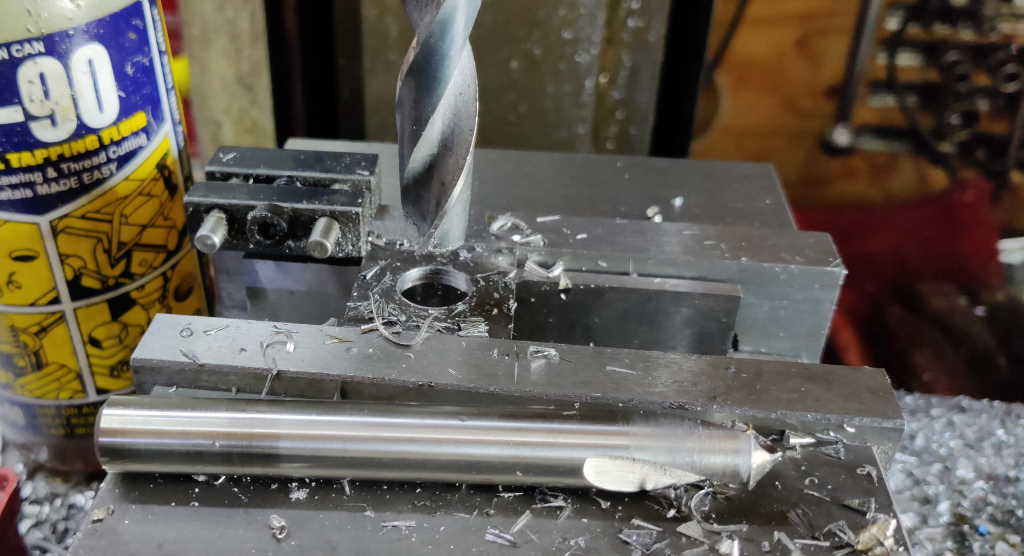 |  | 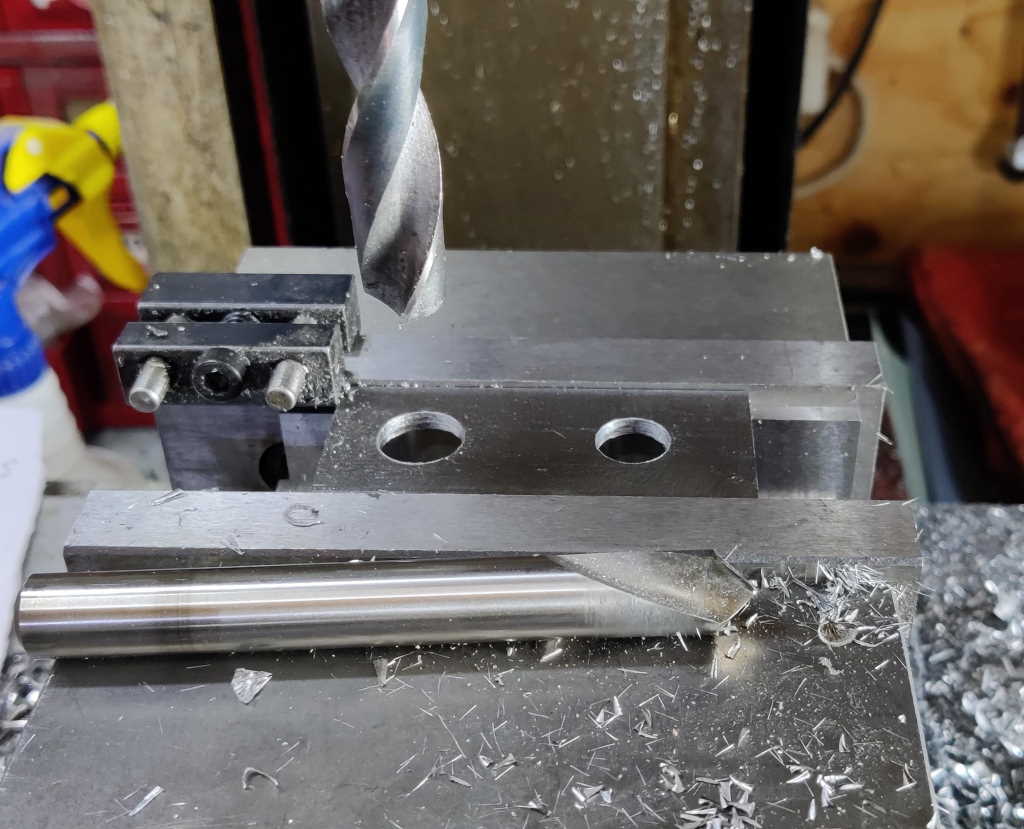 |
While I was on the milling machine, I decided to drill all the holes in the various plates (the first photo is the hole in the end cap, the second is the hole in the rear of the screw jaw through which the threaded rod passes and the third photo is the end plate with one hole to attach it to the bar and one hole for the M16 threaded rod to go through). On the prototype I drilled these holes on the bench drill, but the milling machine is much more capable and the X-Y table combined with the stop (for repeatable positioning of parts in the vice) makes it easy to get the holes in about the right place. None of the hole locations are that critical: they're deliberately oversized (14 mm for 12 mm screws and 18 mm for the M16 threaded rod) to allow for parts moving when welding.
The only thing that made the process a bit more awkward was that the quill return spring on my milling machine snapped part way through the process:
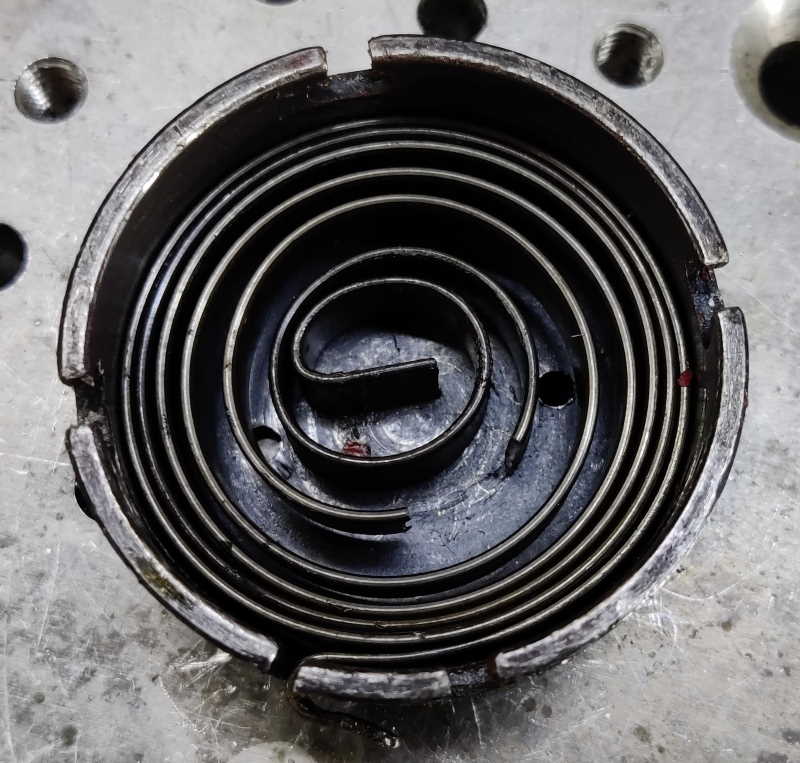 |
Thankfully it didn't stop me from doing the drilling, I just had to return it to the top by hand and then lock the quill up after each operation. Spare springs seem to be readily available and not too expensive, so that's a relief!
Page Navigation:
| First (#1) | Previous (#11) | Next (#13) | Last (#32) |
This website is free, but costs me money to run. If you'd like to support this site, please consider making a small donation or sending me a message to let me know what you liked or found useful.