Leadscrew Handwheel
 |  |
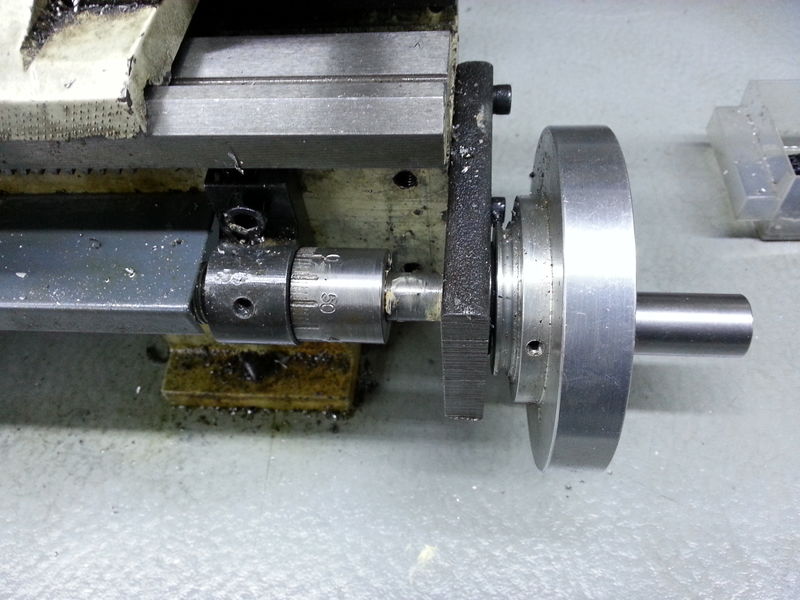
After the cam-lock tailstock, this is probably the most important modification to make to the mini-lathe. Without a handwheel on the leadscrew, it's very difficult to accurately control the position of the carriage. For some situations, you can work round this by aligning the top-slide with the axis, but the leadscrew handwheel is much more versatile. Also, before I had a leadscrew handwheel, I relied on the fine feed power feed for a good finish. With the handwheel, I can generally get a very good finish by hand and I only engage the power feed when I need an extremely smooth result or I'm reducing the diameter by a lot.
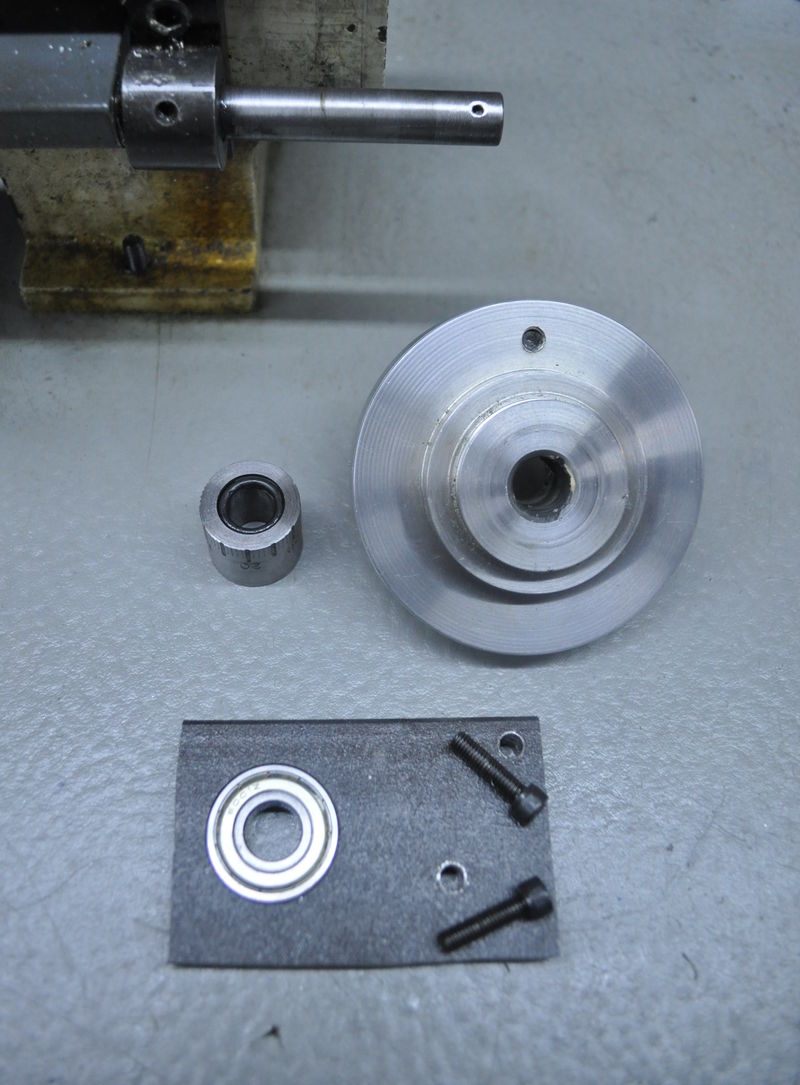
Like a great many of my projects, this one is a simplification of the one that is explained in detail on Mike's Workshop. My original plan was to copy the engagement/disengagement mechanism, but I found that it would occasionally slip (resulting in significant errors), so I locked the extension into the leadscrew with a cross-drilled hole and a roll-pin.
I didn't have a milling machine when I made this, so rather than try to make an accurate pillar block, I used a 10 mm plate mounted on the end of the bed. After mounting in the four-jaw chuck, I bored the plate out to accept a bearing. I could then mount the plate on the extension and use some transfer punches to ensure it was mounted in the right place.
This website is free, but costs me money to run. If you'd like to support this site, please consider making a small donation or sending me a message to let me know what you liked or found useful.