Bar Clamps Build Process
7/5/2021
The next job was to cut all the flat bar pieces to length (about 400 pieces in total as a result of making so many clamps in one go!). To help me keep track of things, I made a cutting list describing the size of each component (grouped by size of the bar from which they will be cut) along with the number of pieces required per clamp. If anyone feels inclined to make any of these clamps, let me know and I'm happy to send a copy of the cutting list with all the dimensions.
 | 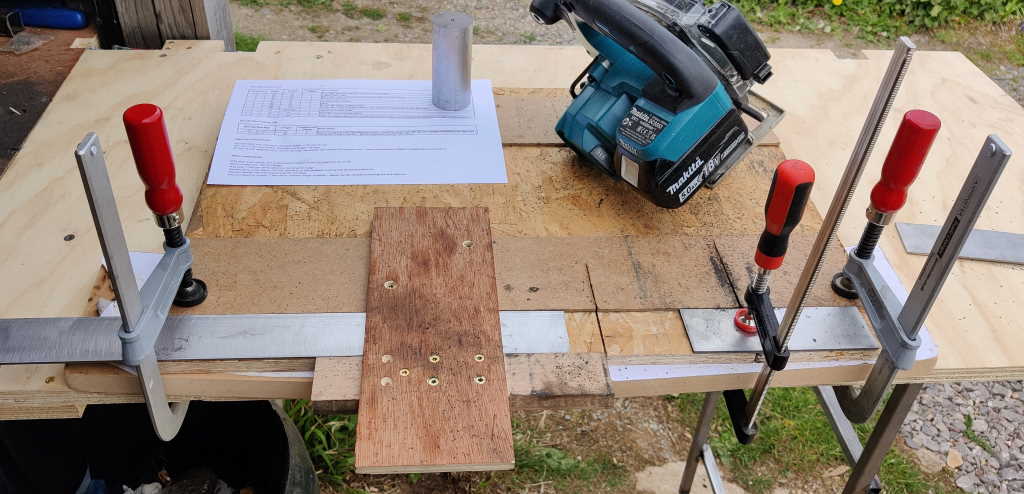 |
Most of these cuts were done with the jig shown in the second photo above. This was made out of an old bit of OSB (oriented strand board), a bit of hardboard (which, at 3.2 mm thick is very slightly thicker than the 3 mm flat bar) and a couple of fence jigs (shown in the first photo) that I'd previously made for cutting steel square with my metal-cutting circular saw (which is a lot nicer to use than an angle grinder, although an angle grinder would work fine - Neil Paskin used an angle grinder in his video). The right-hand end (in the photo) of the hardwood guide bar on both of these jigs was cut with the circular saw, so that end can be quickly lined up with a marked cut line; the saw runs along the plywood edge to make sure it cuts at 90°. However, for this jig that reference edge on the hardwood guide bar isn't used (although the guide bar itself helps keep the metal bar in place). I fixed the jig to the bottom plate with a couple of screws and used the saw to make a cut into the OSB and hardwood. I then measured from the far side of the kerf when placing stops for repeatable cuts.
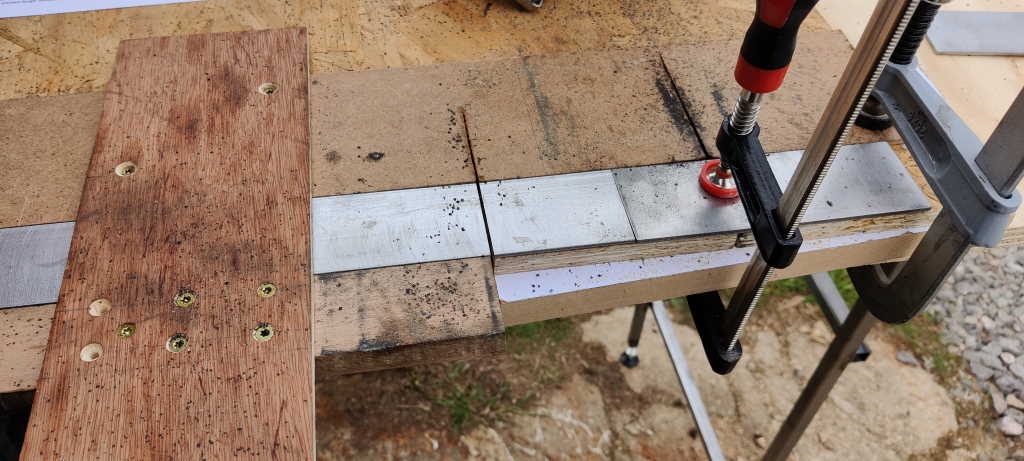 |
In use, a piece of steel is slid underneath the saw alignment jig up to one of the lines and then the saw is used (against the fence) to cut the part to length. None of the dimensions are especially critical in this project, but I clamped a bit of spare material at the end so that the flat bar could be slid up to a fixed stop for repeated cuts of the same length: this sped up the process considerably.
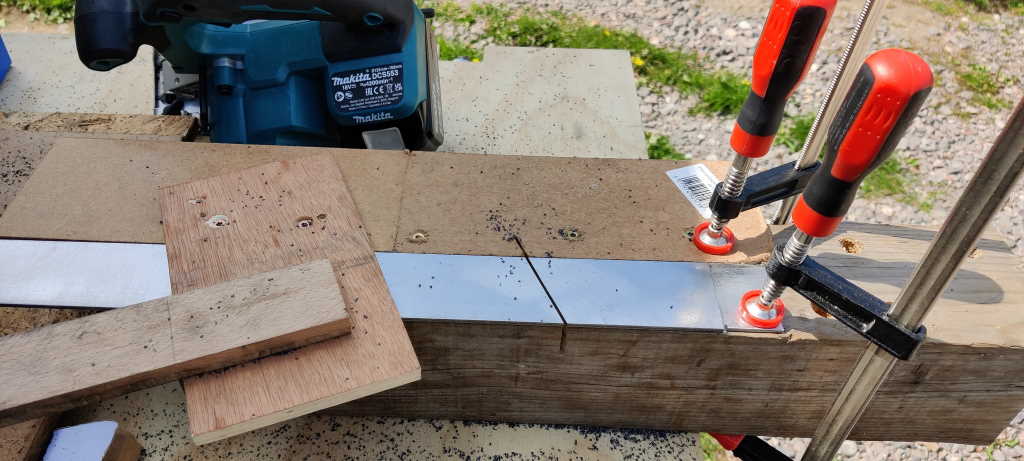 |
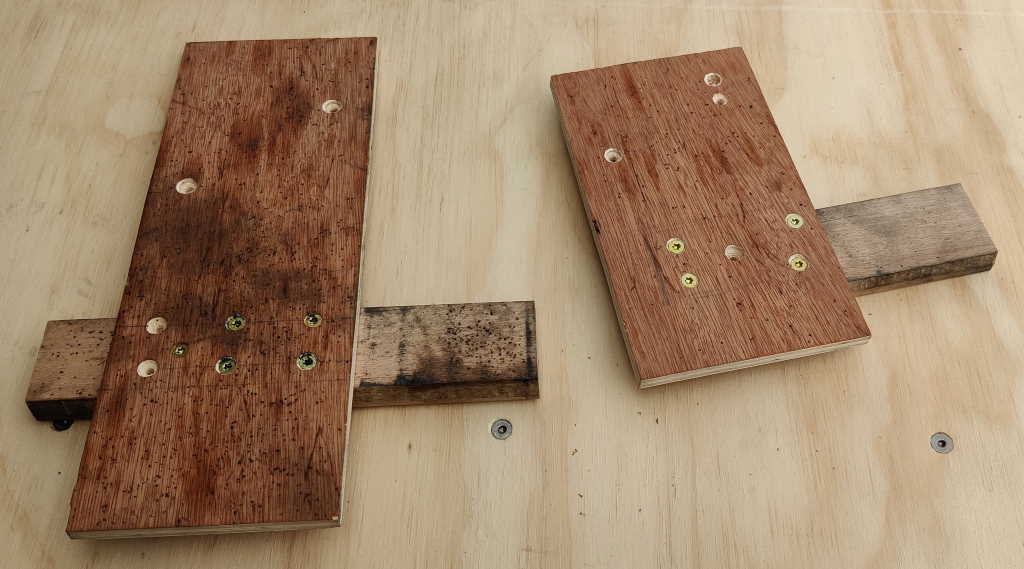
The side pieces are a little more complicated in that they have an angled face. These were cut with two jigs: the one described at the top of this post and the one in this photo. The one shown in this photo makes an angled cut at the right distance from the (already square) end of the bar. The remaining piece is then inserted into the first jig (against a stop) and cut off square to make a second angled piece.
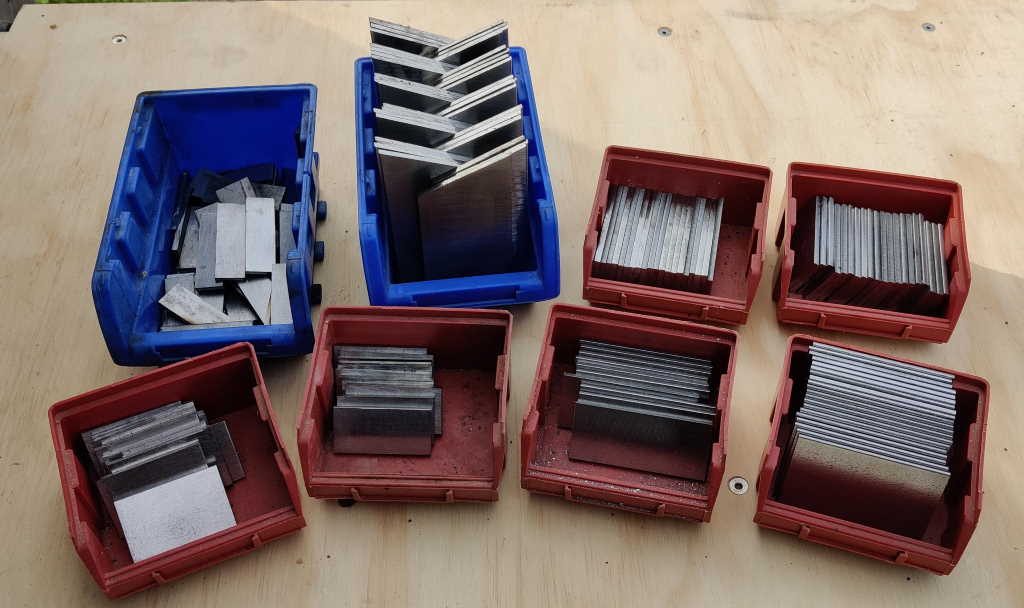 |
This photo shows all of the parts that were cut up in this way. There are still about 30 more to pieces to cut: I was convinced I'd put all the bits of steel through the citric bath to remove the mill scale, but apparently I missed one. Ah well...
Page Navigation:
| First (#1) | Previous (#8) | Next (#10) | Last (#32) |
This website is free, but costs me money to run. If you'd like to support this site, please consider making a small donation or sending me a message to let me know what you liked or found useful.