Flywheel Fly Cutter
 |  |
I use fly-cutters a lot on the mill. They're easy to resharpen (compared to an end-mill) and, in combination with a powered X-axis feed, produce a lovely finish on the top surface of a part. The best finish can be achieved if the following criteria are met:
- The mill is trammed as close to perfectly as possible (to avoid cutting a curve into the surface of the part).
- The fly cutter sweeps an arc large enough to cover the entire surface of the part.
- The cut depth and feed rate are such that the cutter maintains its speed across the part (rather than slowing down due to the effort of cutting the metal).
- The geometry of the cutter is correct (I grind them such that they're the same as a left-hand lathe turning tool).
Items 1 & 4 in the list above are independent of the fly-cutter. In principle, so is item 3, but if the fly-cutter has sufficient diameter and mass, it acts as a fly wheel and smooths out the speed fluctuations that would naturally occur as a result of cutting. Increasing the diameter in order to get the fly wheel effect also helps with item 2.
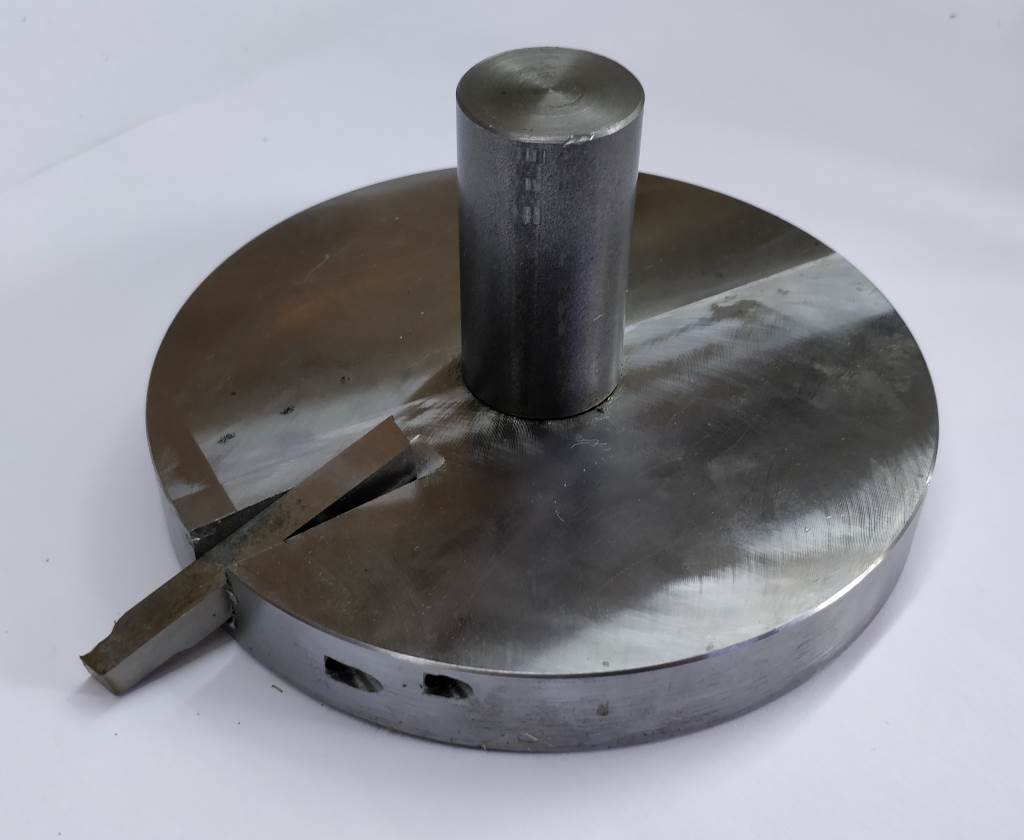
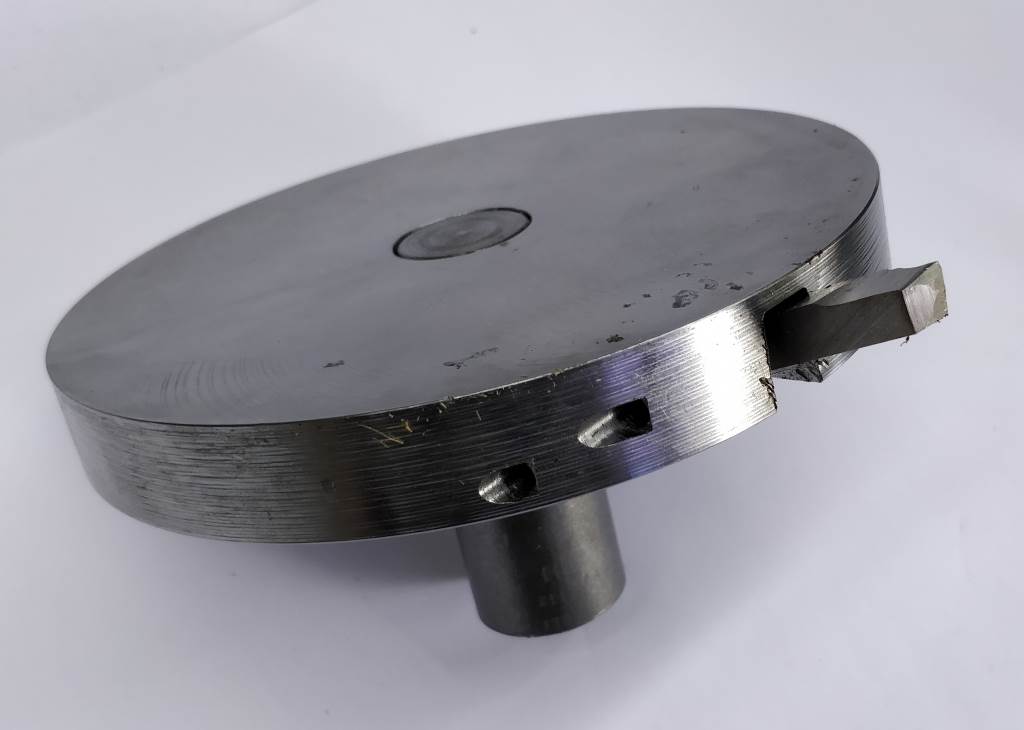
The design of this fly-cutter is relatively simple. The shaft is 30 mm diameter (chosen to be the maximum size that would fit in my ER40 collet chuck). The end that fits into the body of the fly-cutter is turned down to 25 mm. The body of the fly-cutter is 144 mm diameter and 20 mm thick. It is bored in the centre for the 25 mm end of the shaft (which is a tight press-fit). It has a 10 mm slot cut at an angle of 20° for the cutting tool, which is held in place with grub screws. With the cutting tool in the position shown in the photos, it cuts on a diameter of 190 mm, easily able to cut over the entire face of anything I'm likely to put on the bench-top milling machine.
So far, so simple. However, the body of the fly-cutter is too large to realistically be turned on the mini-lathe, so manufacturing this tool was far from straightforward. The approach I took was as follows.
The shaft was a relatively simple turning exercise on the mini-lathe, so I won't go into details about that. The body was made from some roughly cut steel bar stock of about 150 mm diameter, 22 mm thick. This was mounted directly on the bed of the milling machine with a few clamps and it was then machined over the entirety of its top surface (moving the clamps one at a time to allow access to the whole surface). It was then turned over and the process repeated on the other side. This gave two sides parallel to one another. It was then raised up on two parallels (lying on their side to give a wide but shallow cross-section). A dial-indicator was used to centre the spindle of the milling machine over the part (this was only approximate as the outside diameter was probably not true to the two parallel faces). The centre hole was then drilled and bored out until it felt like it would be possible to press the shaft into the body.
The shaft was then pressed into the body. Ideally this would have been done with an arbor press, but I don't have one. My normal fall-back is to use a bench vice, but the diameter of the body meant that this was also impossible. I therefore had to resort to holding the shaft very carefully square and then hitting it very carefully with a hammer. To help this along I had made a very short section of the end of the shaft slightly narrower to keep things better aligned.
At this point I had a body with a shaft, but the outer diameter (and to a lesser extent the faces) were not true to the axis of rotation and hence it was likely to wobble all over the place. I mounted the fly-cutter in a collet in the milling machine spindle. I then fitted a lathe tool in the vice on the milling machine table and (taking very light cuts), machined the outer diameter true and skimmed the face.
The rest of the manufacturing process was relatively simple as I could use the shaft or the body to hold the part in the vice at various angles and cut the slot and the grub screw holes.
The fly wheel fly-cutter can cut over the entire width of the milling machine's table in one long arc and produces a very good finish on the top of the part it's cutting, even when taking a relatively deep cut. Like all fly-cutters, it does a very good job of sending swarf everywhere!
This website is free, but costs me money to run. If you'd like to support this site, please consider making a small donation or sending me a message to let me know what you liked or found useful.