Kumiko Box Build Process
20/8/2022
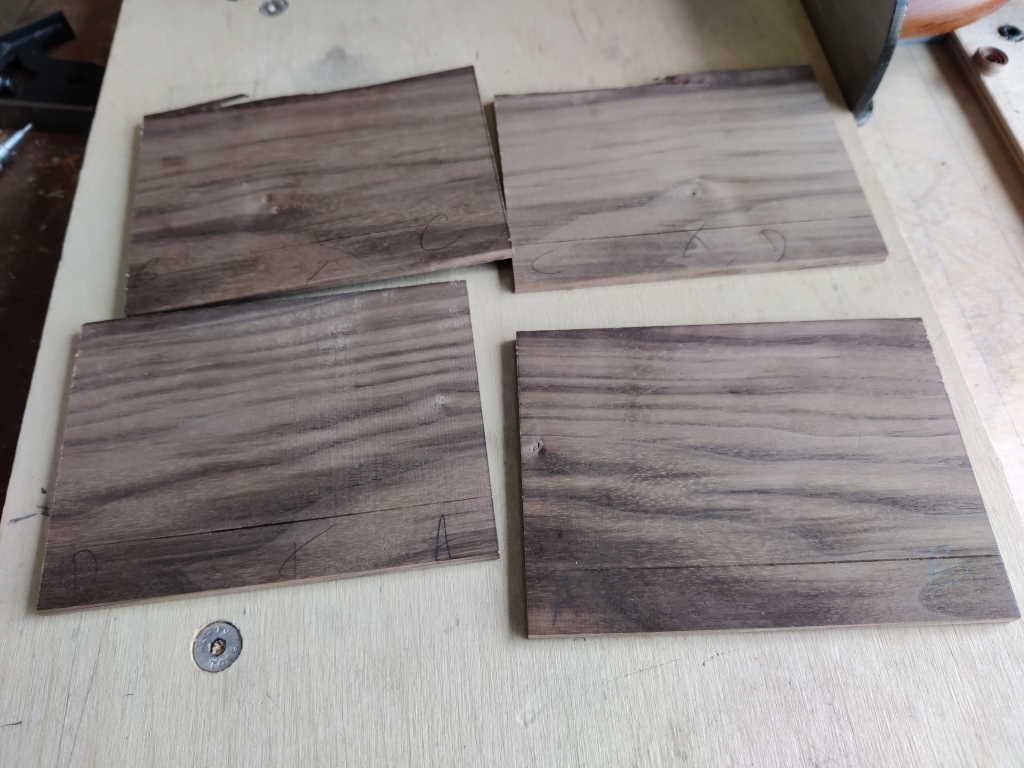
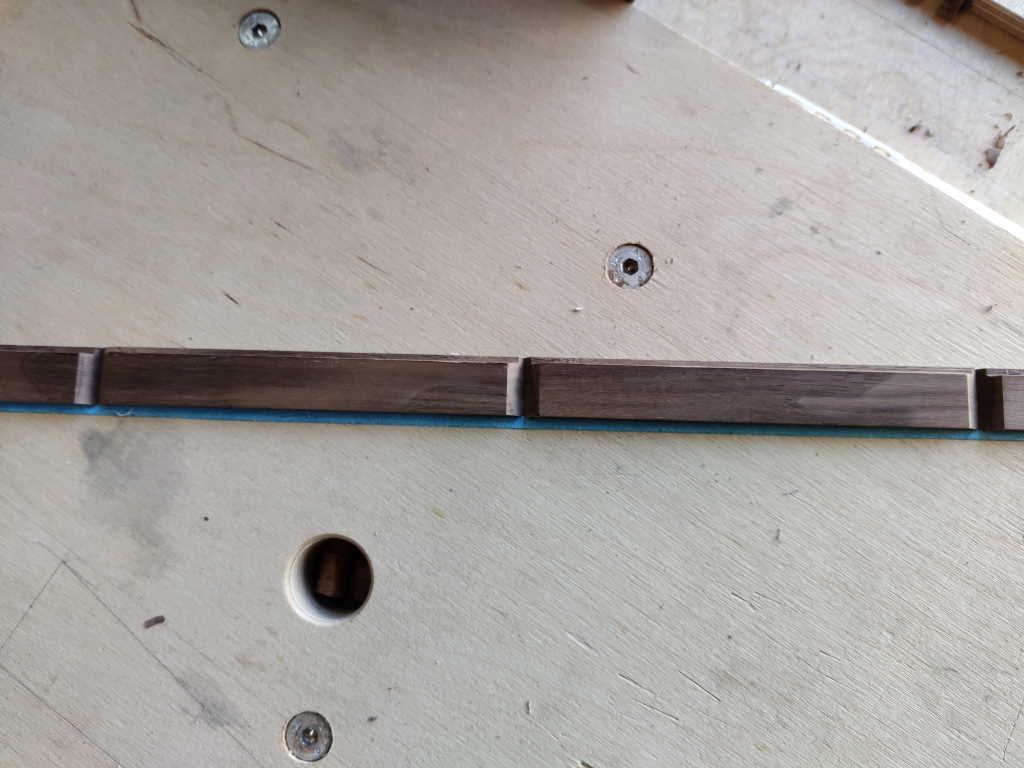
The next job was to get started on the box lid. Do you remember the offcuts from when I made the lining? I used the marking gauge again to make a line across them all:
 |
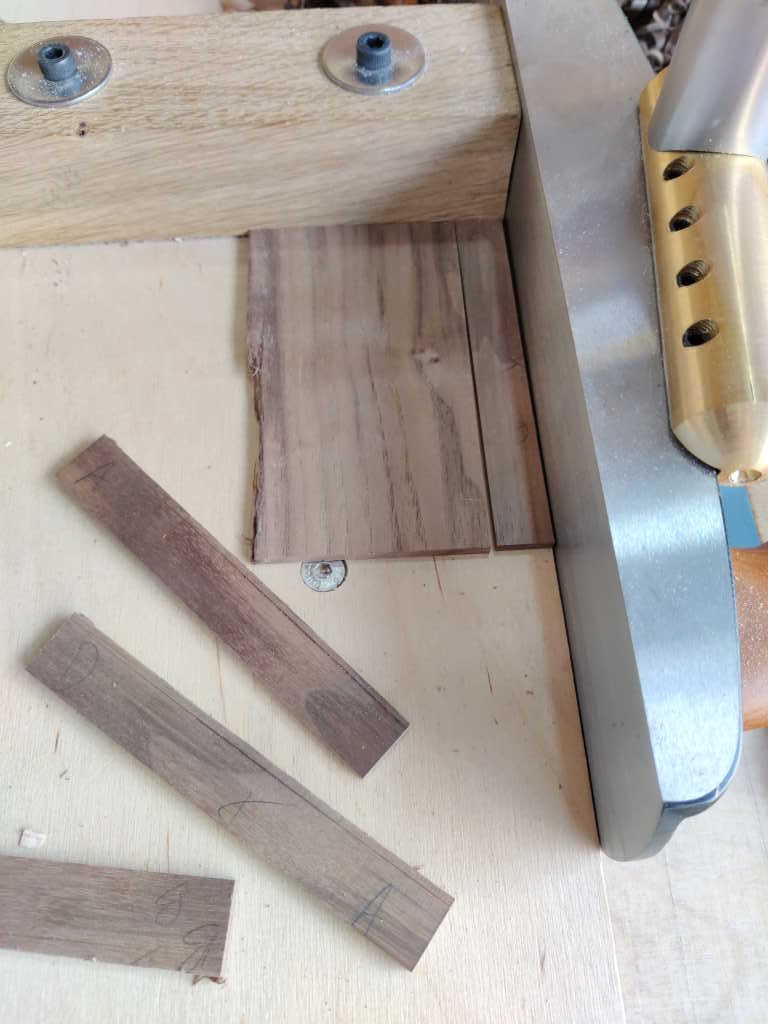
I could then cut them roughly to shape and use the shooting board to bring the two long edges parallel (using a piece that had previously been squared to give a longer edge reference):
 |
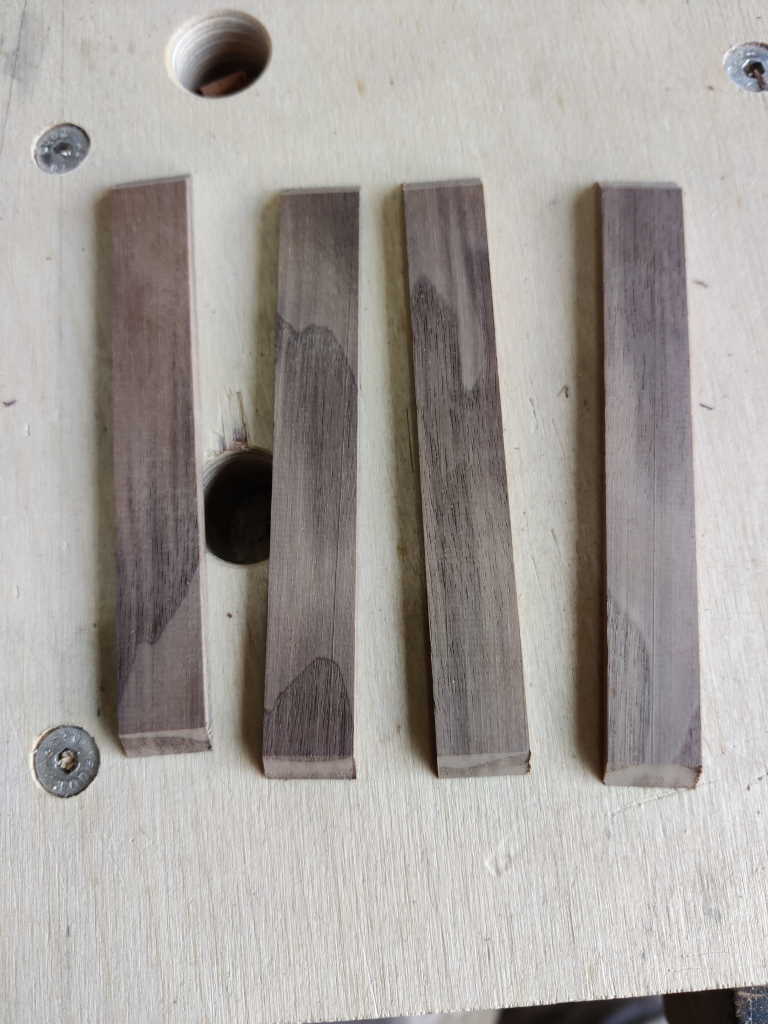
The pieces could then be mitred to length to be a loose fit in the top of the box:
 |
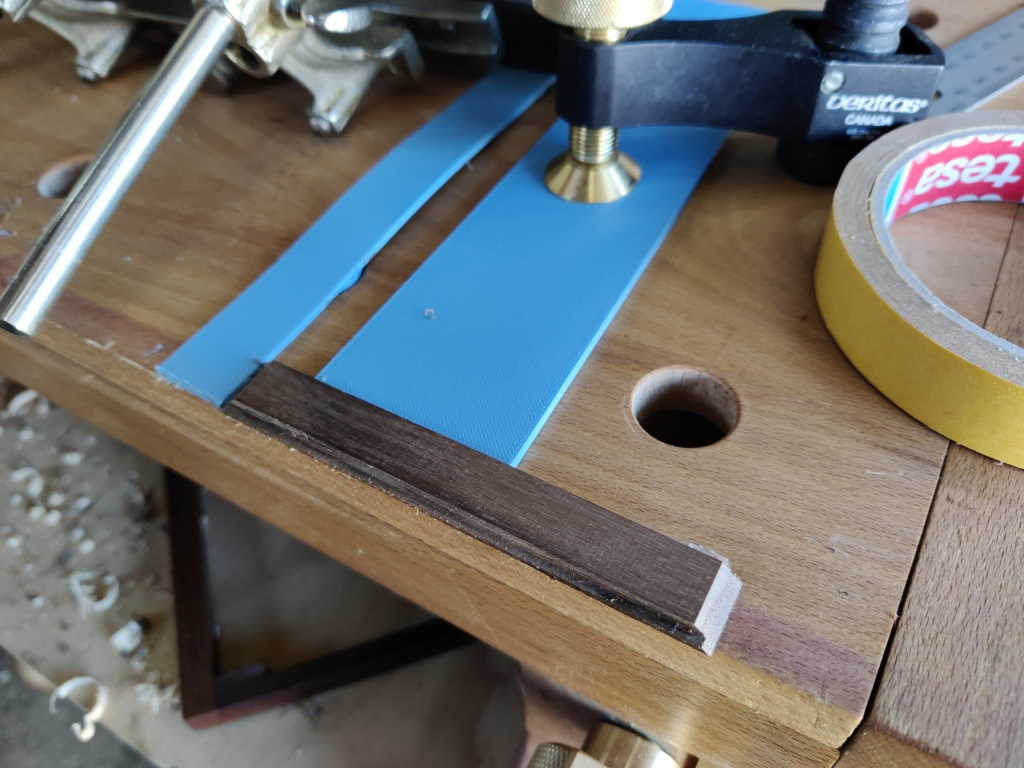
Again I found myself trying to solve the problem of holding small pieces in order to use the Stanley #45. In this case, I resorted to a couple of stops and some double-sided tape to hold the pieces down while I cut the rebate.
 |
It was a bit of a pain to remove the double-sided tape, but I got there in the end and all the pieces got rebated:
 |
I stuck all four pieces down to some masking tape and then put glue on the mitres and folded them up:
 |
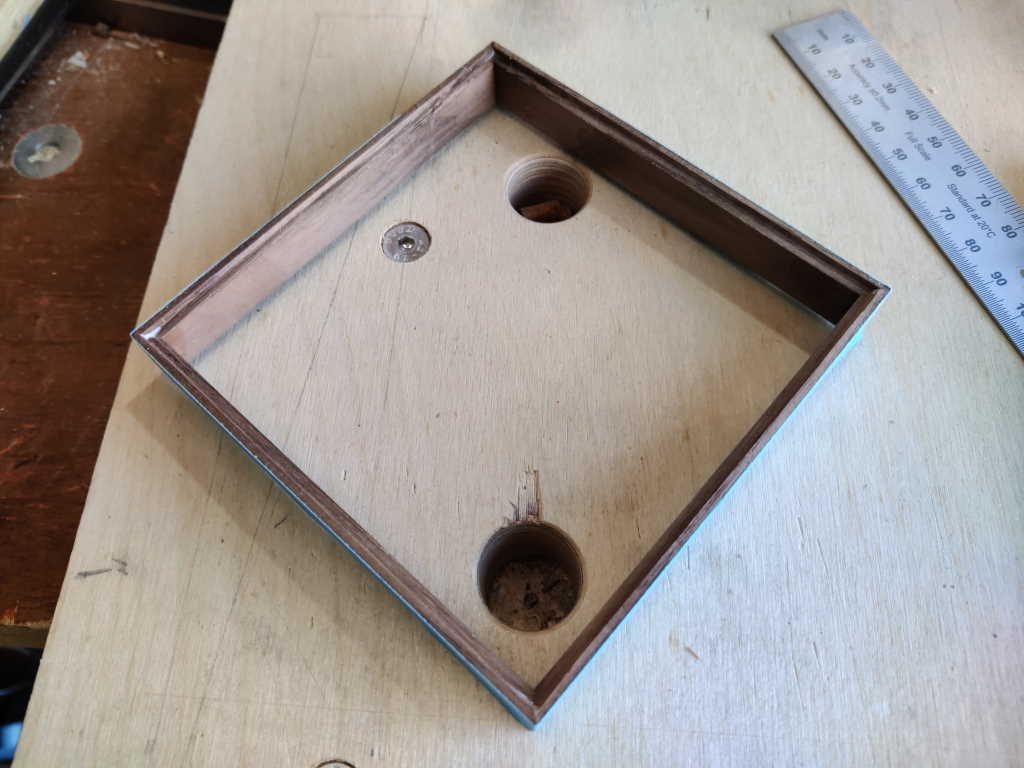 |
I then got the 2 mm thick bit of walnut and cut/shot it to be a reasonably good fit in the rebate.
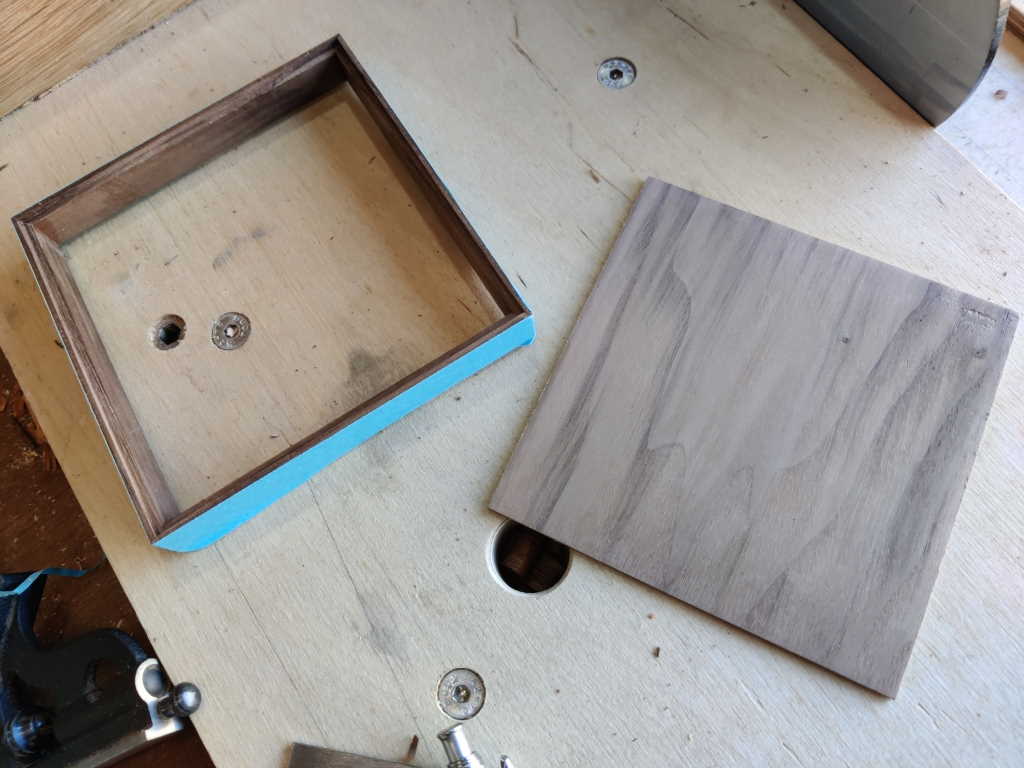 |
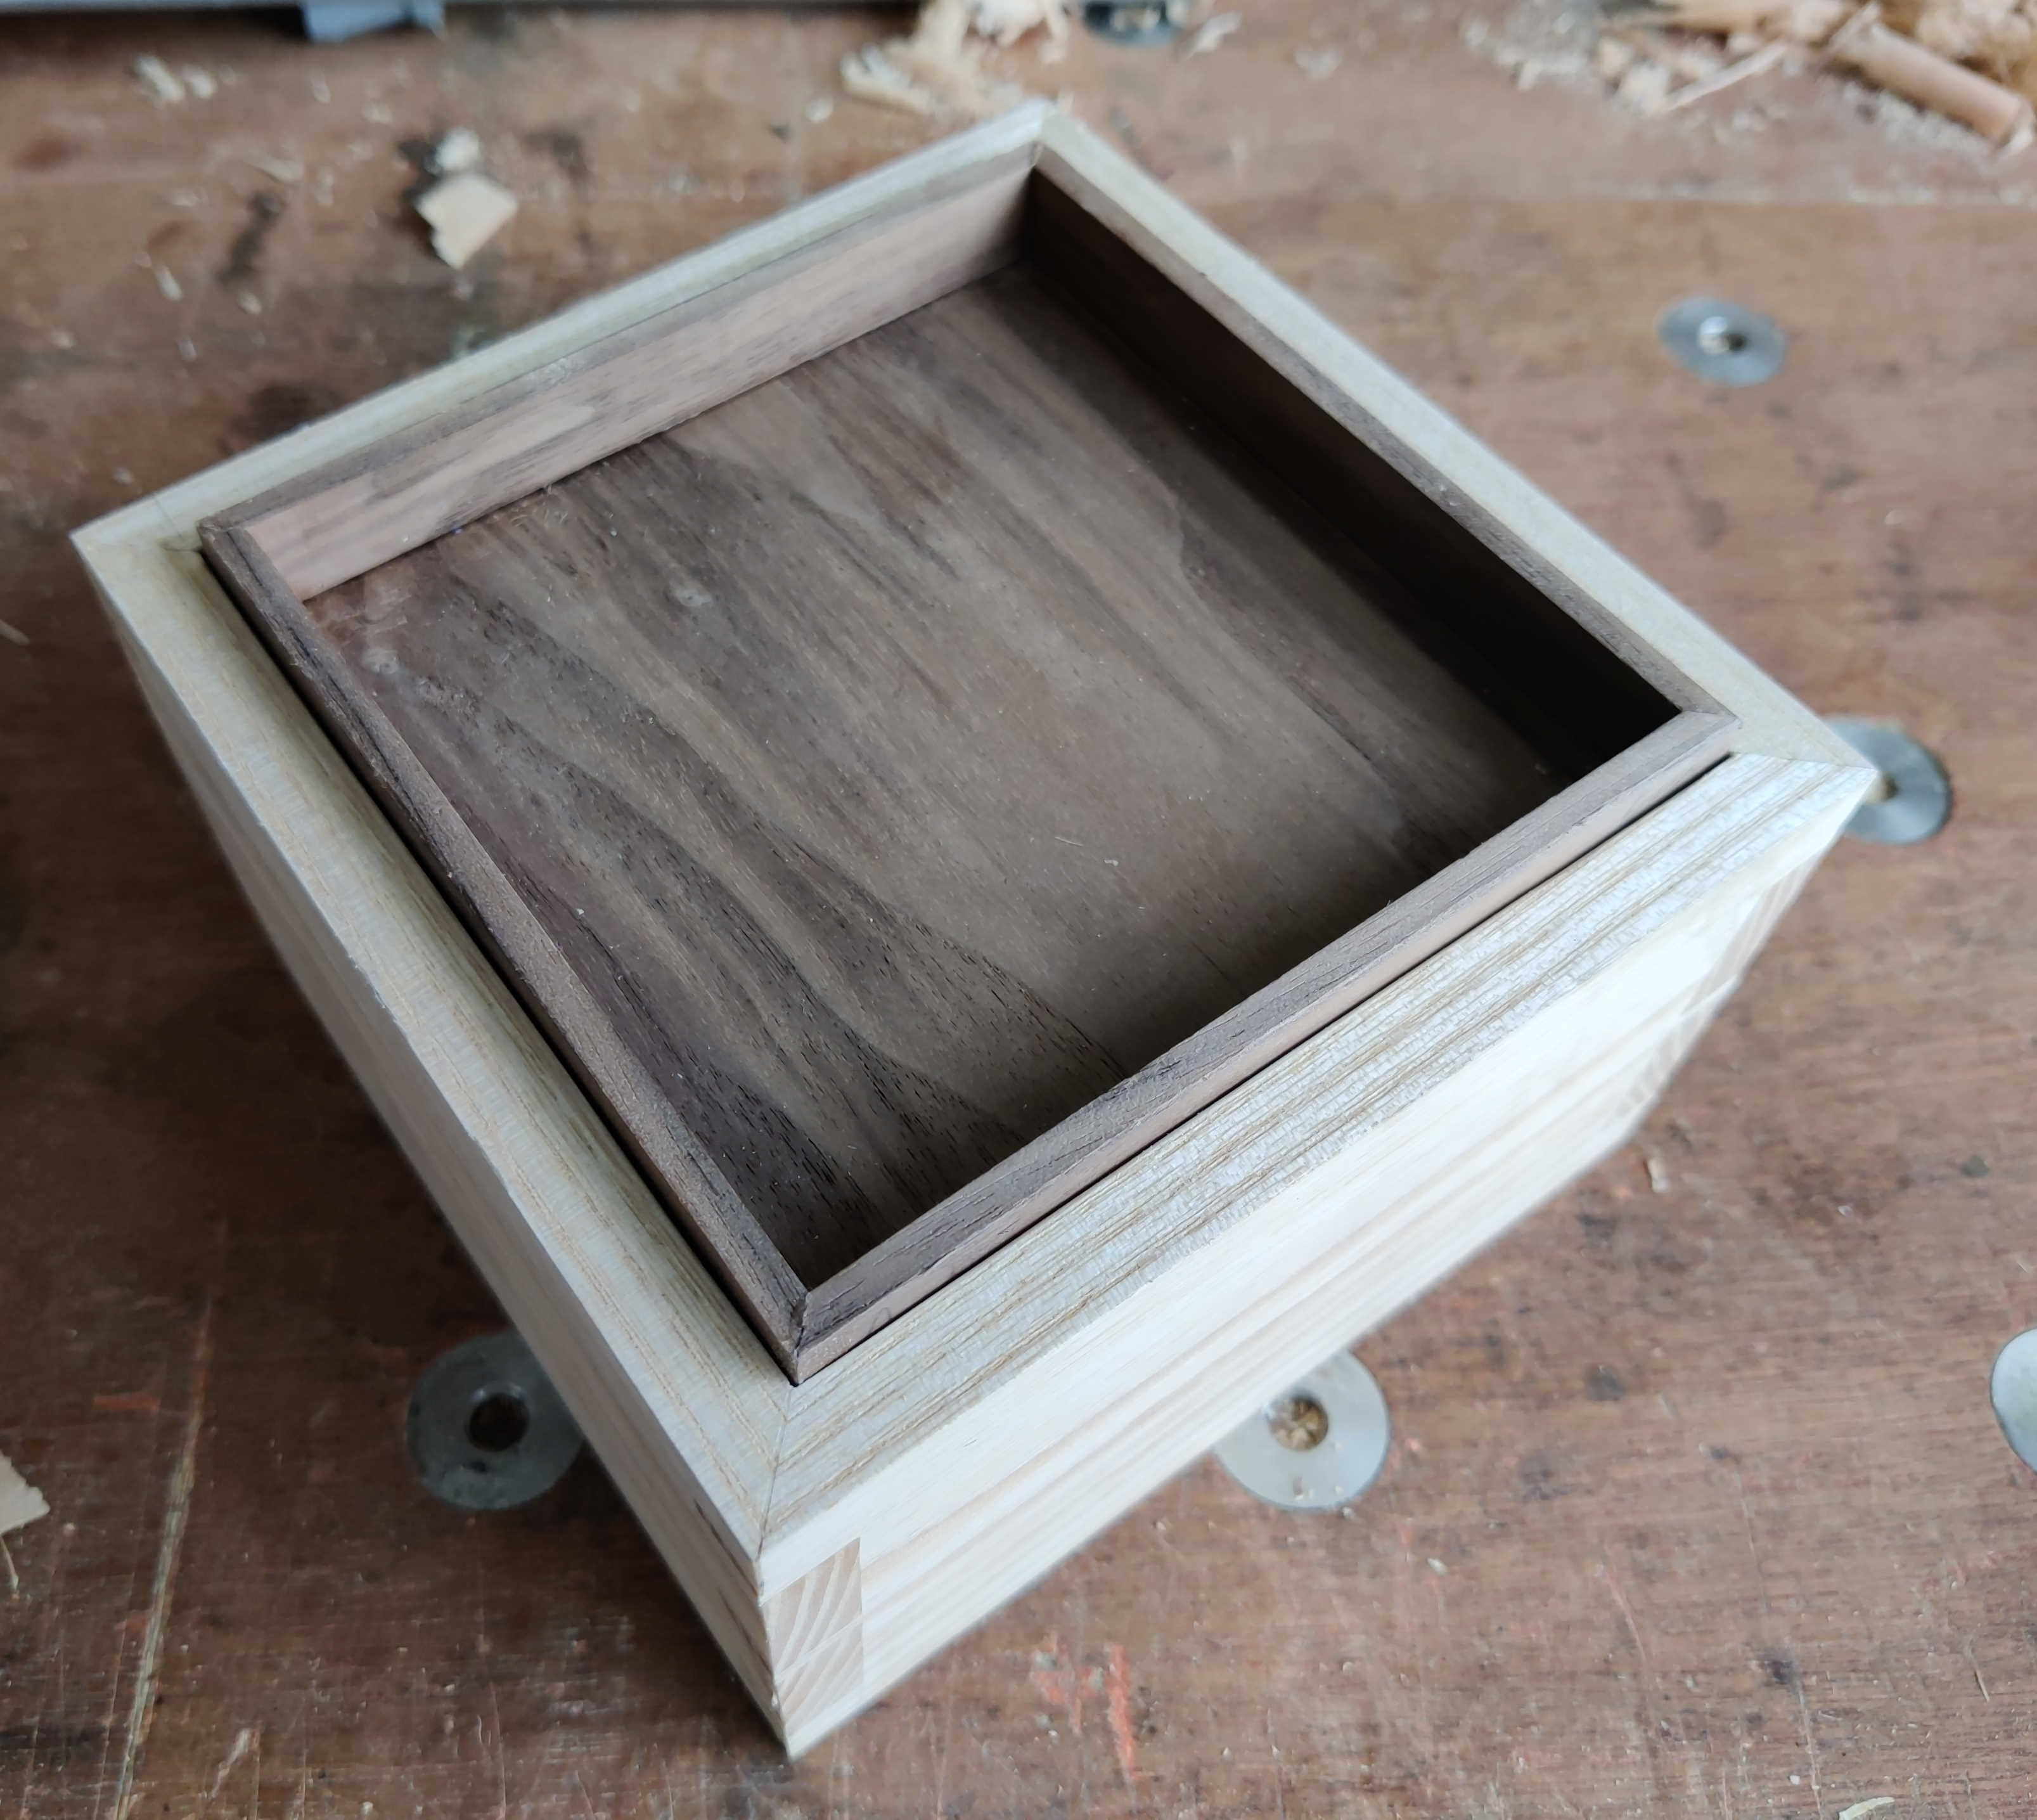
I could then glue it in place. I'm hoping that the relatively small size of the lid (about 106 mm square) and the fact that the base is so thin will mean I won't have problems with wood movement, but we shall see.
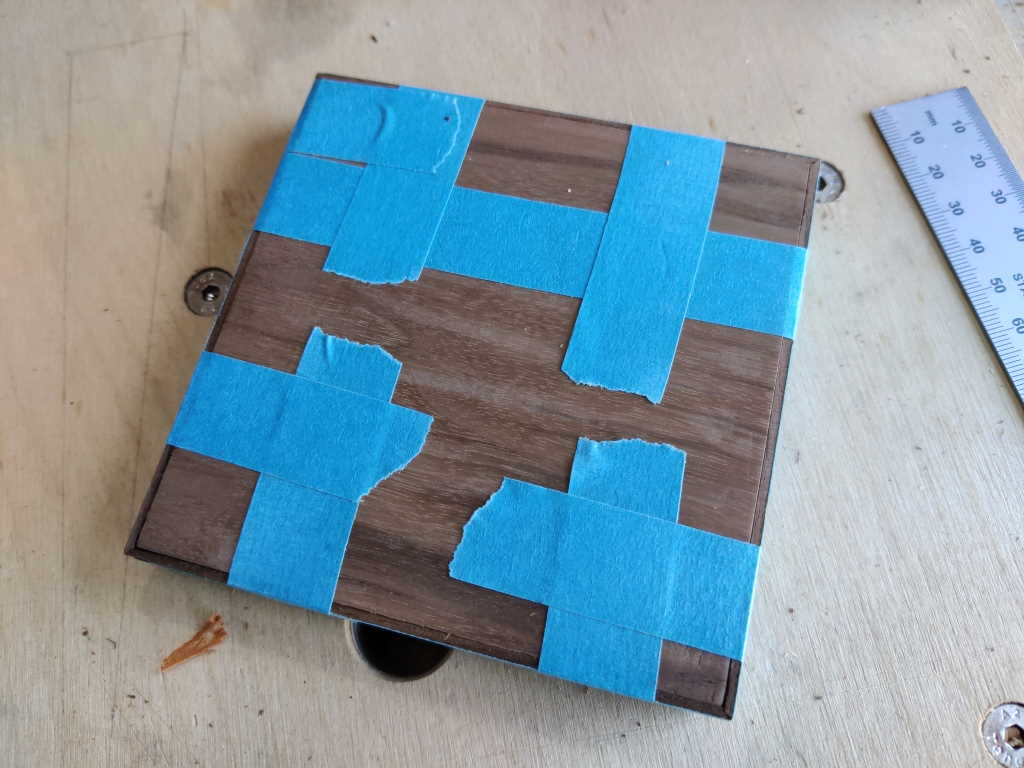 |
Once the masking tape was removed and the bottom surface cleaned up a bit, I could test fit it in the box:
 |
Page Navigation:
| First (#1) | Previous (#8) | Next (#10) | Last (#15) |
This website is free, but costs me money to run. If you'd like to support this site, please consider making a small donation or sending me a message to let me know what you liked or found useful.