Kumiko Box Build Process
20/8/2022
After a stop for lunch, I took the clamps off:
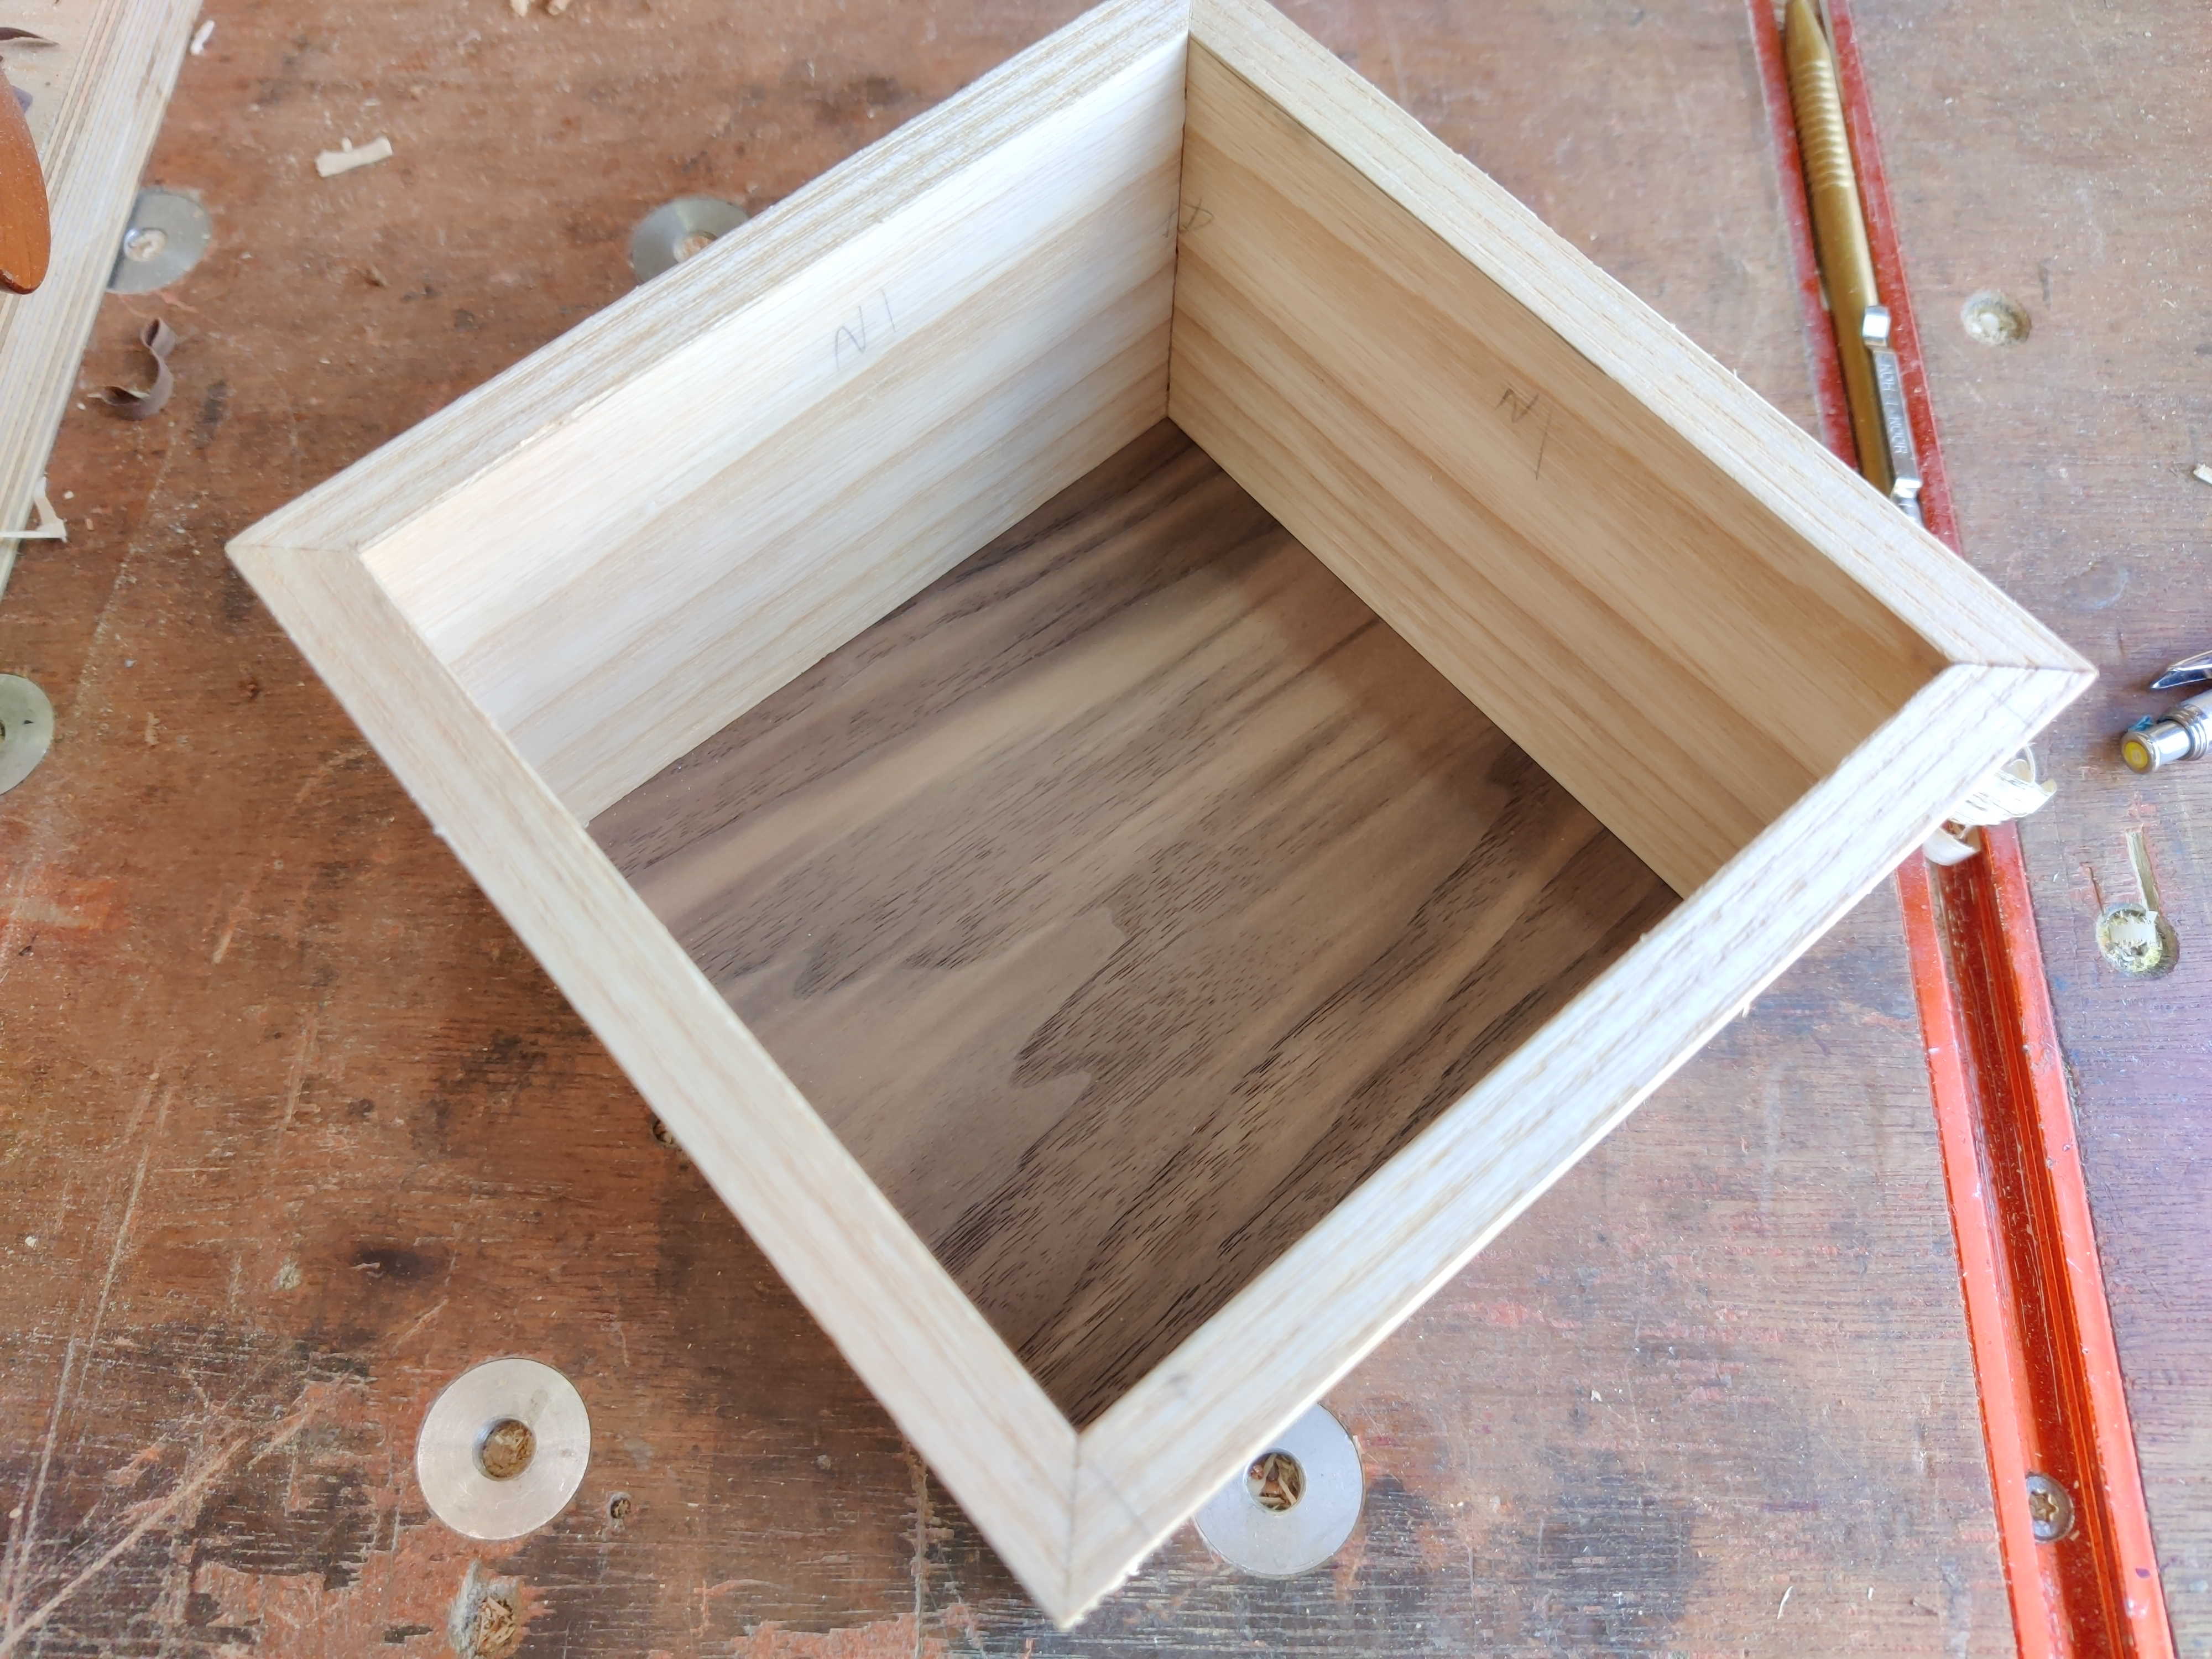 |
Another view:
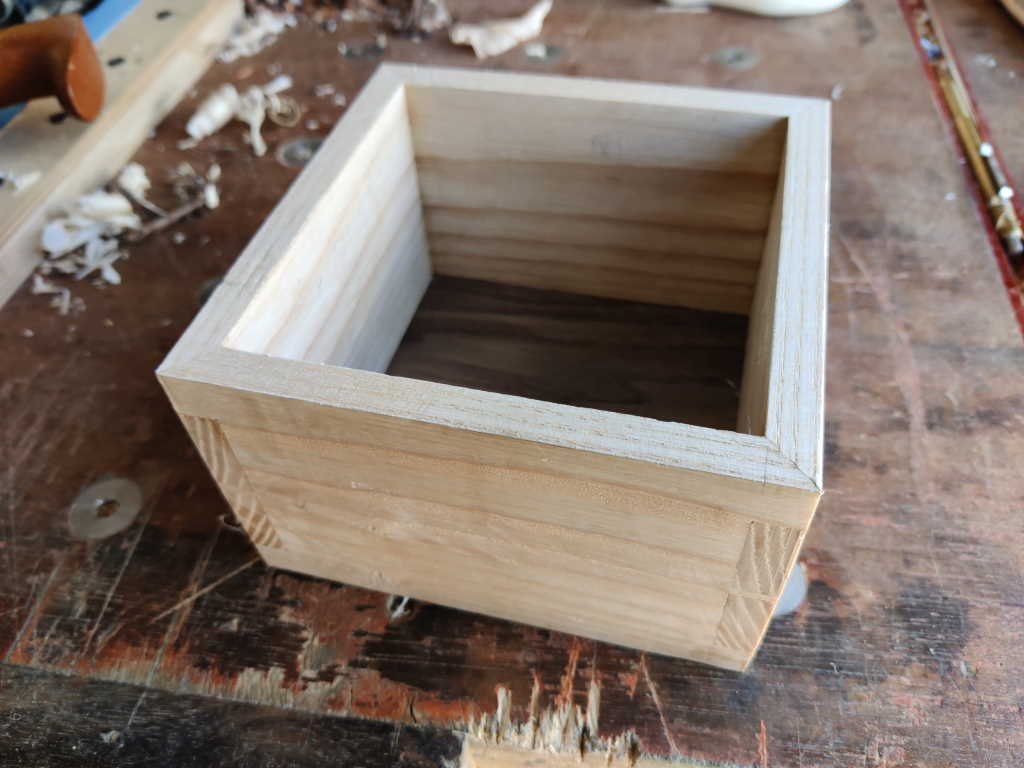 |
This is the joint with the dodgy mitre: it's not perfect, but it's a lot better than it was:
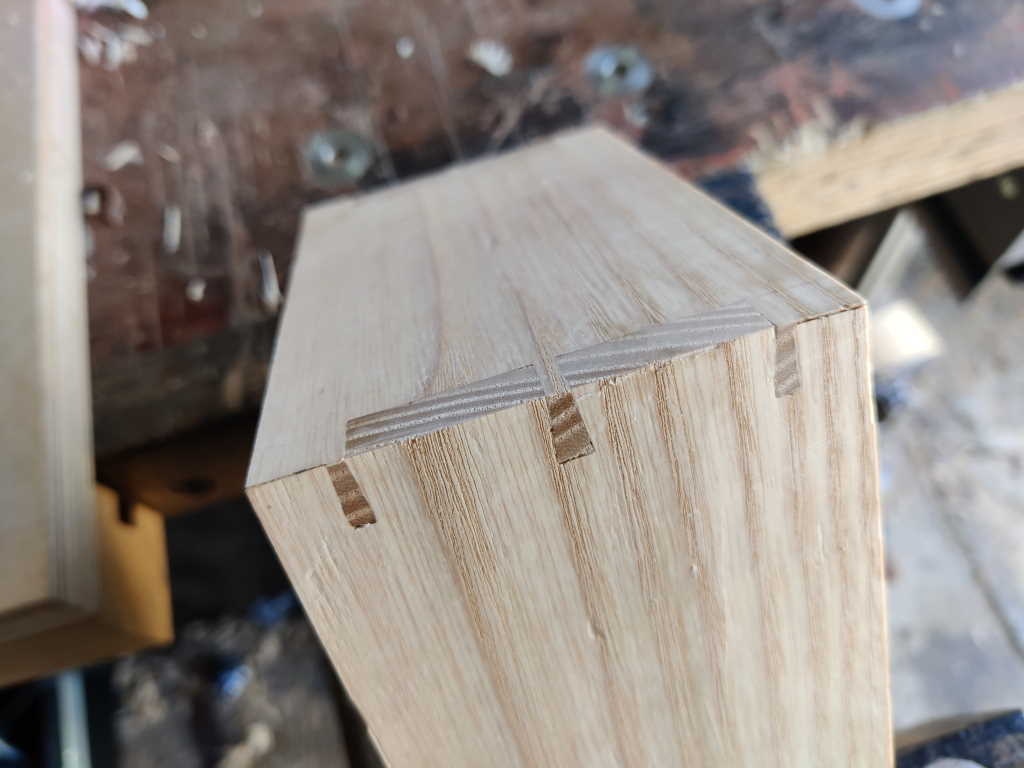 |
Going back to the 4 mm walnut pieces, as they were resawn from the same piece of walnut, they could be positioned such that they formed a nice bookmatched pattern:
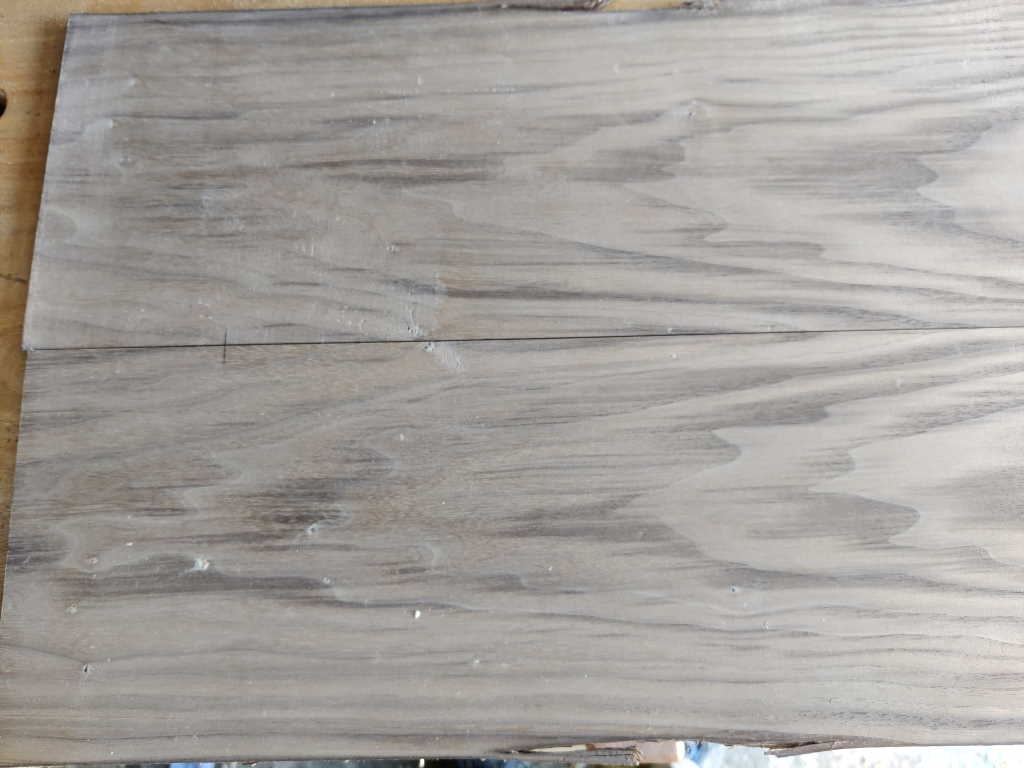 |
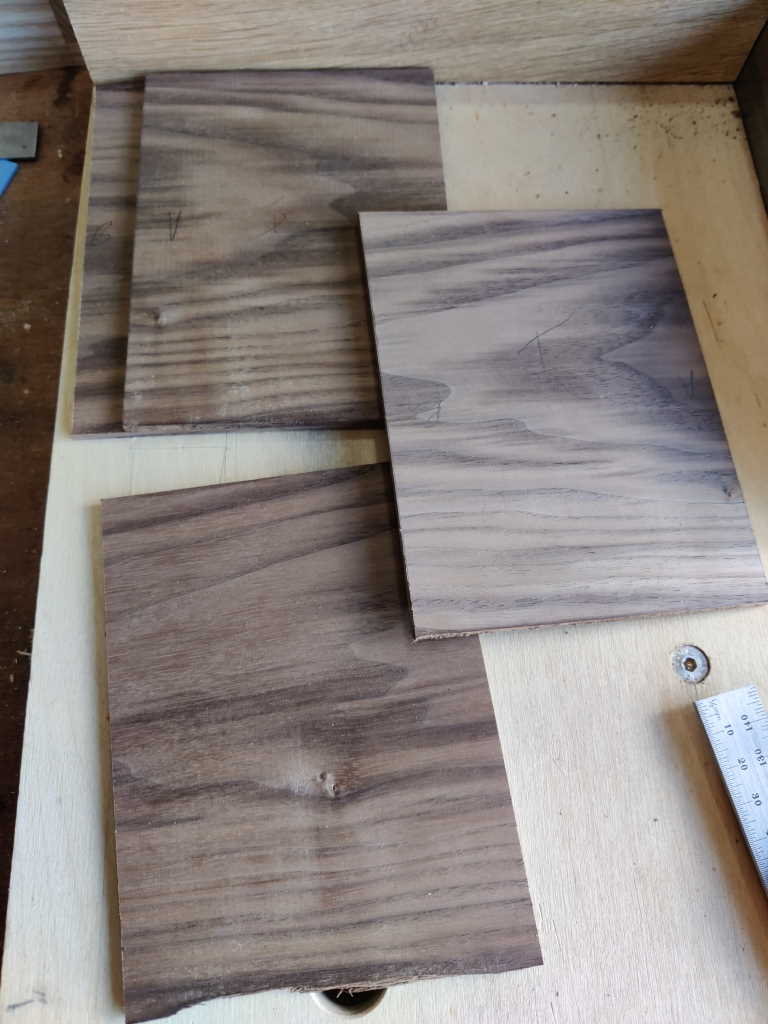
By using both of the bookmatched pieces, I can maintain the pattern all the way around the inside face of the lining (or at least that's the theory). I used the same method as before to chop the walnut bits into pieces and squared them up on the shooting board:
 |
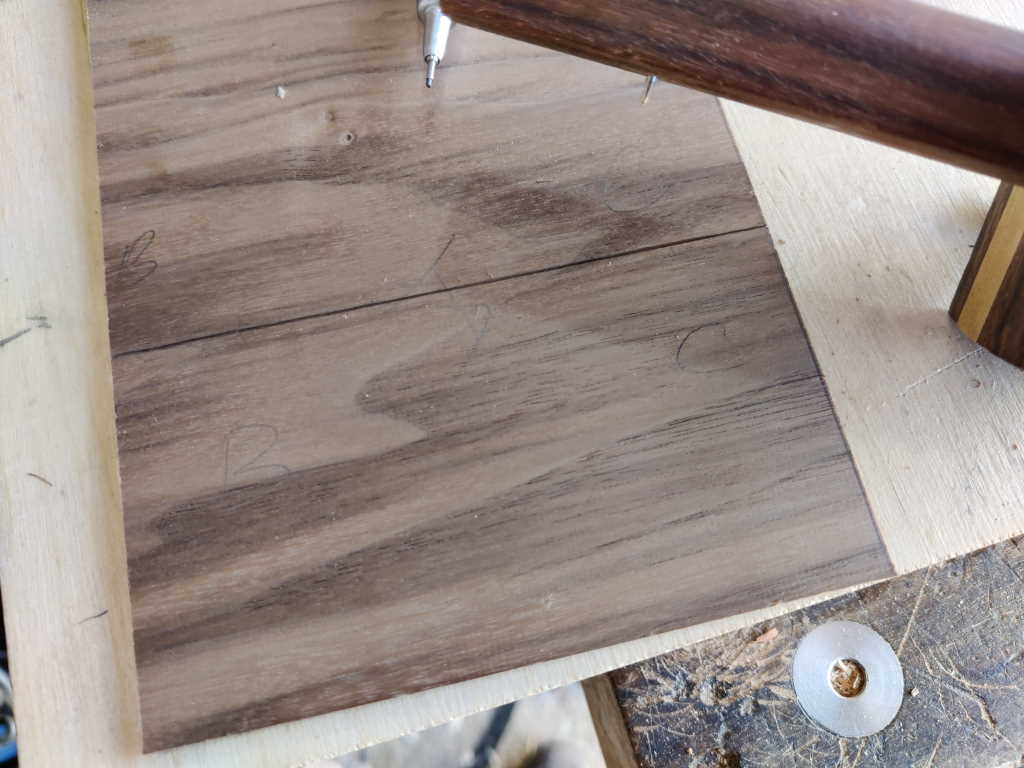
I then used a marking gauge to mark the height I wanted the lining to be.
 |
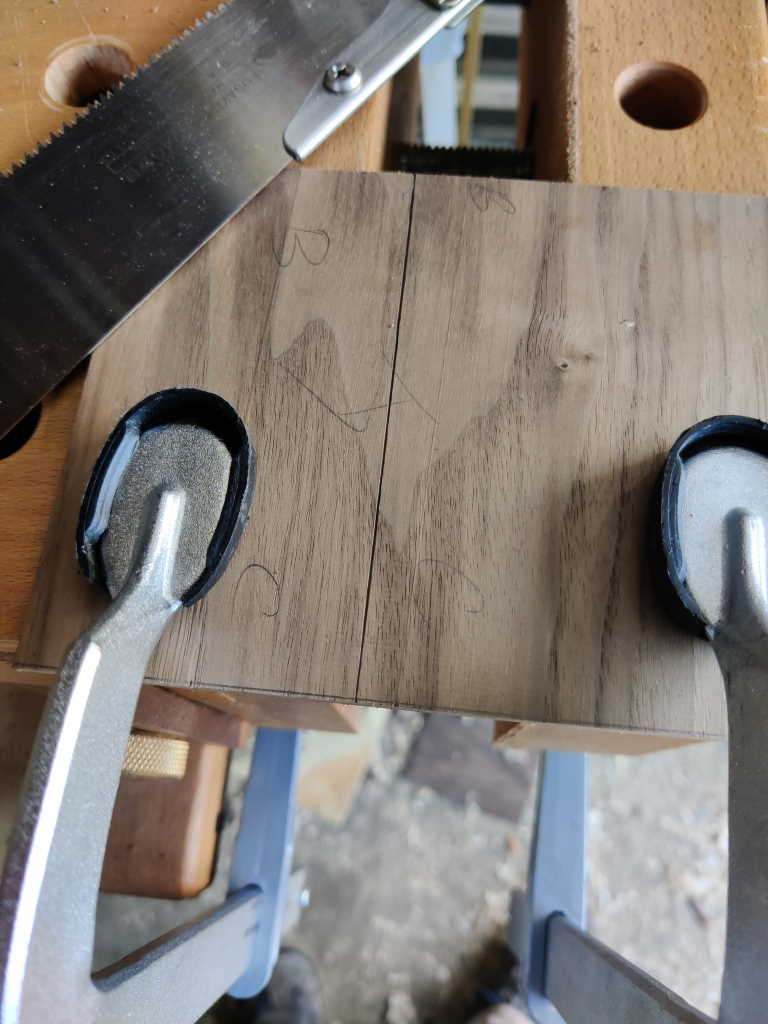
I could then saw the lining pieces slightly oversize:
 |
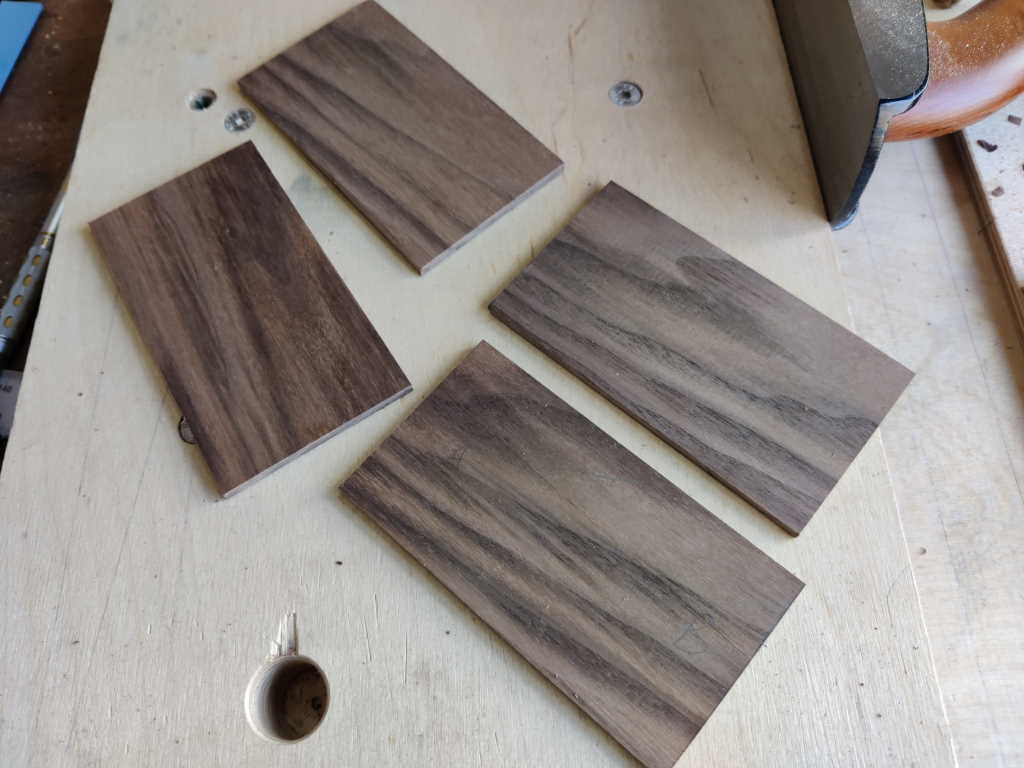
... and square the corners all round on the shooting board. The height isn't especially important, but it's critical that the two long edges are parallel with each other (so I can reference off either of them when shooting the mitres) and that all the pieces are the same height (so they meet at the corners):
 |
Once the pieces were squared all round, I could shoot the mitres, gradually taking more material off until they were a snug fit in the box:
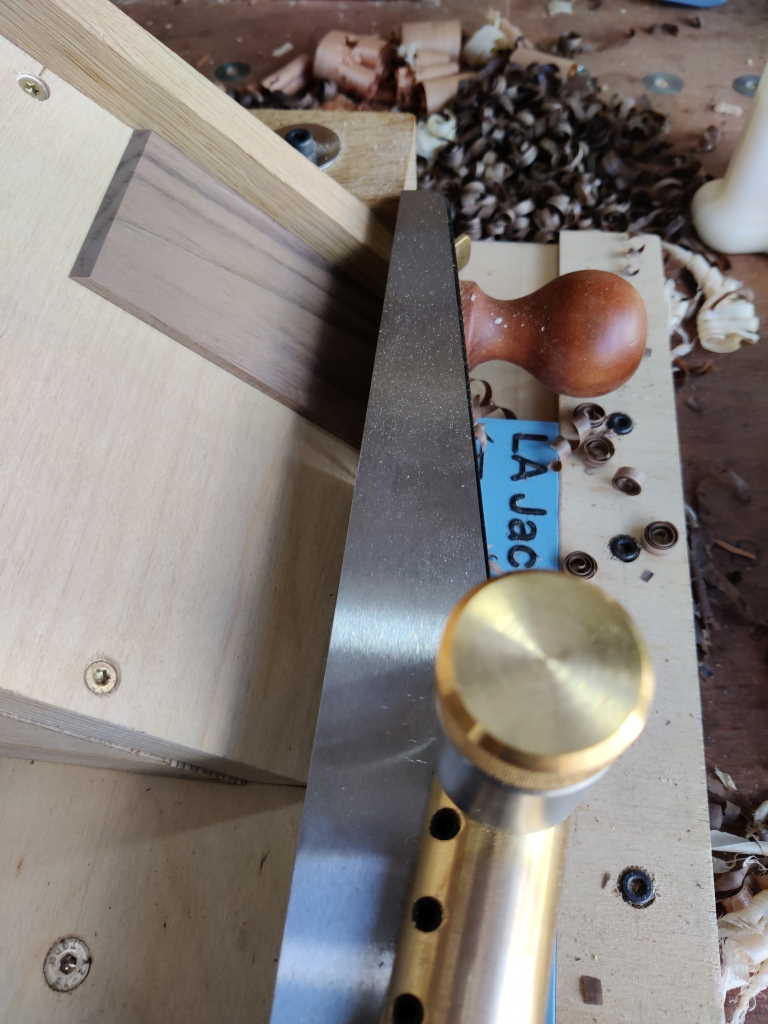 |
Before gluing them in, I used my thin 3D printed bench stop and a card scraper to give the inside faces a once over:
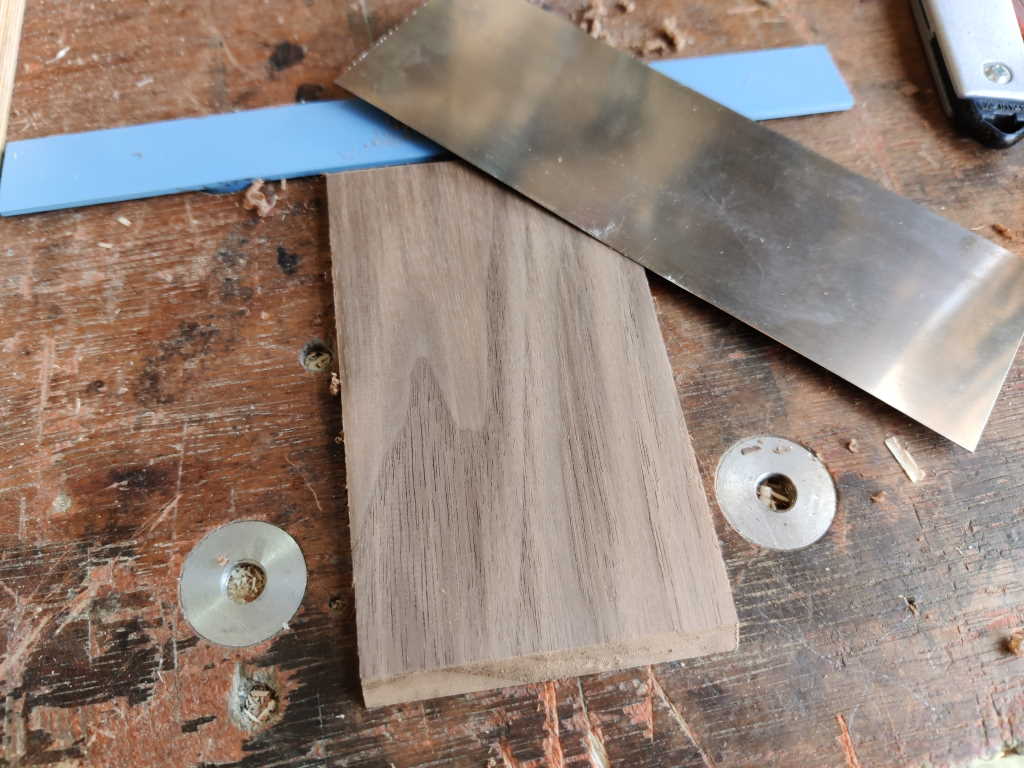 |
With that, the linings were all ready...
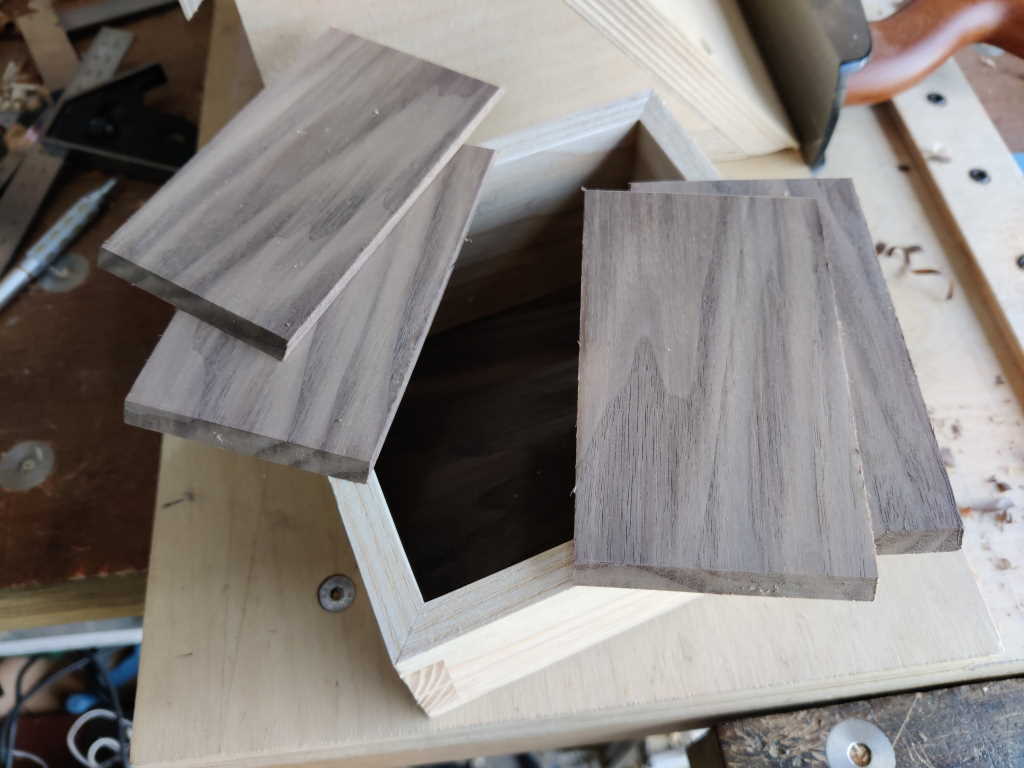 |
... to be glued into place:
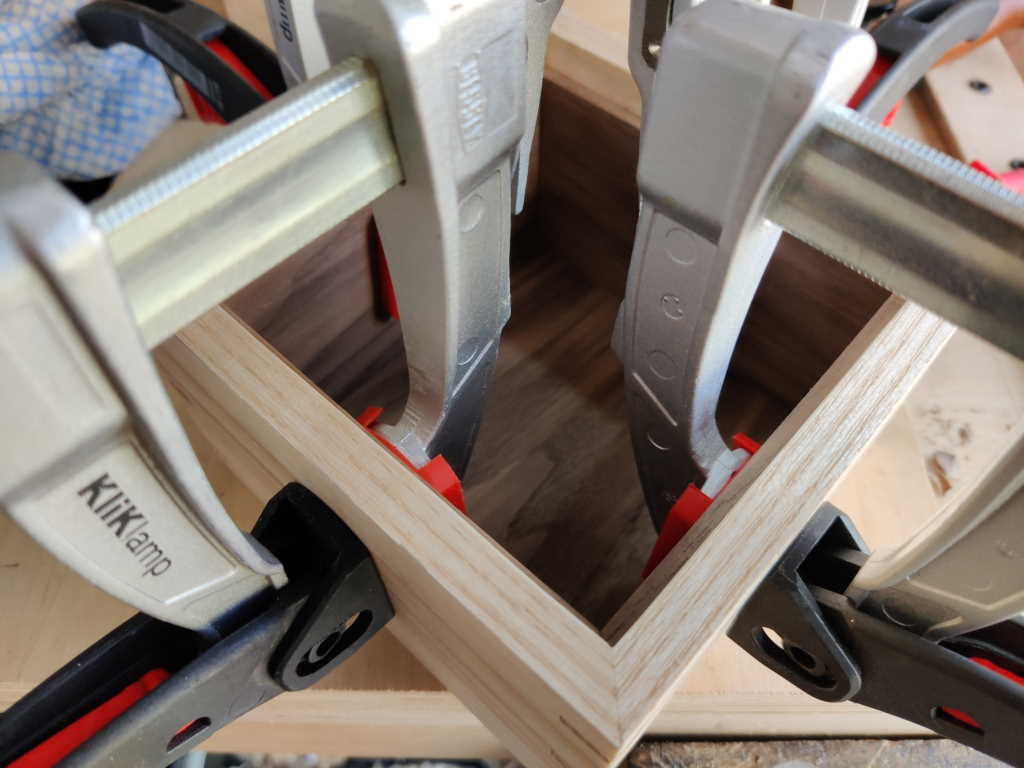 |
Apart from any final card scraping and oiling, that's the base finished I think. There's plenty more in the way of challenge yet though: the lid is the next job.
Page Navigation:
| First (#1) | Previous (#7) | Next (#9) | Last (#15) |
This website is free, but costs me money to run. If you'd like to support this site, please consider making a small donation or sending me a message to let me know what you liked or found useful.