Kumiko Box Build Process
Page 15
27/8/2022
Cutting the Kumiko followed much the same process as before, with a few minor differences:
- I cut the slots on one side of the strips and then inserted a strip into the slot before shooting the other end square. I don't think this was necessary, but it helped make sure everything lined up nicely.
- I moved the fence to the other end of the sawing jig, which made it easier to hold the pieces while sawing.
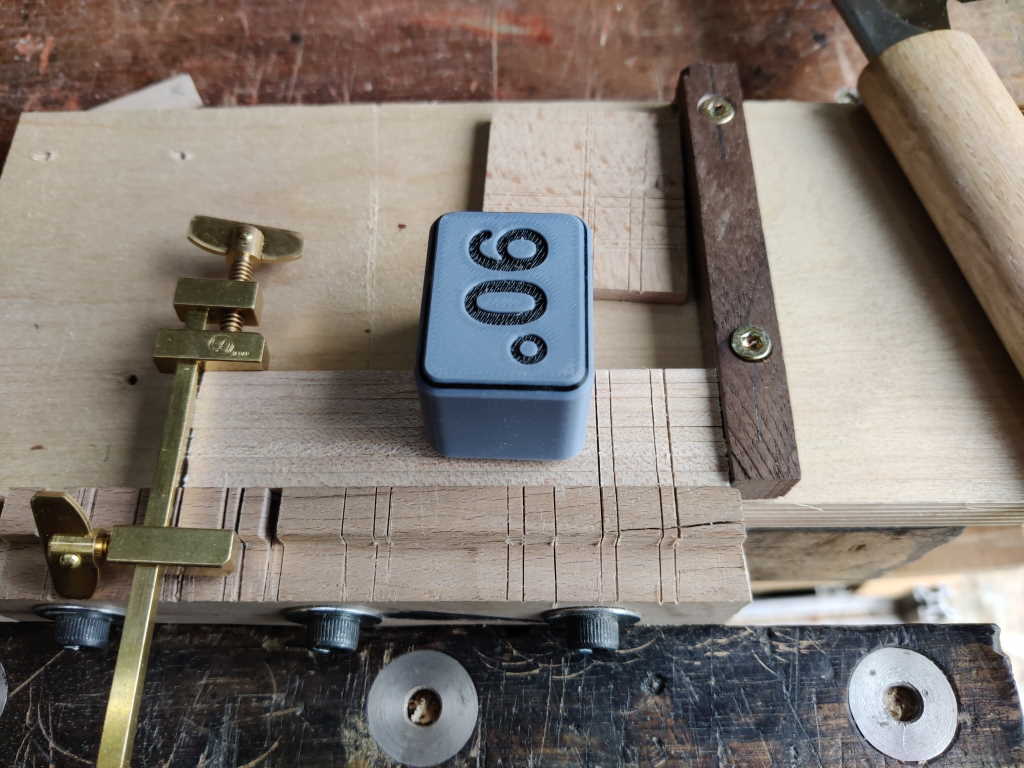
- I used my 90° jig to help with the sawn cuts as they really need to be perfectly vertical (if the slot gets wider as it gets deeper, chiselling the slots results in breakage; if the slot gets narrower as it gets deeper then it'll either break on assembly or leave an unsightly gap).
 |
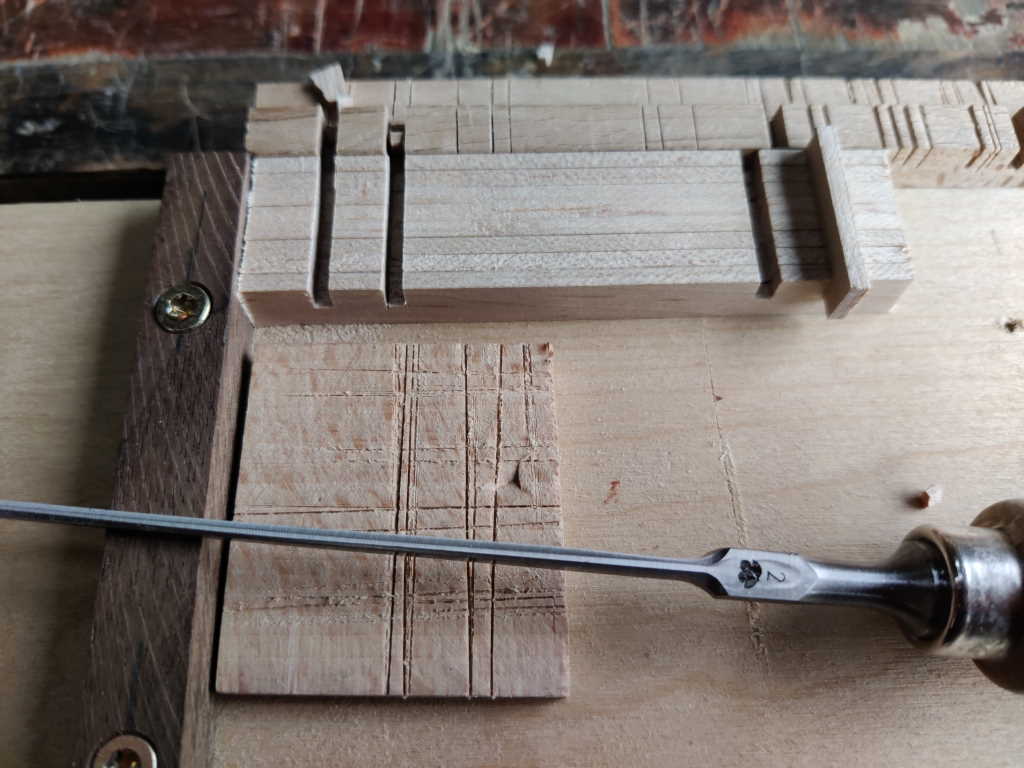
Chiselling was done just as before:
 |
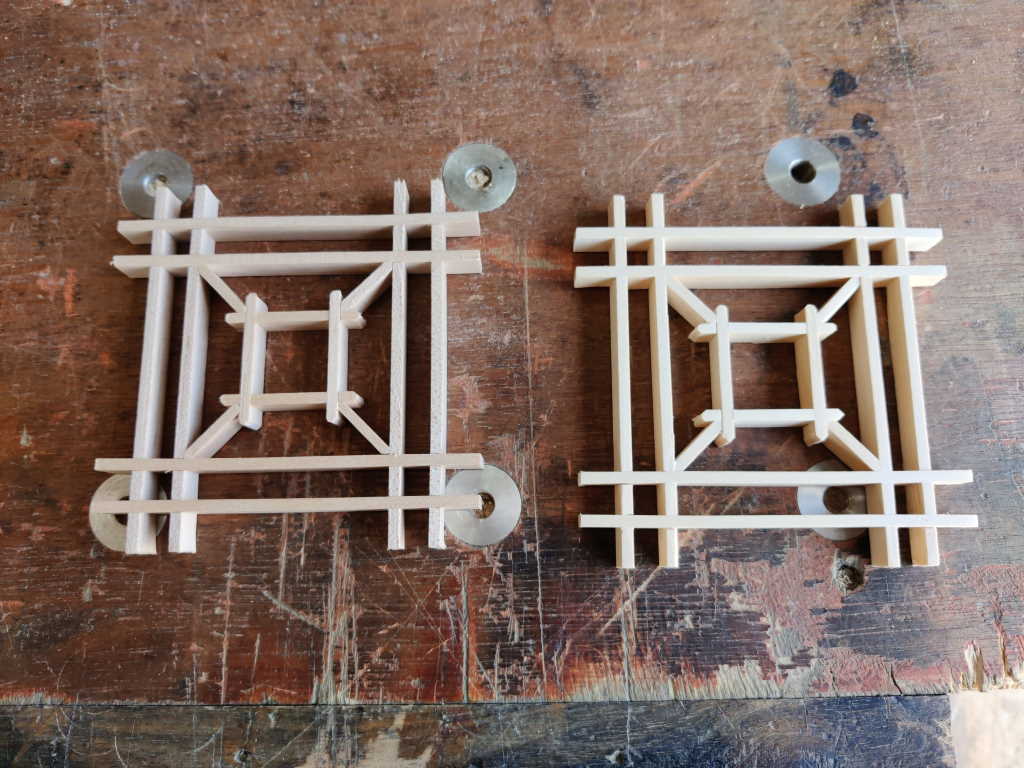
I still had a few wasted pieces on the fiddly bits that make up the interior grid, but the maple was far, far easier to work with than the lime. The lime suffered from lots of little corners breaking off at every stage (including simple things like chamfering the corners). A couple of the maple strips broke where they're really weak on that middle grid, but other than that, they held together fine and were easy to cut with a chisel. The end result, a maple Kumiko grid (shown on the left of this photo, along with the lime one on the right):
 |
A few tiny drops of glue (applied with a pin-ended scriber) attached the Kumiko together and, after rubbing it on some 240 grit sandpaper to clean up the top face, I glued it into the lid in the same way. I could then apply a coat of Danish oil. After the oil had been left to soak in for 10 minutes, it was a real chore to clean out the excess. I used cotton buds as well as bits of tissue to try to get rid of all the excess. I'm sure I've left the odd dot here and there, but I think I got most of it eventually. I don't think it's going to get many coats!
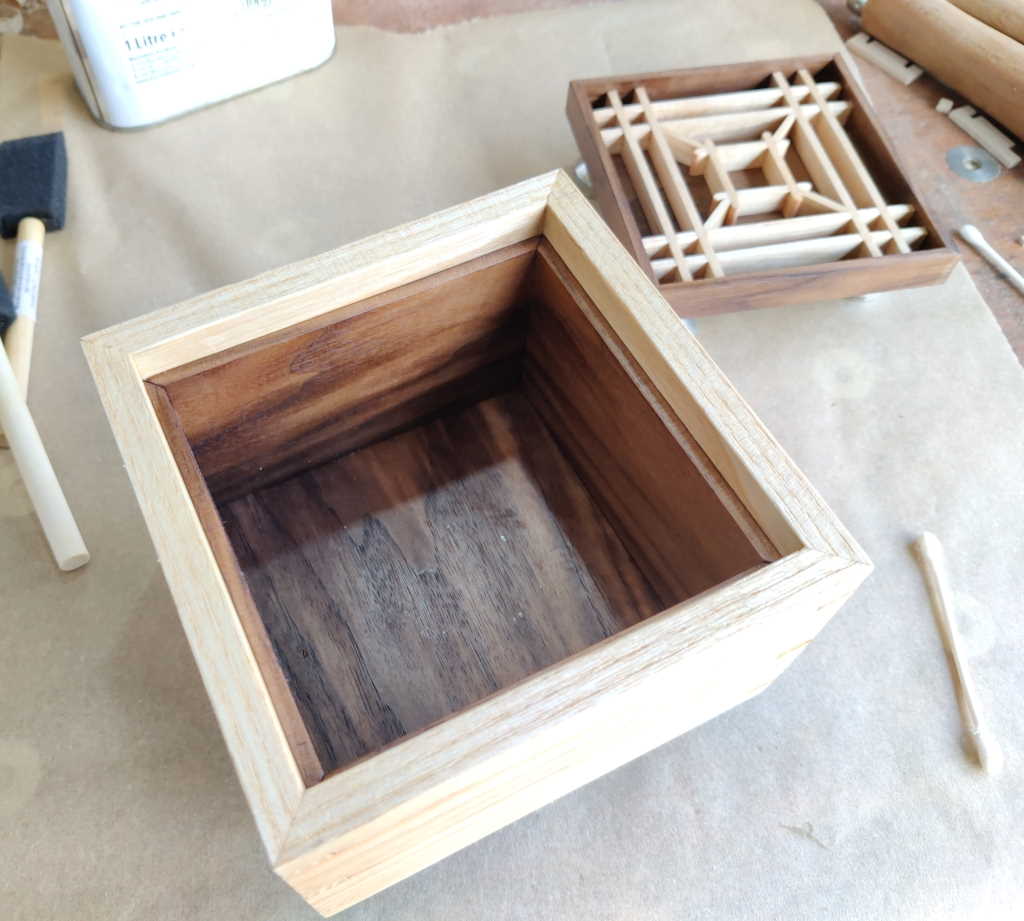 |
I couldn't resist fitting the lid and taking a photo:
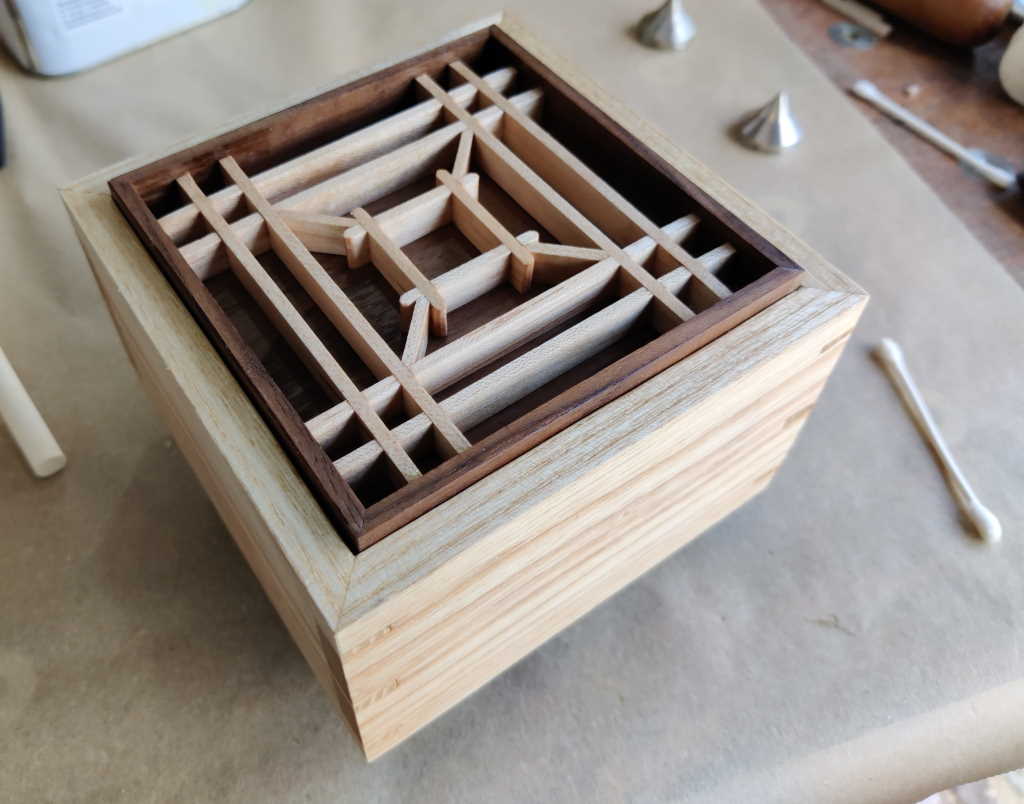 |
I'm really pleased with how this box has turned out. I don't think I'll be in a rush to do the Izutsu-tsunagi pattern again, at least at this scale. The middle grid with its 5 mm ends was the cause of a lot of frustration. Compared to the Asa-no-ha pattern I tried before, this was much harder. The Asa-no-ha pattern has a lot more angles involved, but that just means more chisel jigs rather than any extra difficulty. The grid for the Asa-no-ha is simpler and doesn't involve anything quite so flimsy! Having said all that, I'm definitely tempted to experiment with other patterns and will be re-reading the excellent Desmond King books (The Basics and Beyond the Basics) that I have. I've also got Matt Kenney's book, but (in my opinion) it isn't in the same league as Desmond King's ones (and I think Matt Kenney's book should be subtitled "Learn to Make Beautiful Panels with a Table Saw" instead of "Learn to Make Beautiful Panels by Hand").
Page Navigation:
| First (#1) | Previous (#14) |
This website is free, but costs me money to run. If you'd like to support this site, please consider making a small donation or sending me a message to let me know what you liked or found useful.