Kumiko Box Build Process
27/8/2022
After pondering gradually during the week at work, I decided I wasn't happy with the Kumiko pattern. There were (albeit tiny) bits of broken edges on the bottom side of the panel and some gaps that I knew would bug me. I tried another go at making the Kumiko but the lime kept disintegrating and I found myself getting frustrated. Today I decided to be the bad workman who always blames his wood! I thought I'd have a go at making the strips out of maple rather than using the pre-sized lime. As well as hopefully being more robust than the fragile lime, it'll give me the satisfaction of having made the strips myself.
I started with a block of maple; I hand planed the outside faces and then cut a strip off the side with the bandsaw (I later cut a second strip):
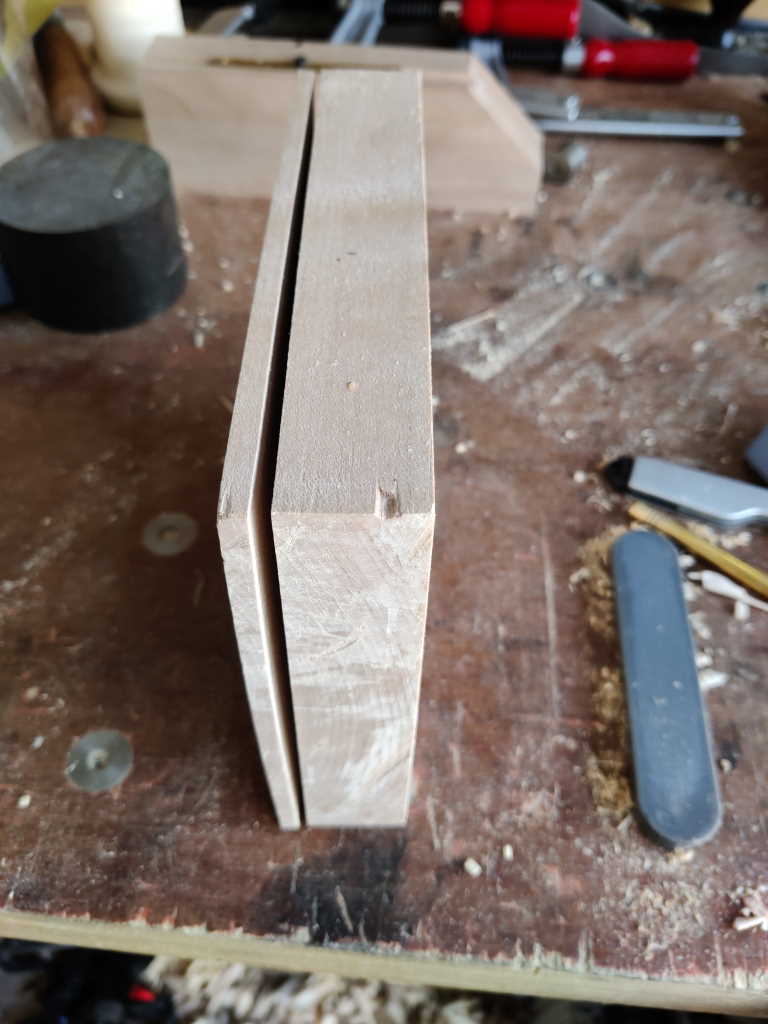 |
I gradually cut the slice into strips. I planed the edges square (on the shooting board), then used a marking gauge to score a line a consistent distance from each planed edge. I could then saw along the line with my Dozuki, before planing the edges square again and marking another pair of pieces:
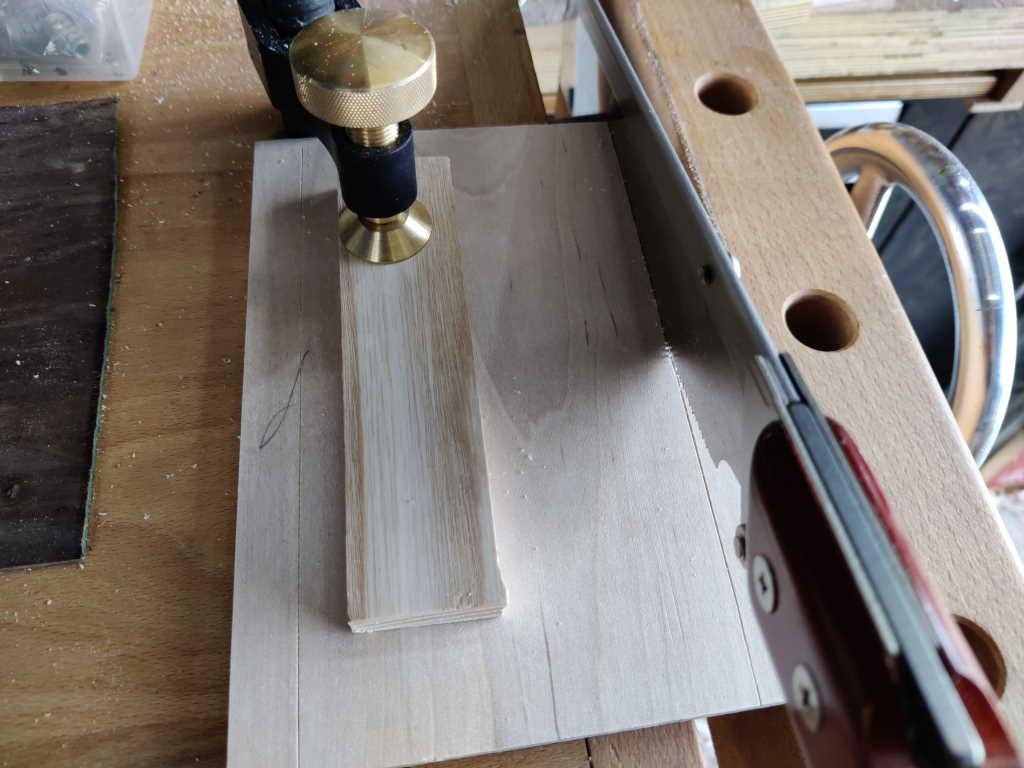 |
The last strips were a bit more awkward to hold for sawing, but I found a way:
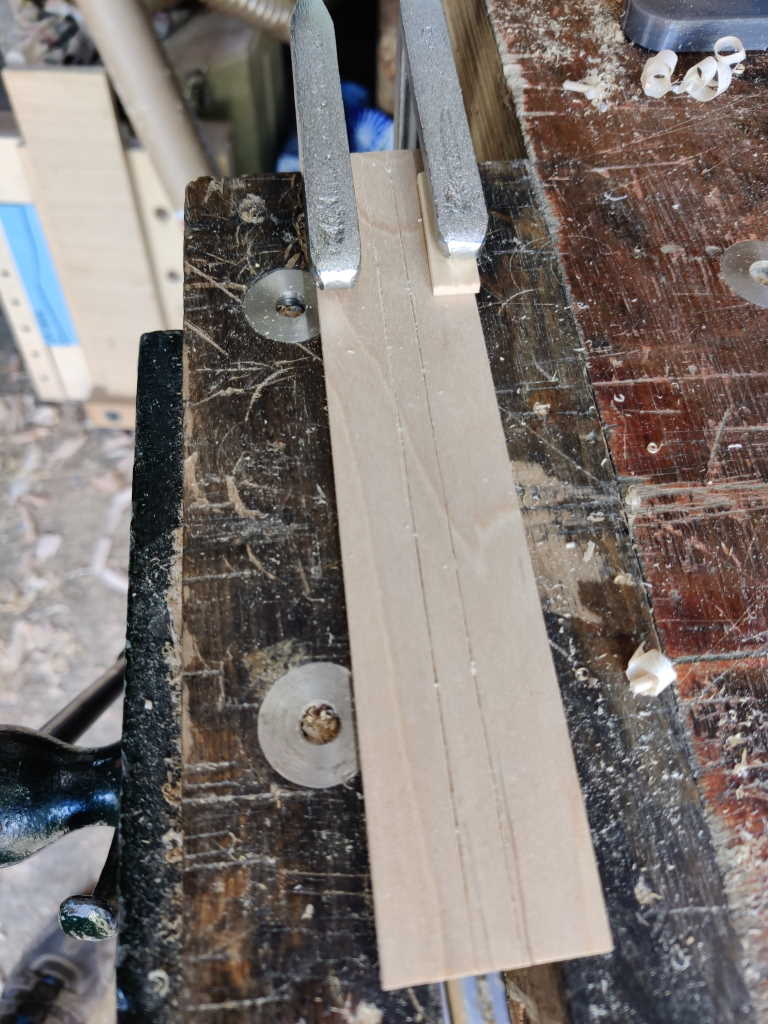 |
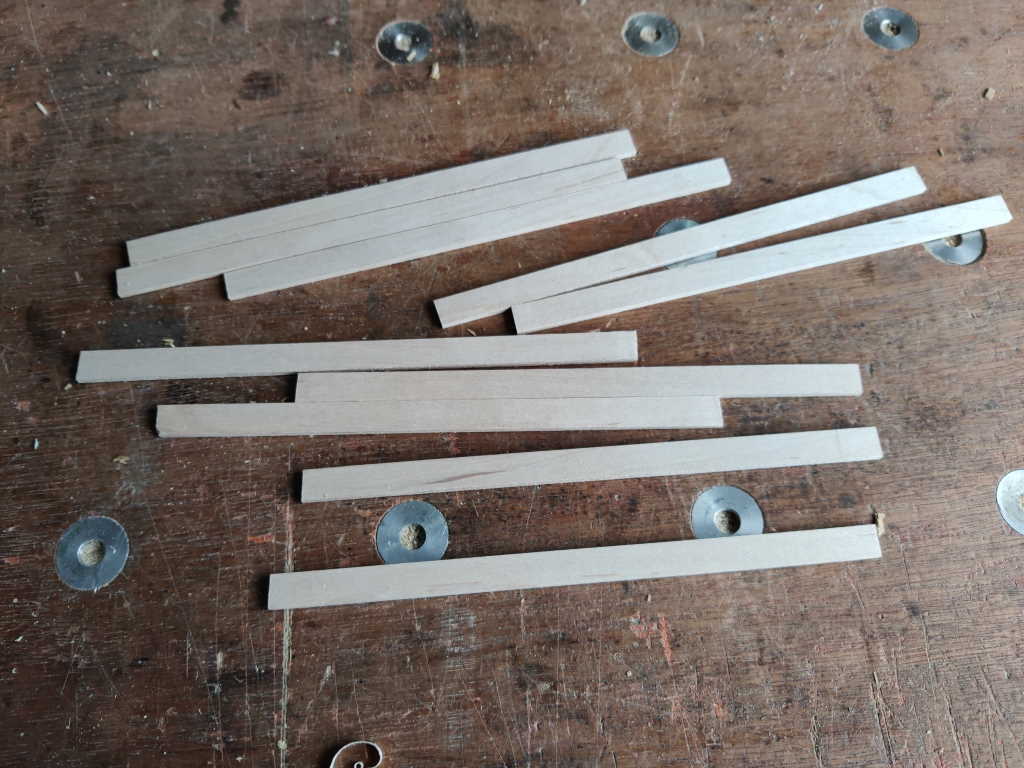
That gave me a pile of strips, all with one hand planed edge and one hand planed face:
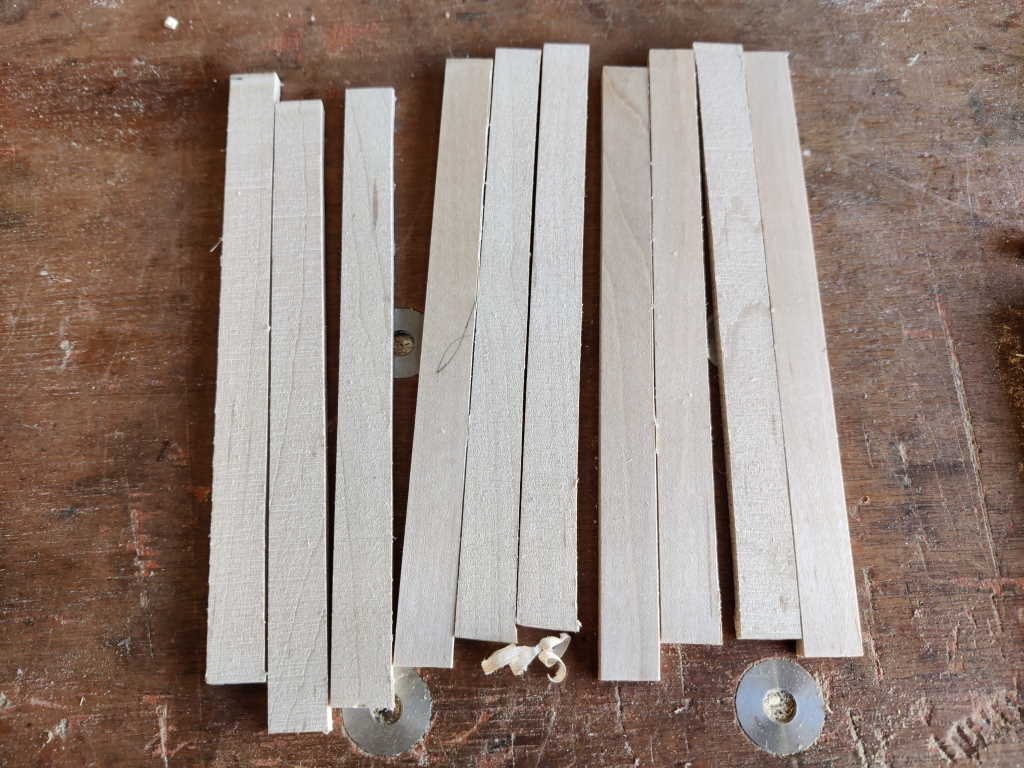 |
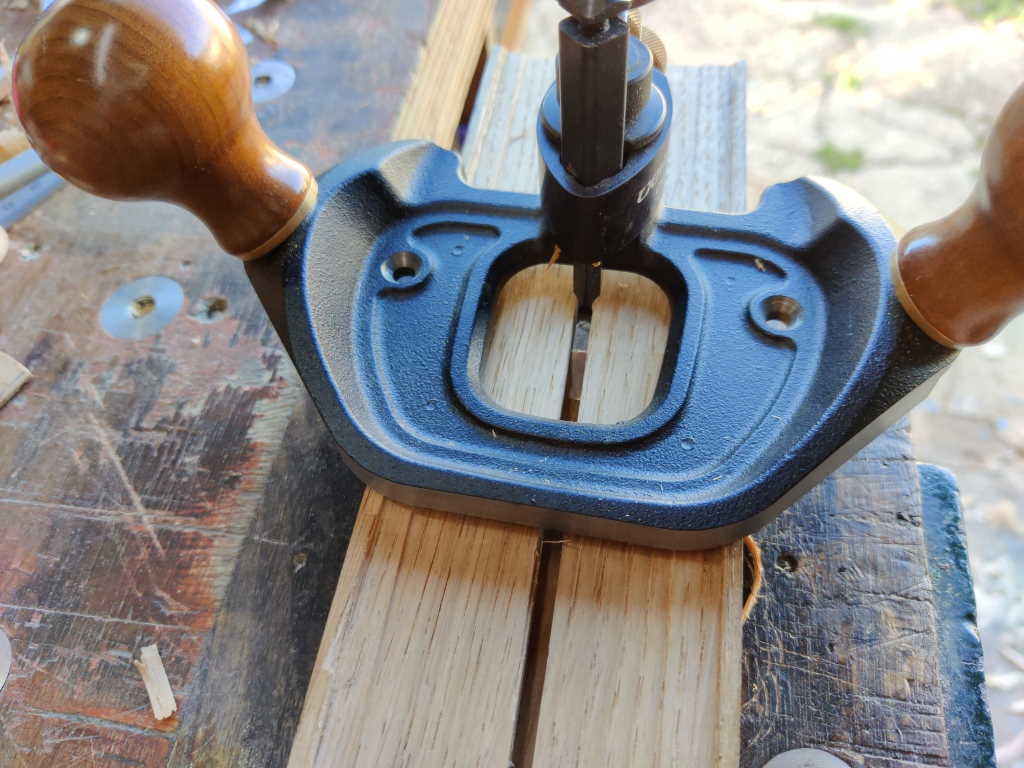
I took a lump of (approximately 70 mm wide) oak and used my Stanley 55 (for a change) and my home-made 16 mm cutter to plough a groove down the middle:
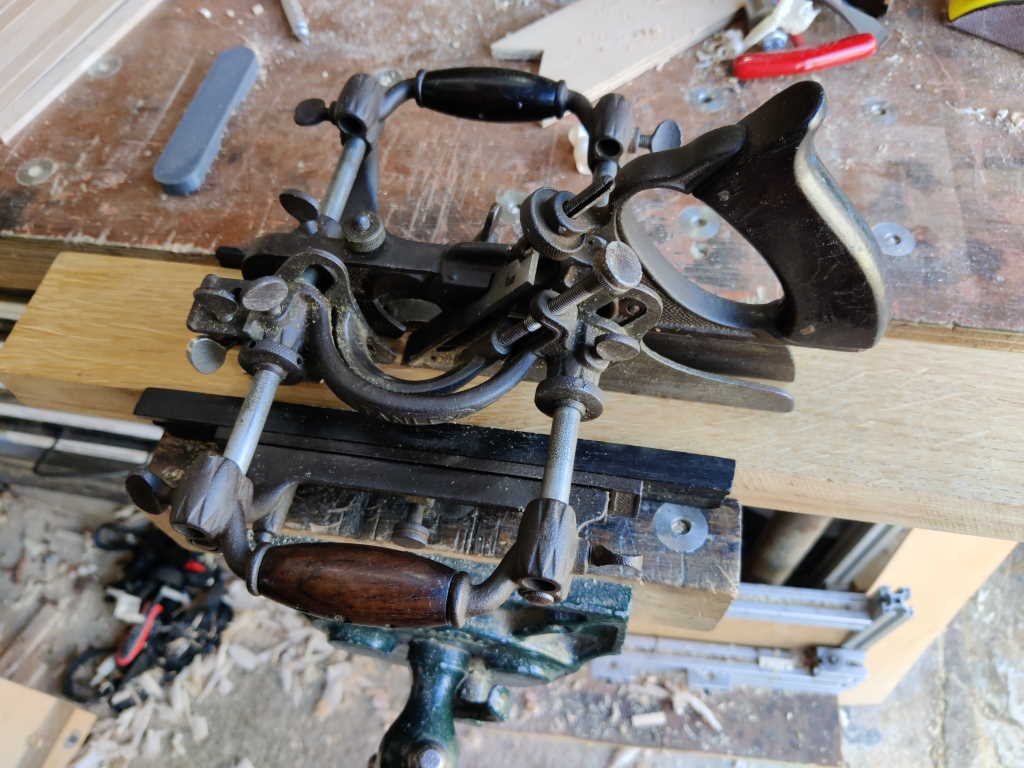 |
I then used my router plane to tidy up the bottom of the ploughed groove and get the depth right.
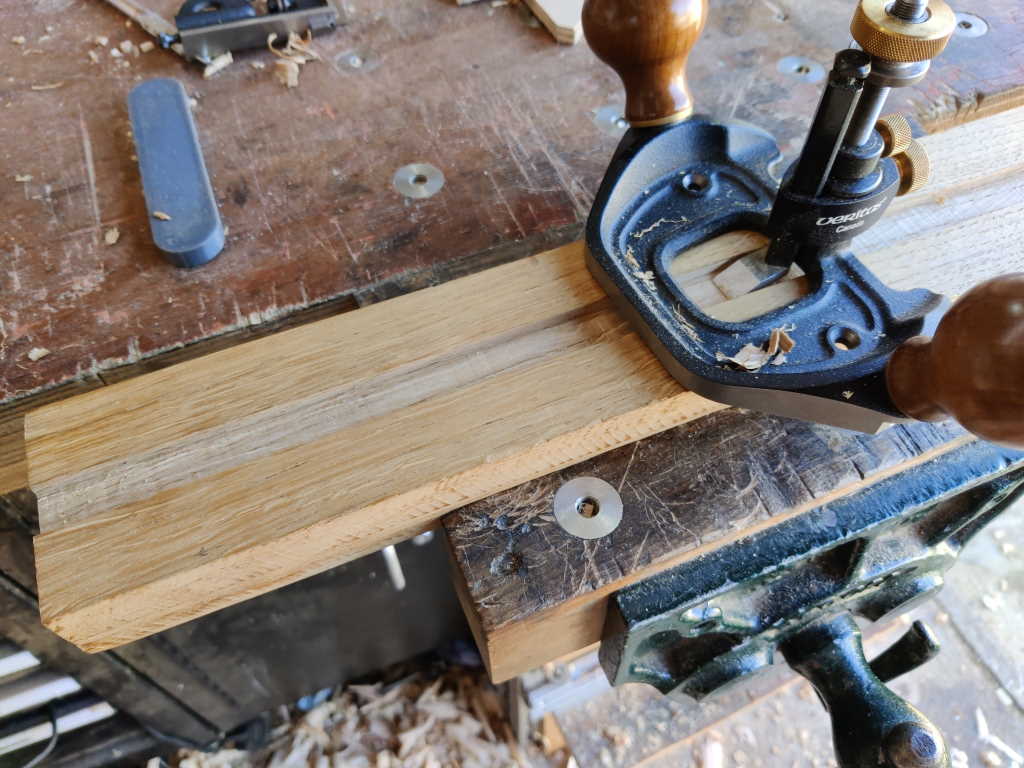 |
I also used the router plane to clear out a 65 mm wide channel in the middle, but I didn't take any photos of the process of doing that. Once that channel was cut, I used my jack plane to take lots of cuts down the middle with the iron gradually being extended more and more. That produced a big area in the middle with clearance for the iron (which was retracted back to a more normal extension for use) and two narrow strips on either side for the plane body to run on. I used the Dozuki and a chisel to cross-cut a channel through the oak block and inserted the maple offcut as a planing stop. I could then plane all the strips down to a consistent thickness:
 |
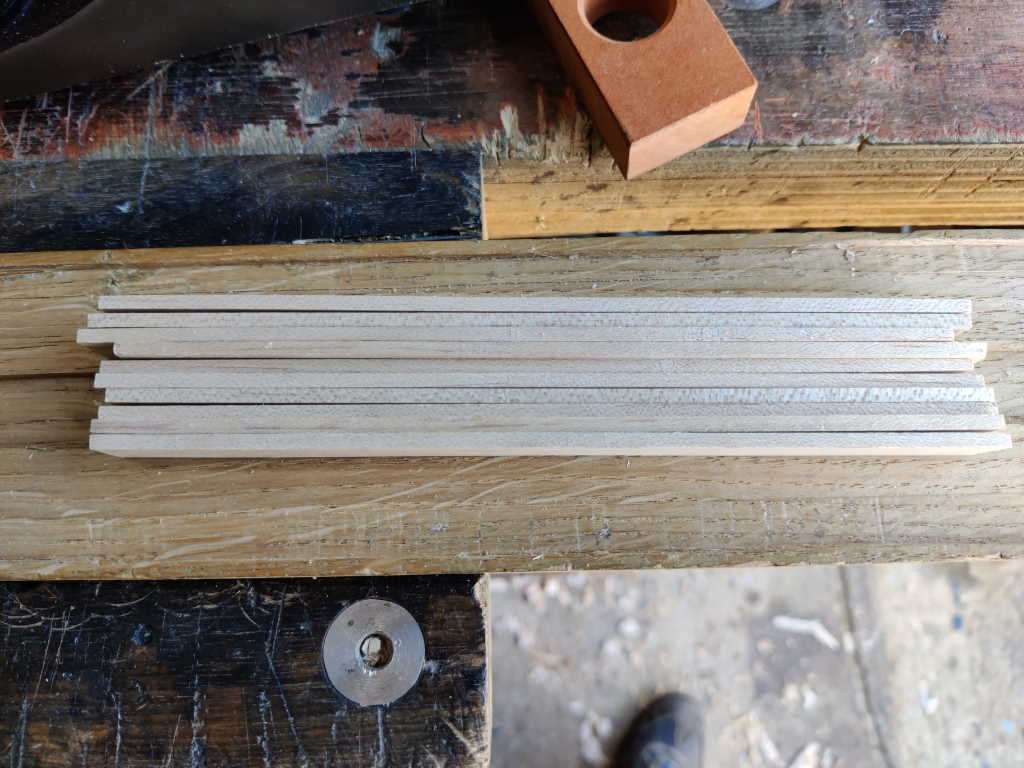
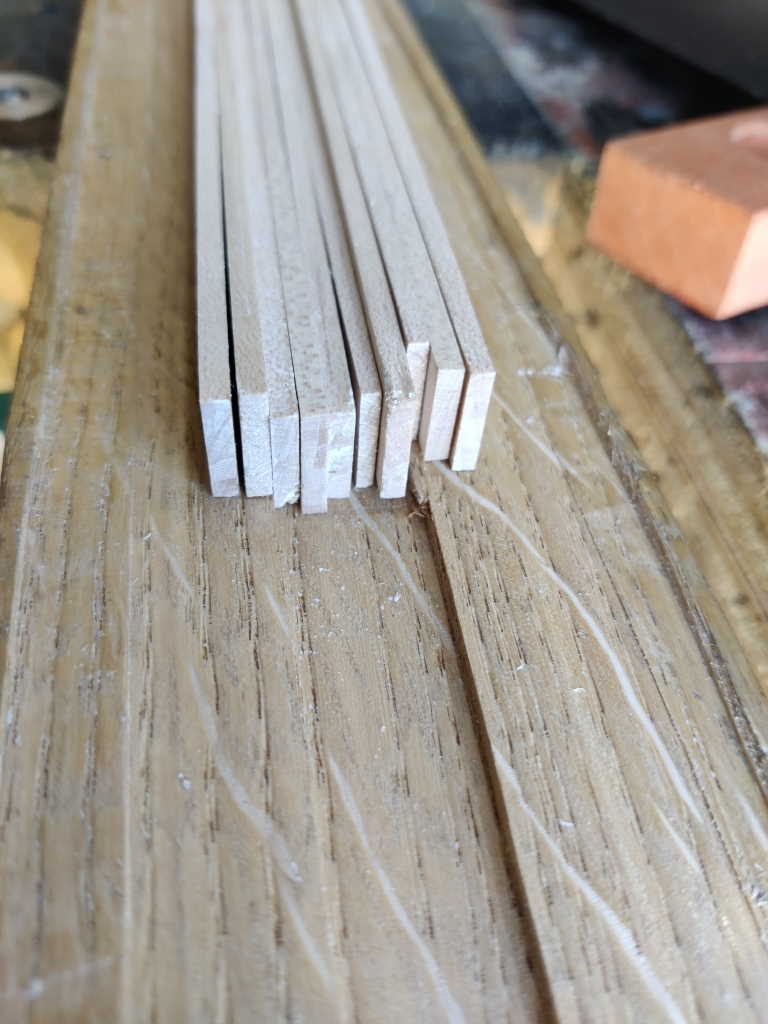
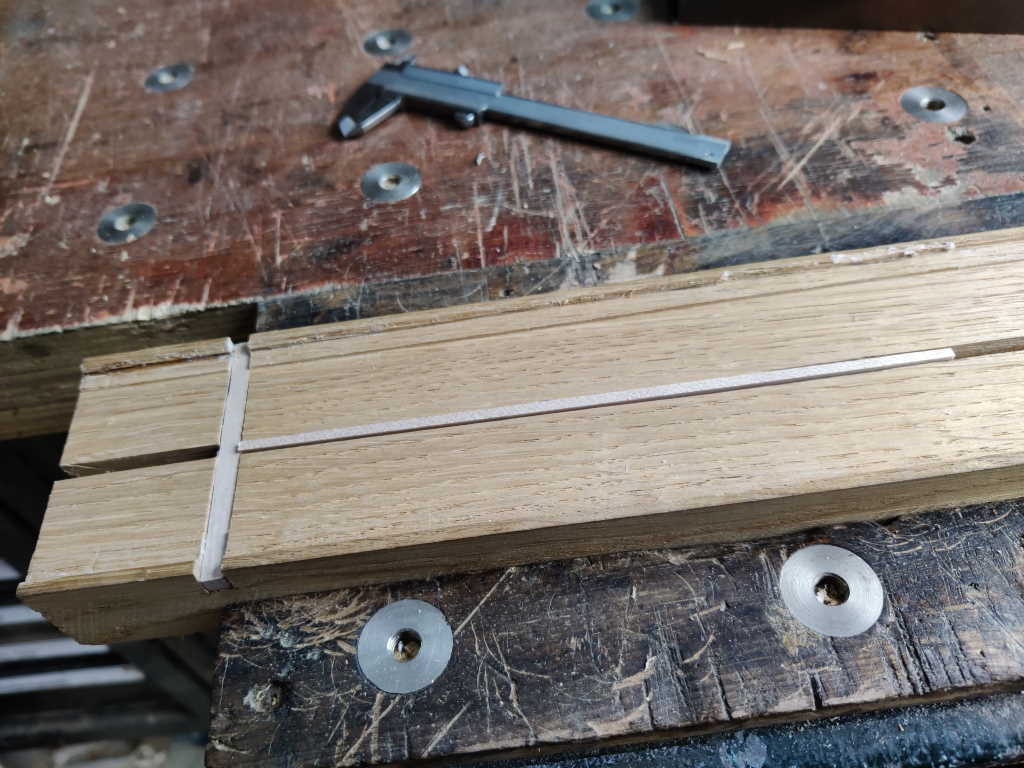
That resulted in a pile of 3 mm thick strips, with one planed and one sawn edge:
 |  |
On a fresh piece of oak, I ploughed a 4 mm wide groove as deep as I could (which wasn't especially deep due to the thickness of the #45's body). I then put a 4 mm cutter in the router plane and followed the same process as before to make a jig for planing to width:
 |
This shows a strip in the jig just after planing (in this photo you can see the strip on which the plane body runs).
 |
Et voila:
 |
Page Navigation:
| First (#1) | Previous (#13) | Last (#15) |
This website is free, but costs me money to run. If you'd like to support this site, please consider making a small donation or sending me a message to let me know what you liked or found useful.