Kumiko Box Build Process
20/8/2022
After a bit of playing around with the joint to try to improve the fit, I decided the only thing for it was to get on with getting it to the point it could be glued together.
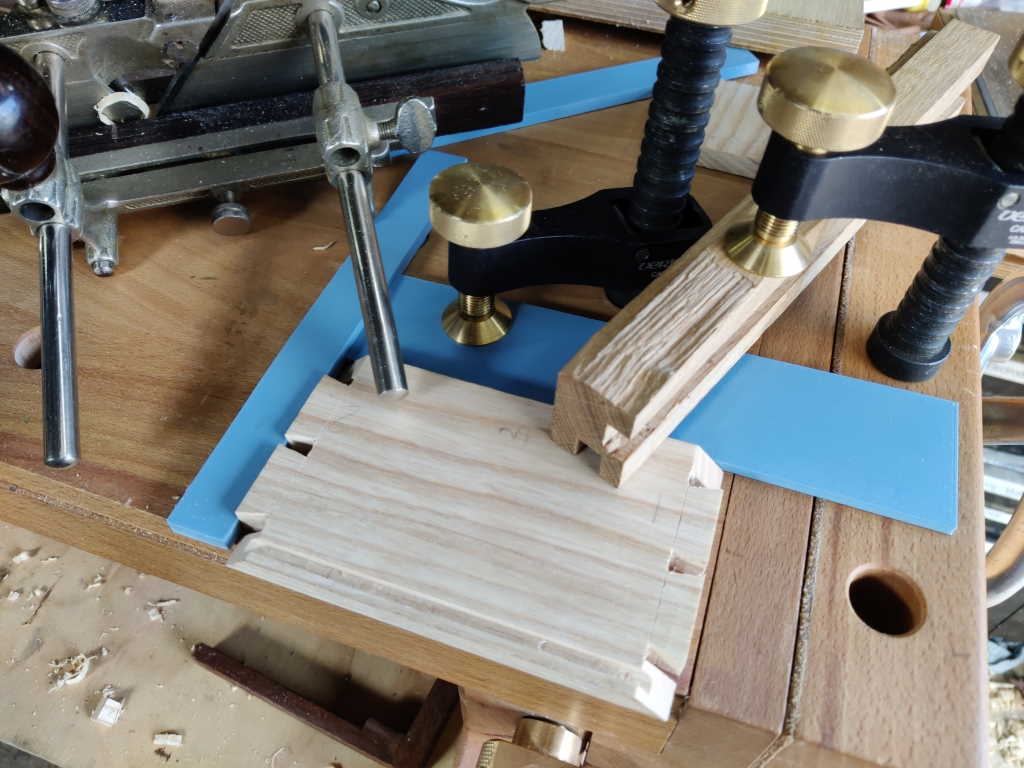
First job was to plough the 4 mm grooves for the base. It always takes me ages to figure out a way to hold material for ploughing or rebating and this was no exception. This is what I came up with in the end:
 |
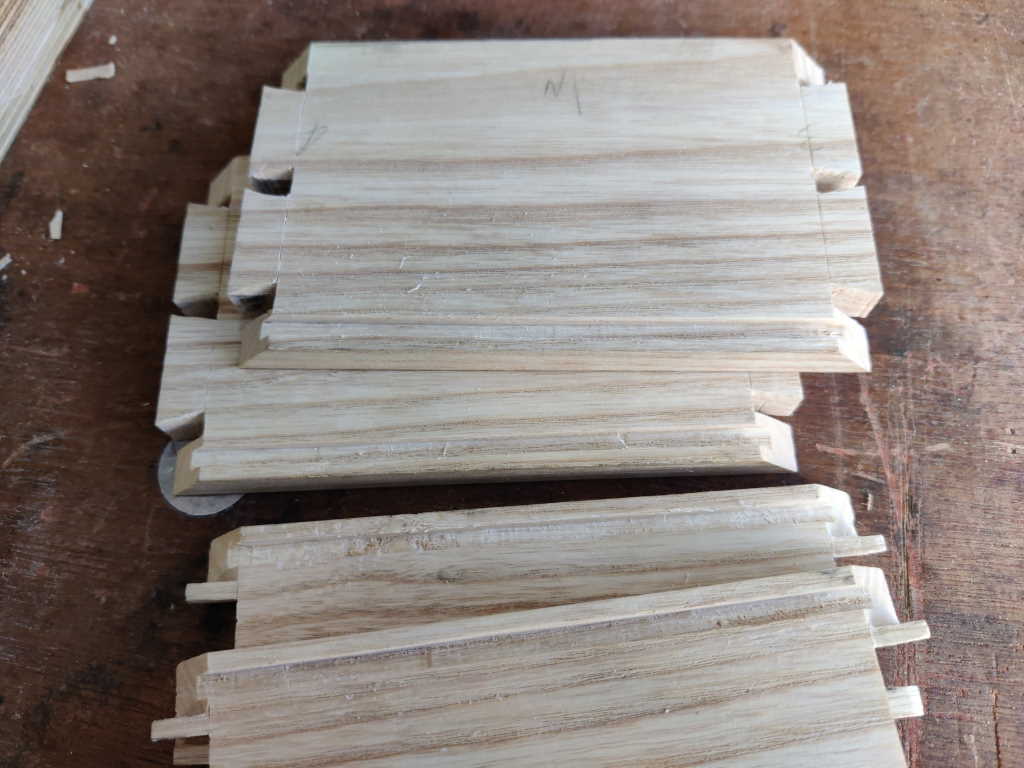
Once I'd got the first one done, the others were quick and straightforward and with that, the sides are complete.
 |
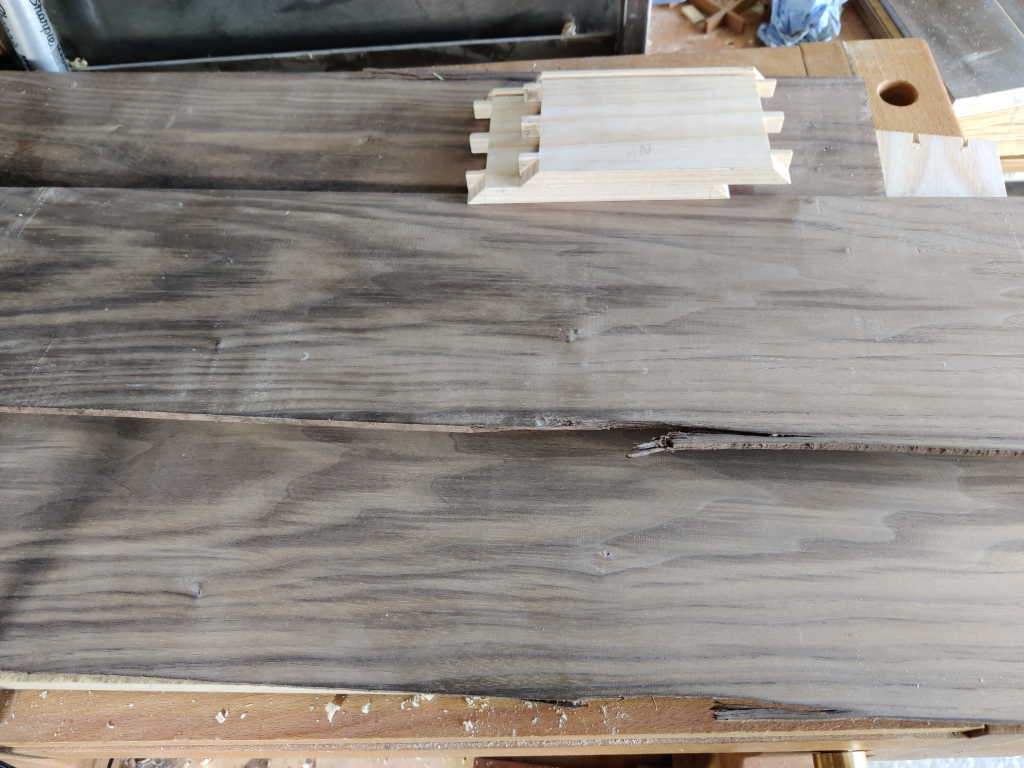
A week or so ago I used my bandsaw to resaw a American Black Walnut plank into three pieces and fed those pieces through the thicknesser, to make these three planks. Two are 4 mm thick and one is 2 mm thick:
 |
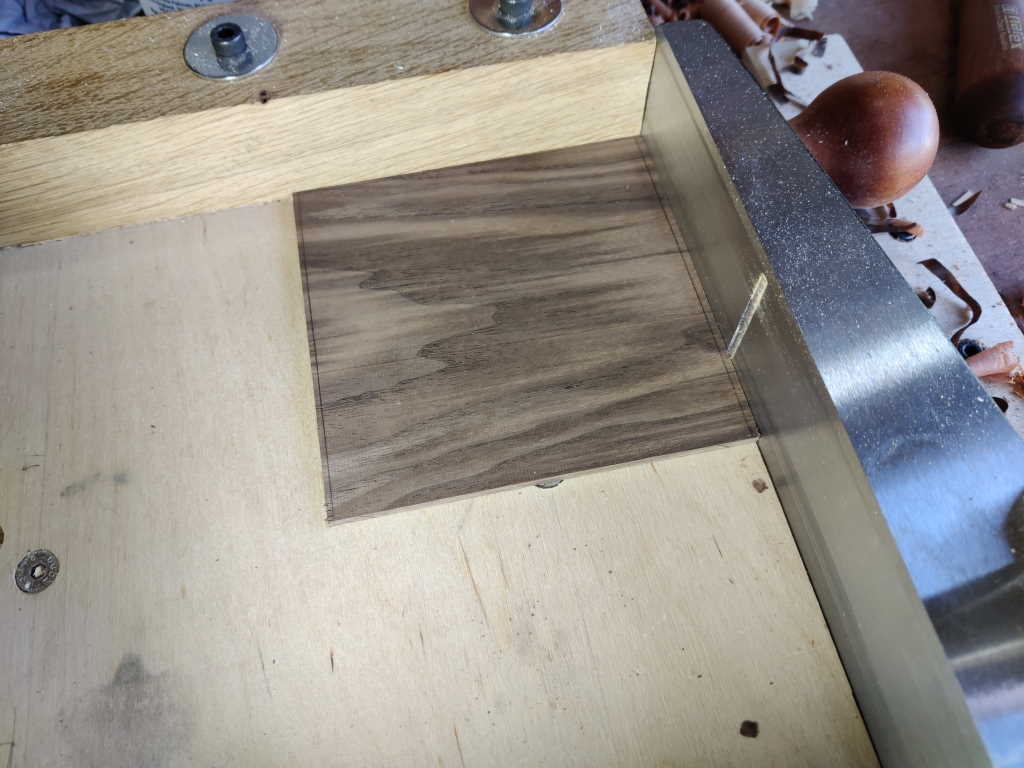
I clamped one of the 4 mm pieces to my portable workbench and sawed a roughly square bit off (after trimming the snipey bit off the end):
 |
I then used my beloved shooting board to square it up and bring it to the right size:
 |
To clean up the marks from the thicknesser, I fitted a 3D printed stop into the dog holes in my bench (this one is only 2 mm thick, so it's quite handy for jobs like this) and used a Stanley #4 to skim the surface:
 |
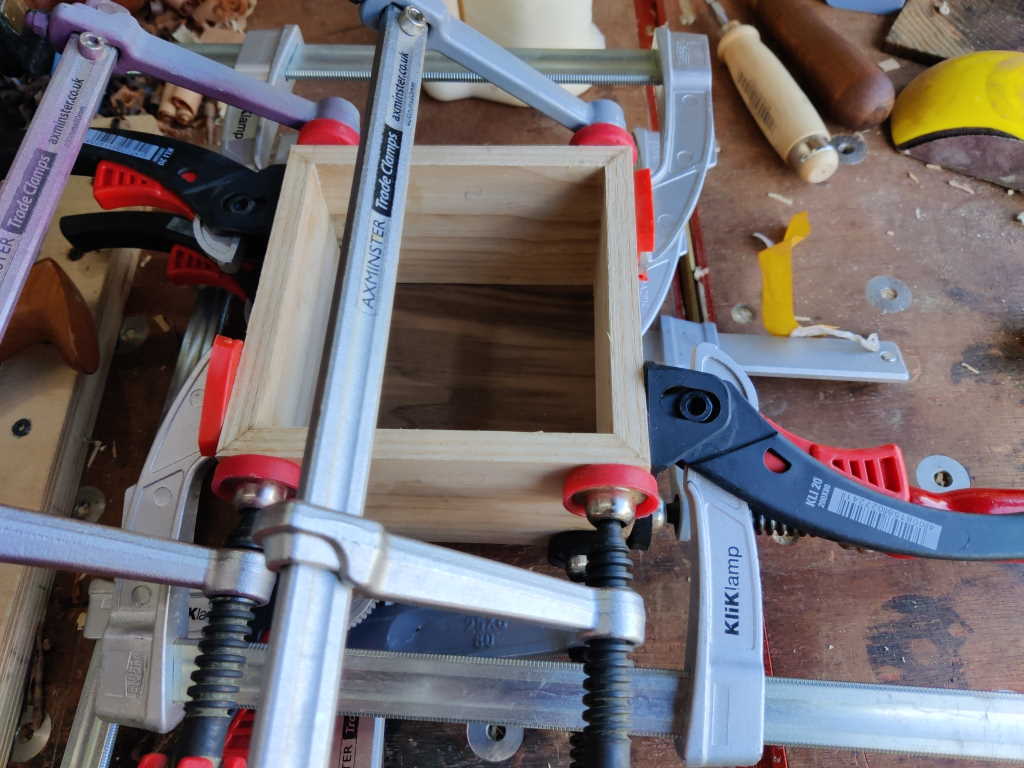
Then it was just a case of applying glue to the dovetails and mitres and clamping it together with no fewer than eight clamps!
 |
Page Navigation:
| First (#1) | Previous (#6) | Next (#8) | Last (#15) |
This website is free, but costs me money to run. If you'd like to support this site, please consider making a small donation or sending me a message to let me know what you liked or found useful.