Kumiko Box Build Process
21/8/2022
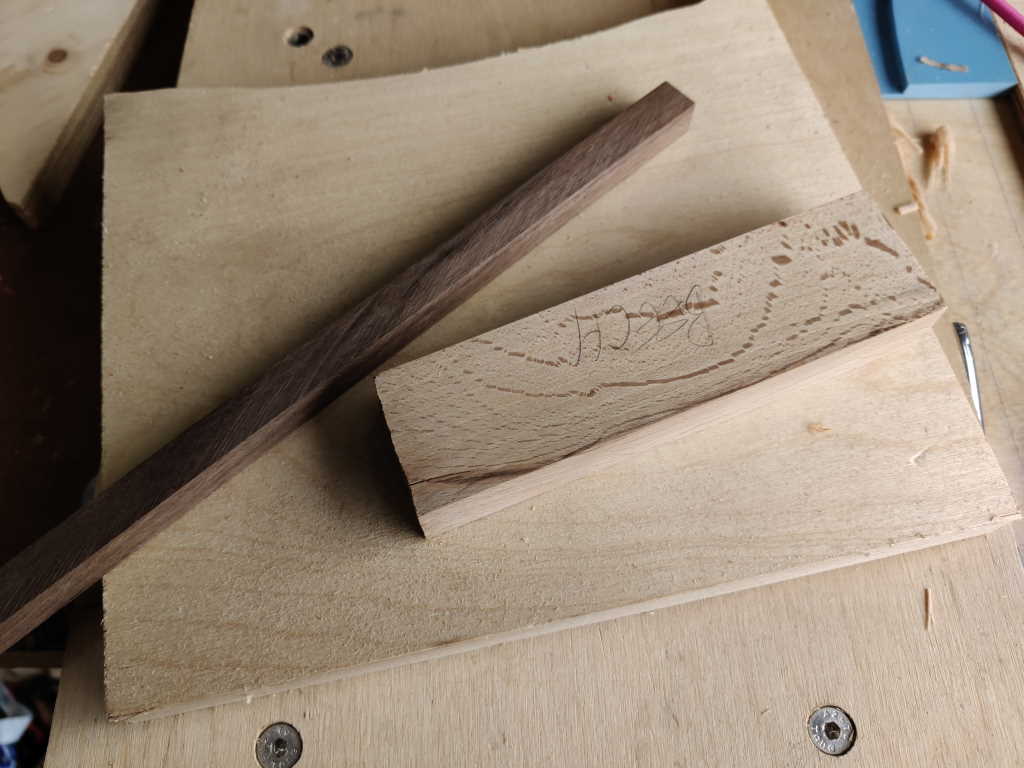
The next job was to get started on a jig. This jig is made from a piece of plywood and a couple of offcuts, of beech and American black walnut:
 |
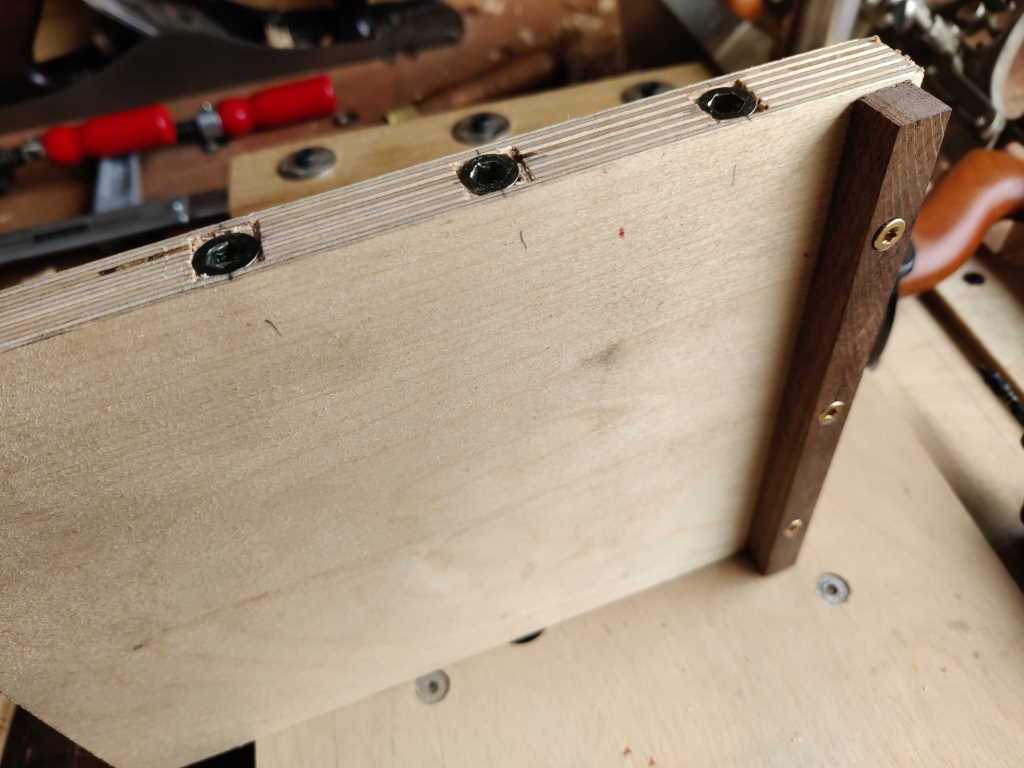
The plywood was trimmed to have four square corners and straight edges and the walnut was drilled, countersunk and screwed to the plywood base. I drilled the edge of the plywood and screwed in some M6 threaded inserts:
 |
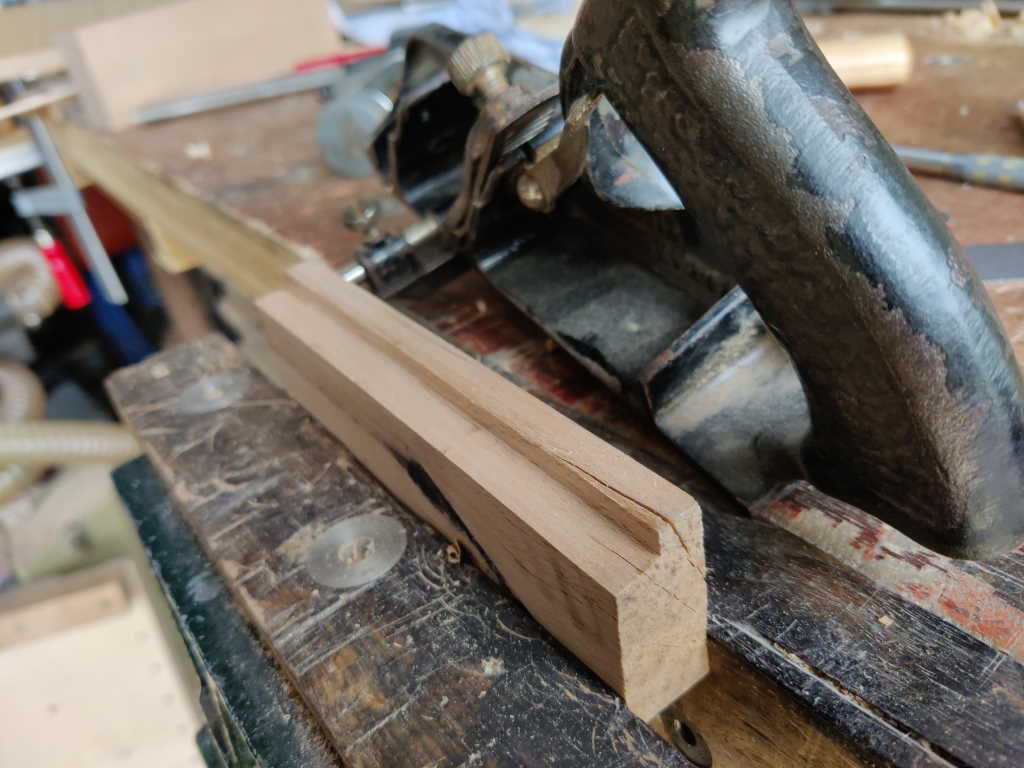
I wanted a 5 mm deep rebate on one corner of the beech block and, for a change, I decided to do it with a #78 instead of the #45. The piece was tall enough that it was easy to hold in the vice for rebating.
 |
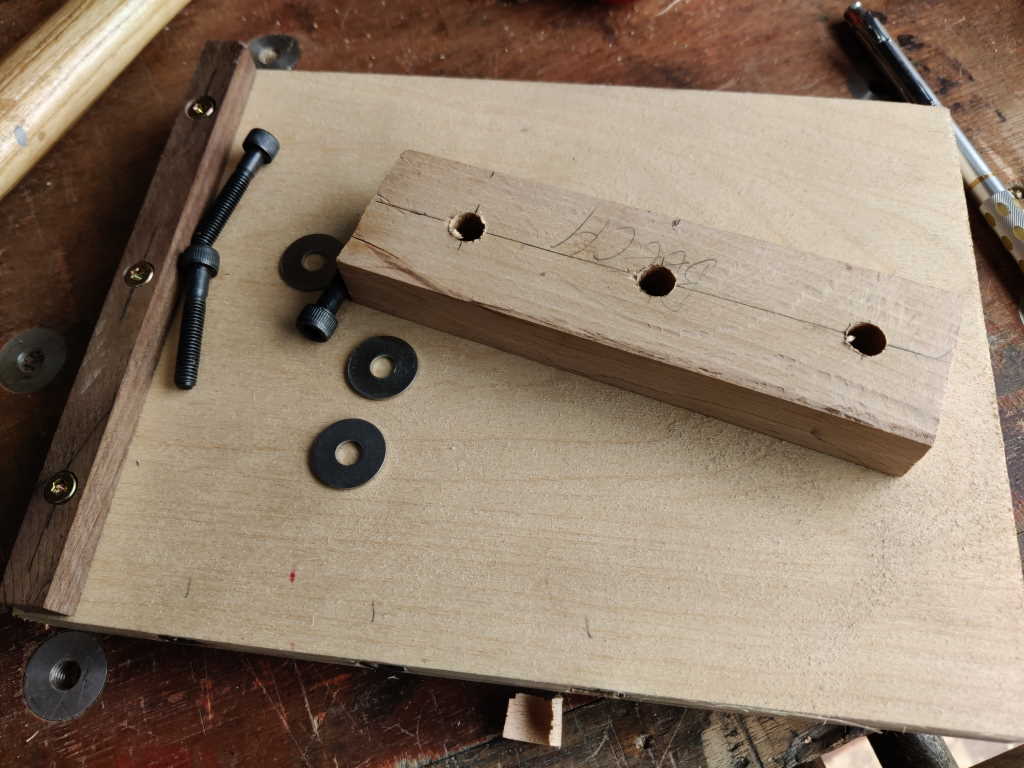
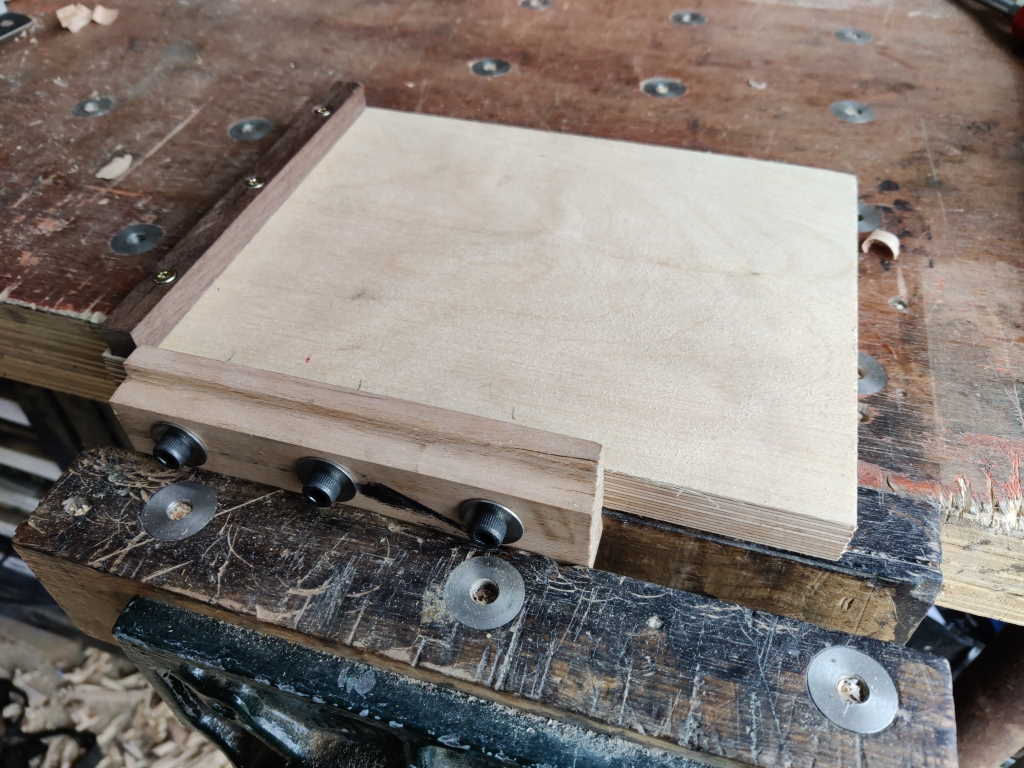
The beech block then got three 9 mm holes drilled through. The size was chosen so that there was plenty of clearance and the position of the beech block can be adjusted:
 |
With that, this simple jig was ready for use. The beech block gets adjusted such that the top surface is 10 mm above the plywood face.
 |
The beech block hangs down a bit below the bottom of the plywood, which means the whole jig can be easily held in the vice:
 |
Page Navigation:
| First (#1) | Previous (#9) | Next (#11) | Last (#15) |
This website is free, but costs me money to run. If you'd like to support this site, please consider making a small donation or sending me a message to let me know what you liked or found useful.