Kumiko Box Build Process
21/8/2022
To save a lot of work, I bought some 10 mm × 3 mm lime strips, which seem to be readily available as they're used for model boat building:
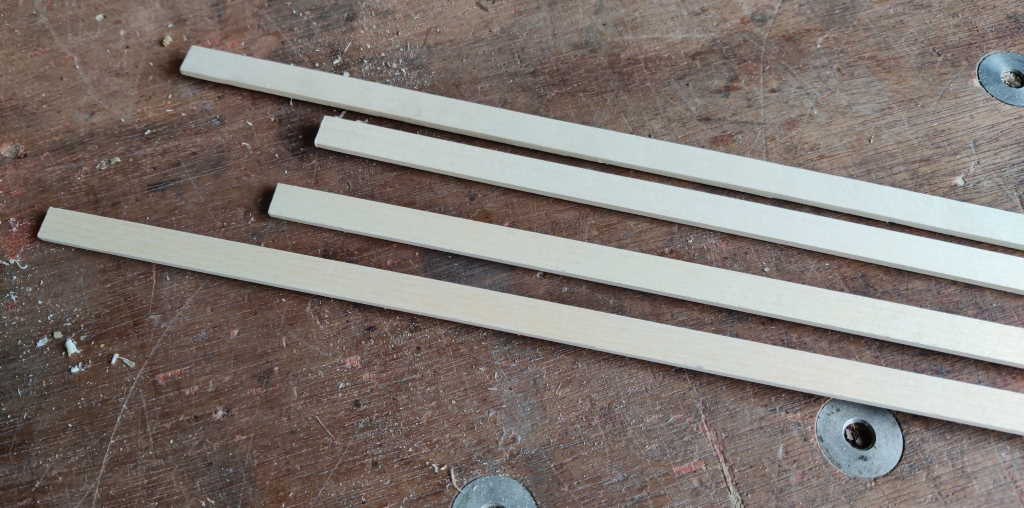 |
I used my simple bench hook thing with a stop to cut the lime strips into pieces:
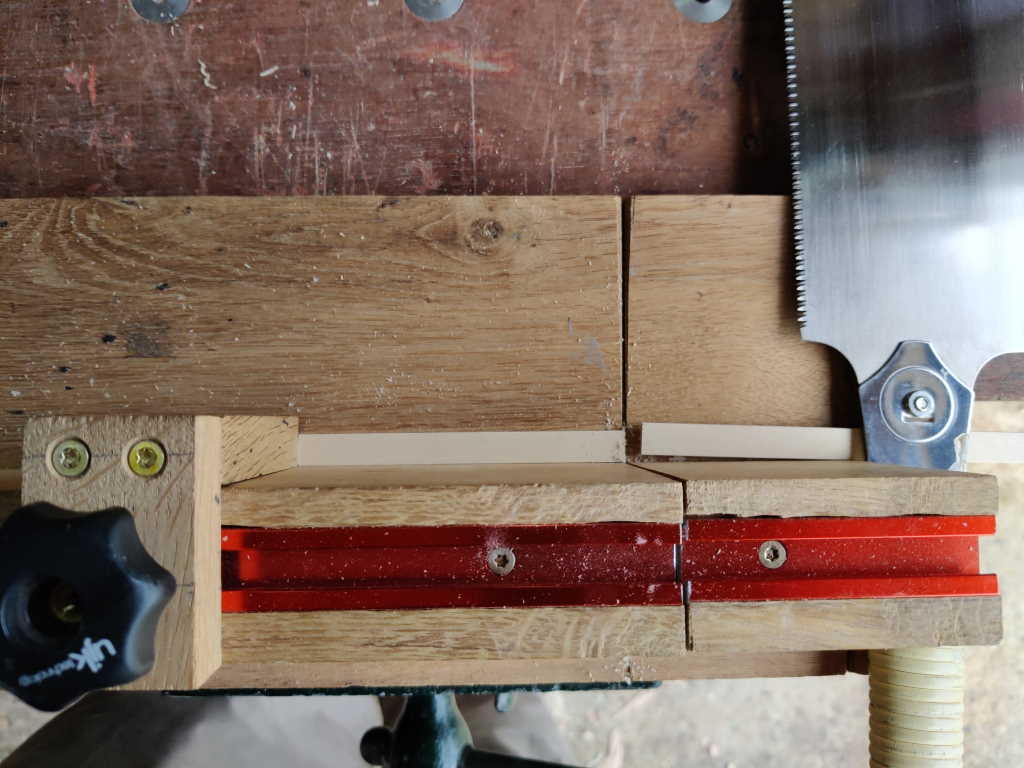 |
That resulted in this lot (I later cut a LOT more of these!):
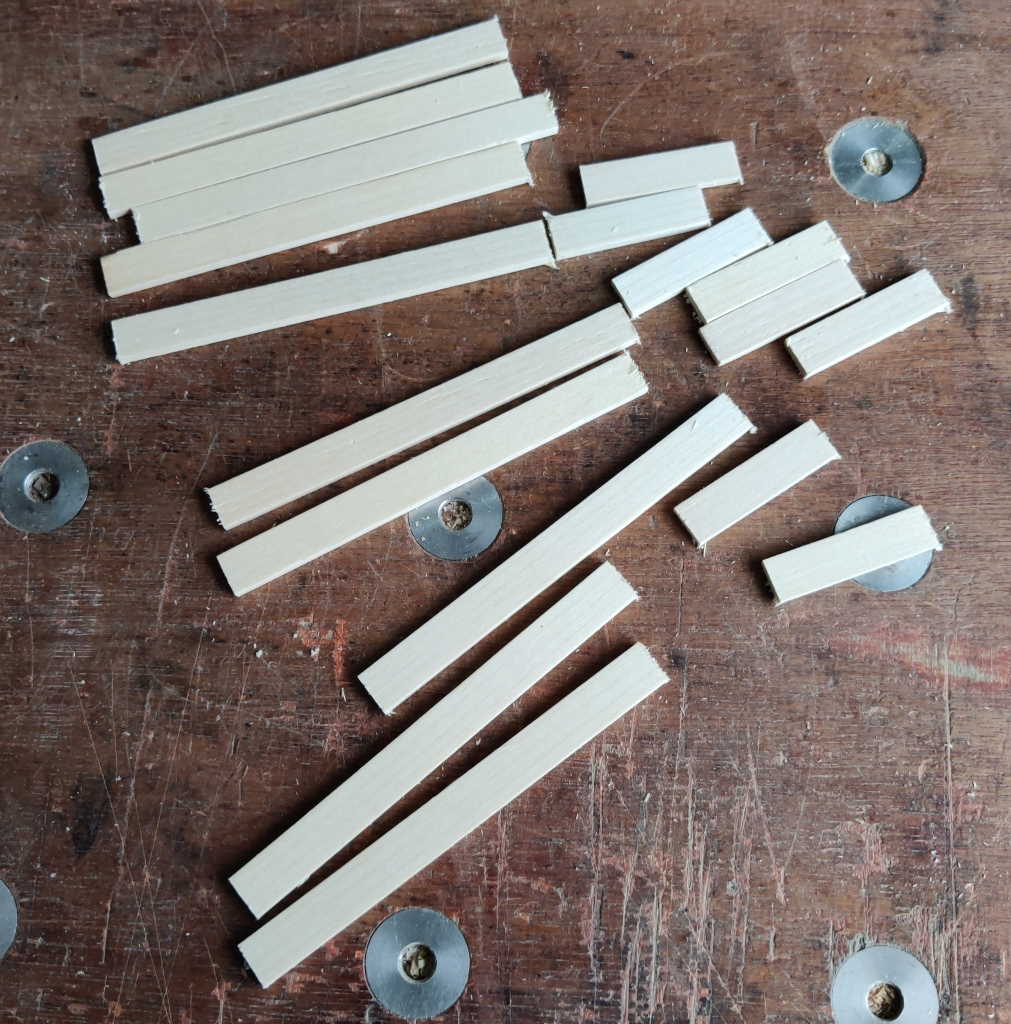 |
I took the strips in sets (by length) and used the shooting board to bring them all down to the same (and correct) length:
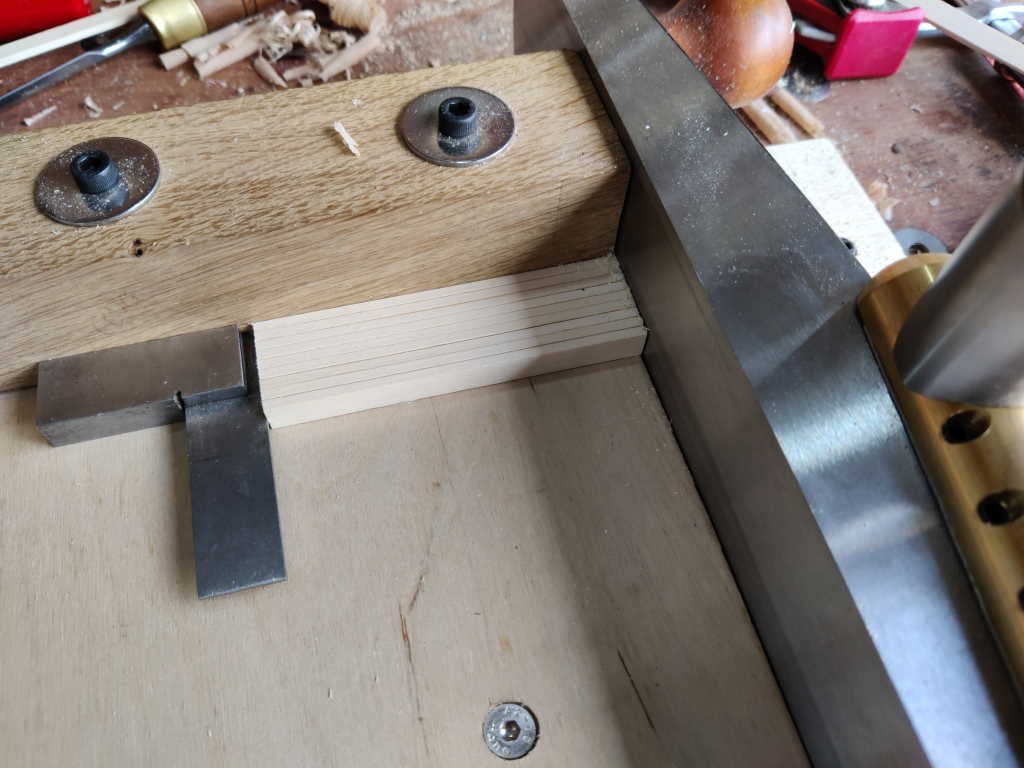 |
One of the strips gained two knife marks, one 10 mm from the end and one 21 mm from the end:
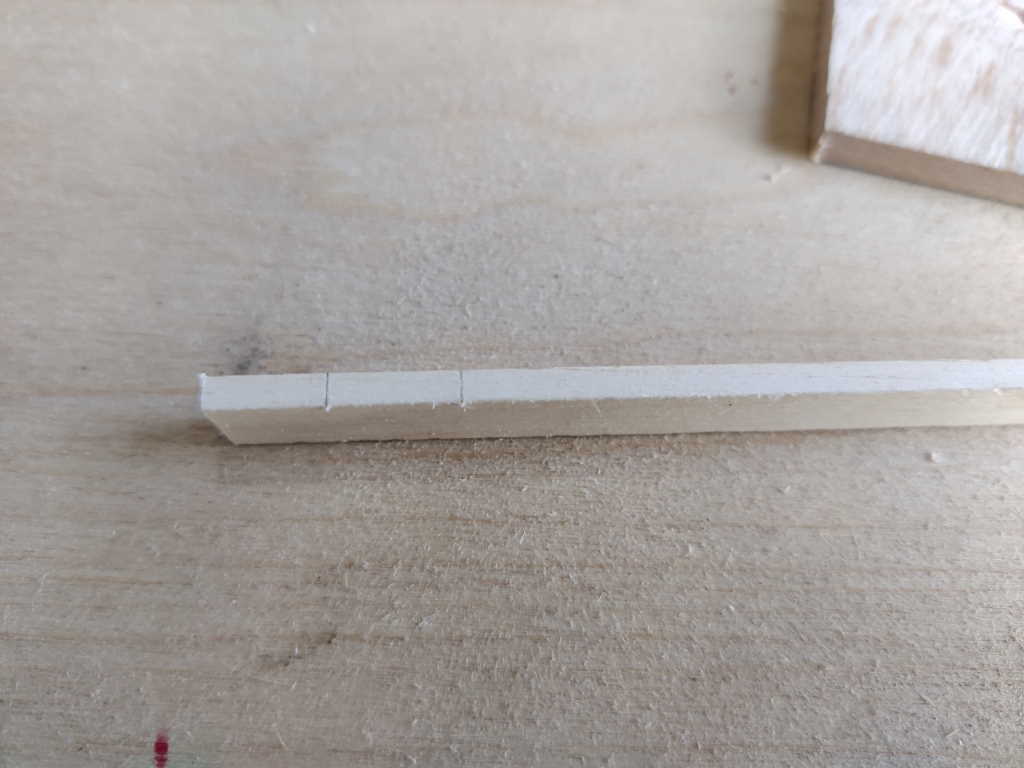 |
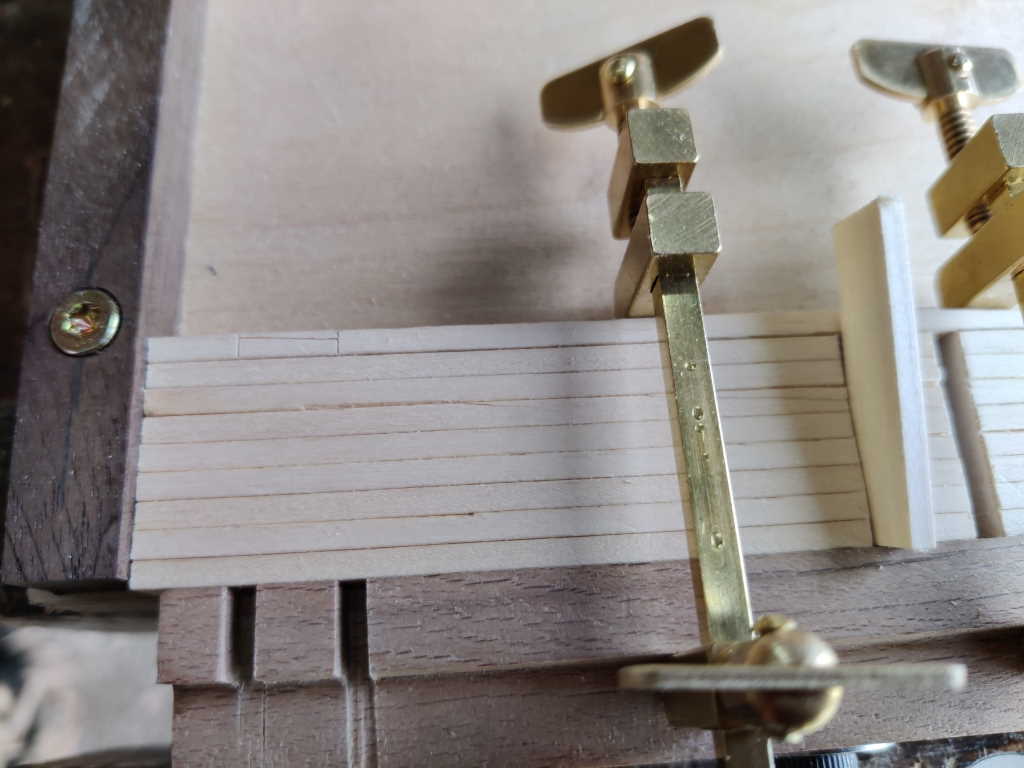
This strip was placed alongside all the others and held in the new jig and a small square was used to transfer the marks across all the pieces:
I then used the reference strip as a width guide to mark a second line across all the pieces:
 |
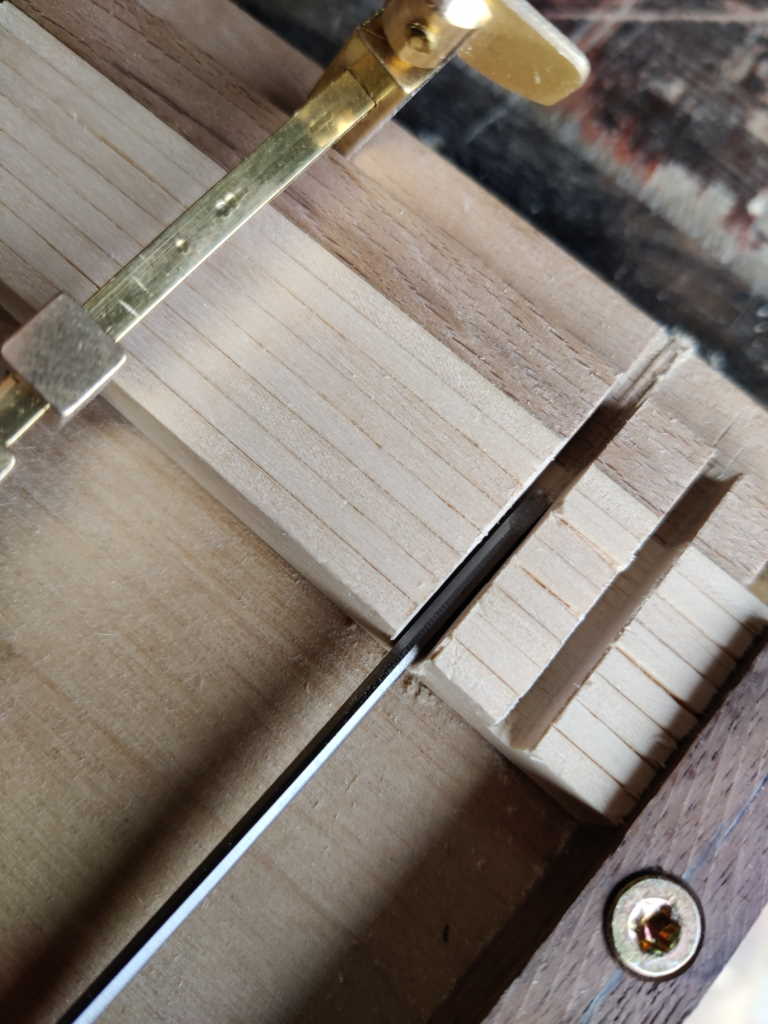
With a spare bit of 5 mm thick beech I had lying around as a second depth stop, I could saw along the lines with a fine tooth pitch saw until the saw hit the rebate and the spare beech piece (for a consistent depth):
 |
At this point, I trimmed (with a ryoba) the jig down to be a bit narrower. I could then use my 2 mm chisel to remove the sawn out pieces:
 |
I then flipped the pieces over and reused the same reference piece to mark the location of the second pair of slots:
 |
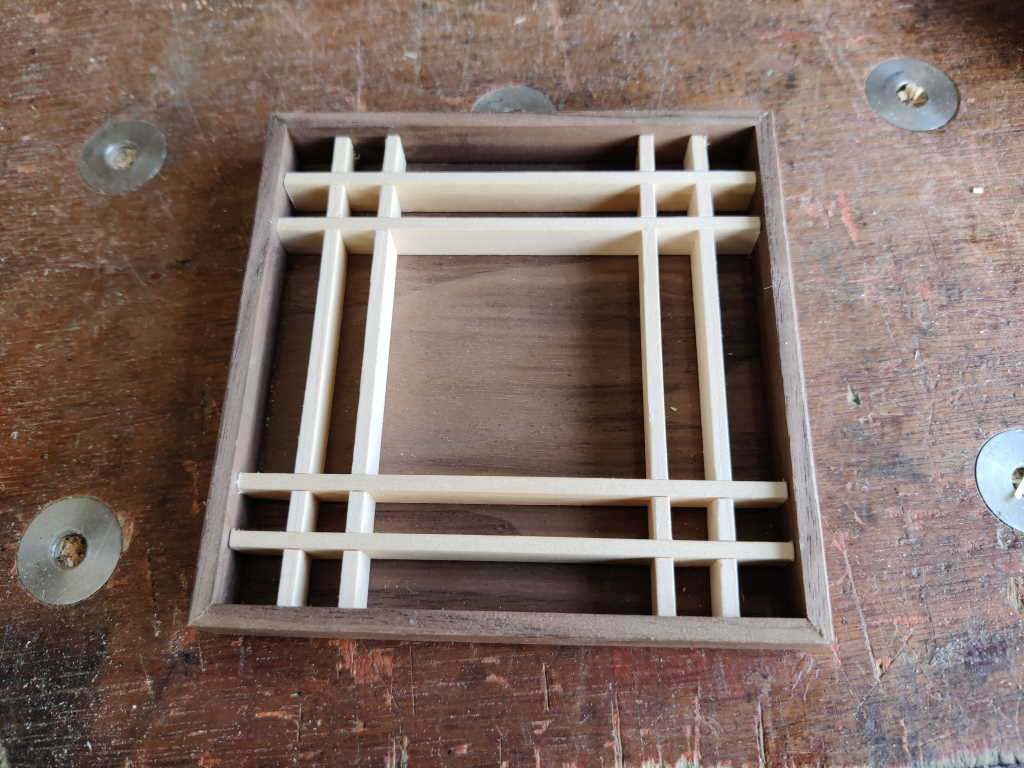
With that I was left with a pile of frame pieces...
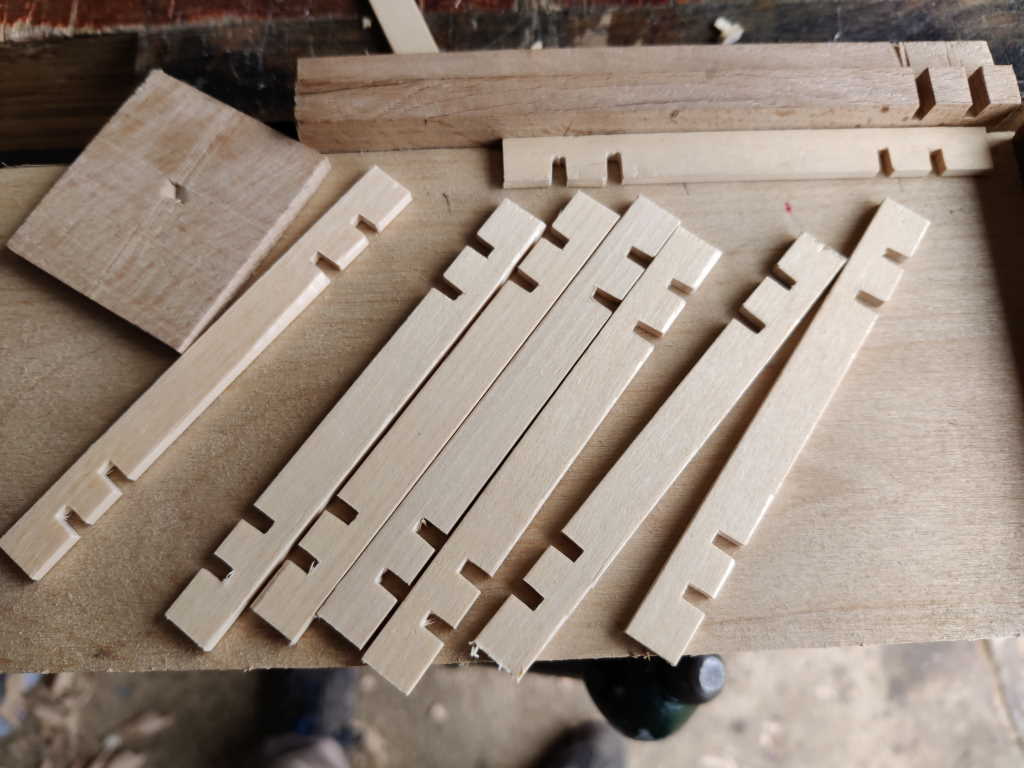 |
... which go in the lid like this:
 |
Page Navigation:
| First (#1) | Previous (#10) | Next (#12) | Last (#15) |
This website is free, but costs me money to run. If you'd like to support this site, please consider making a small donation or sending me a message to let me know what you liked or found useful.