Kumiko Box Build Process
21/8/2022
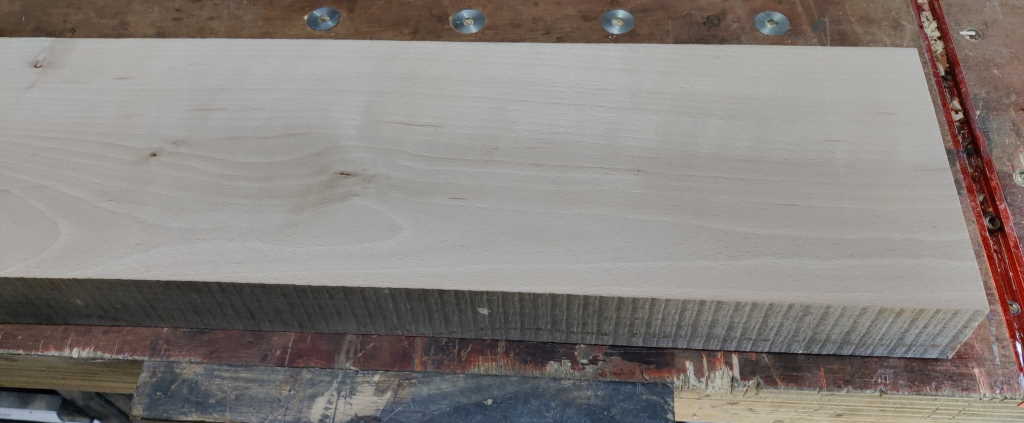
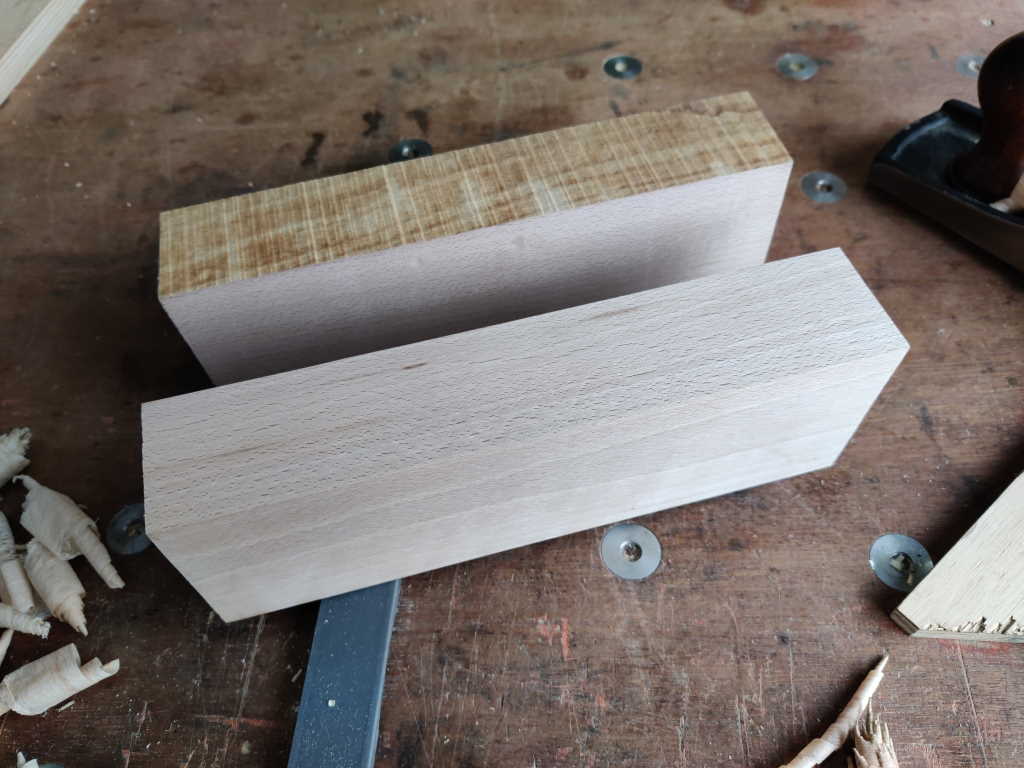
The next job was to make a second jig. I started with a big lump of beech:
 |
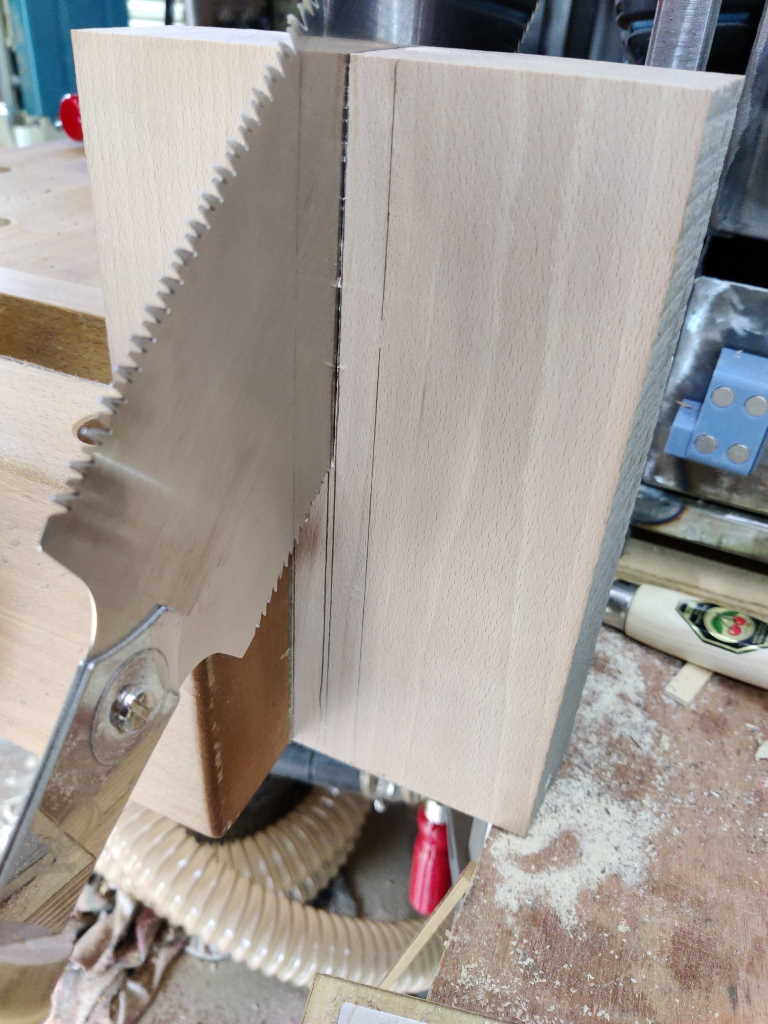
I used my big ryoba to cross-cut it...
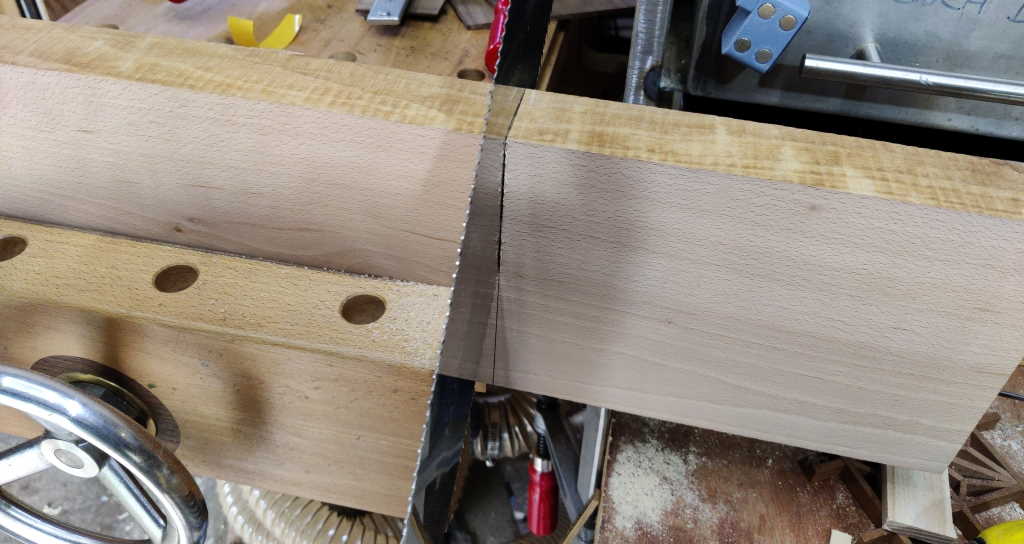 |
... and also rip cut it:
 |
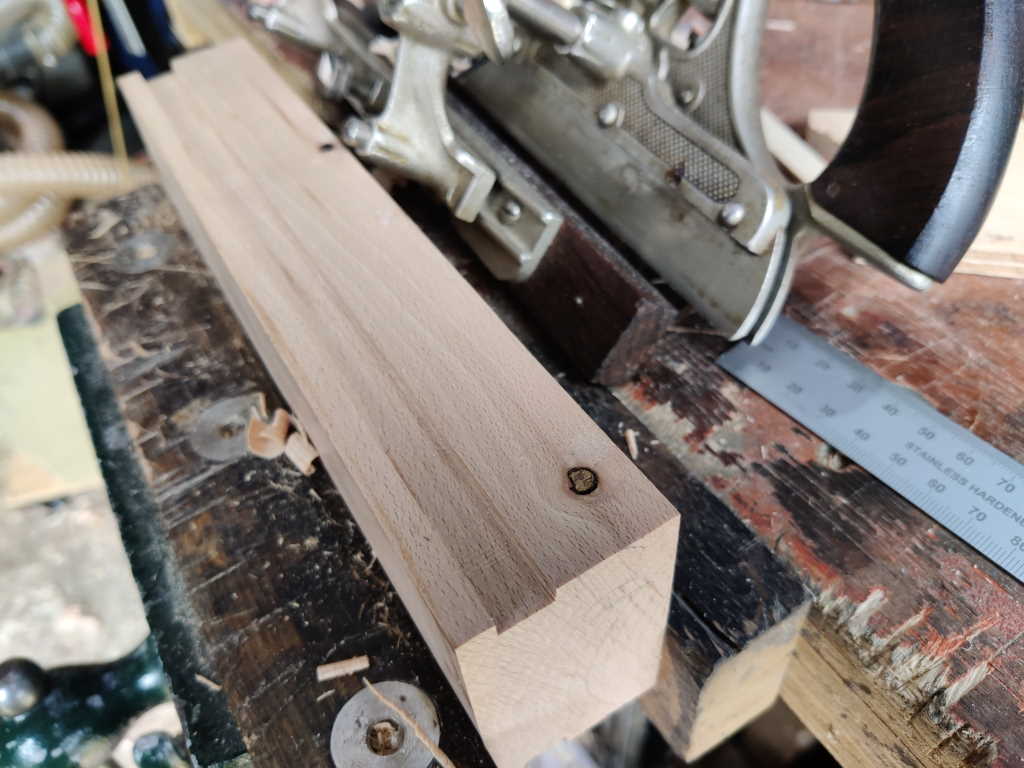
I then used my Axminster #5 to plane the faces...
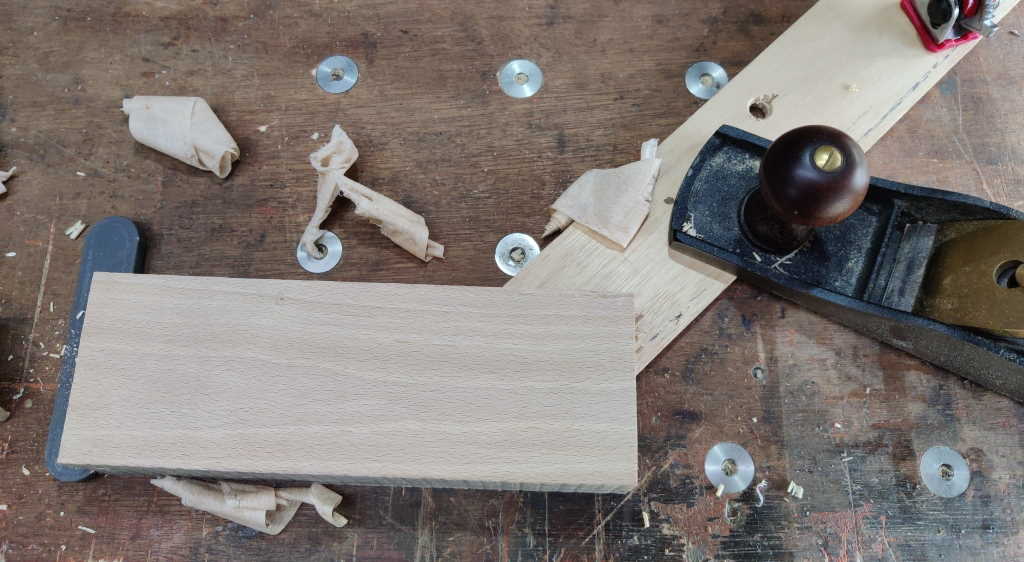 |
... and also the edges of one of the pieces:
 |
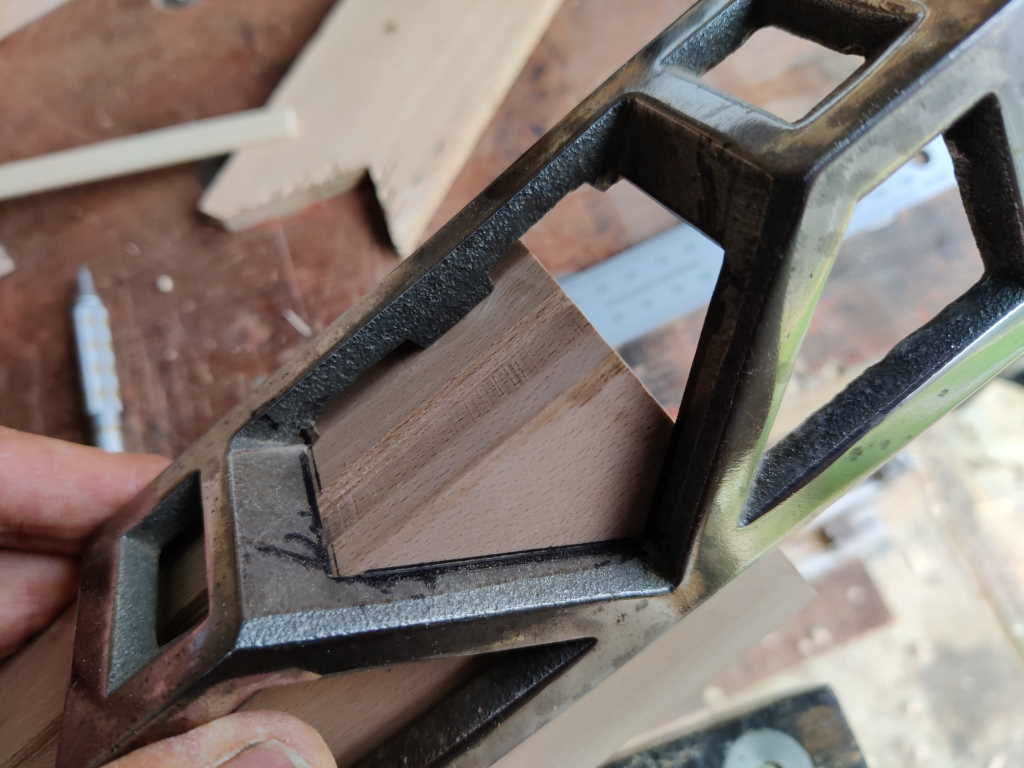
The Stanley #45 then got another outing with my home-made 10 mm cutter to make a 10 mm wide and 3 mm deep groove:
 |
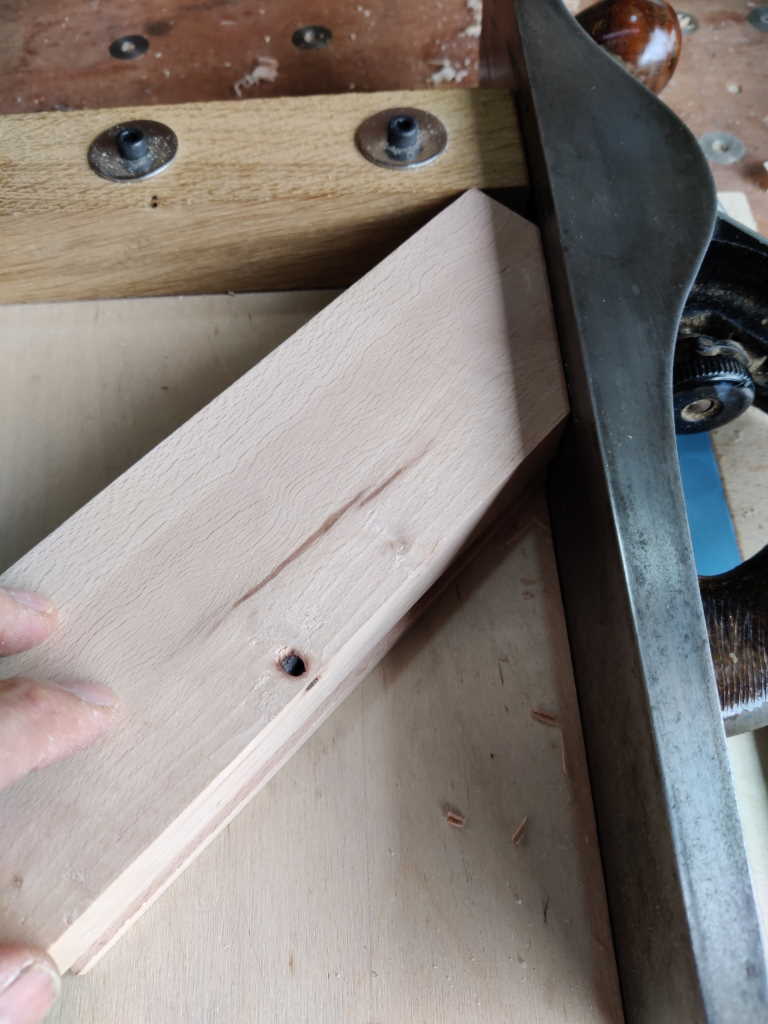
I used this handy Clifton mitre marking thing to mark a 45° line on the face and a square line across the edge:
 |
After sawing the waste off, I used the shooting board again to finish the mitred edge. This time I used my Stanley #5½ as it has a wider iron than the low-angle jack plane:
 |
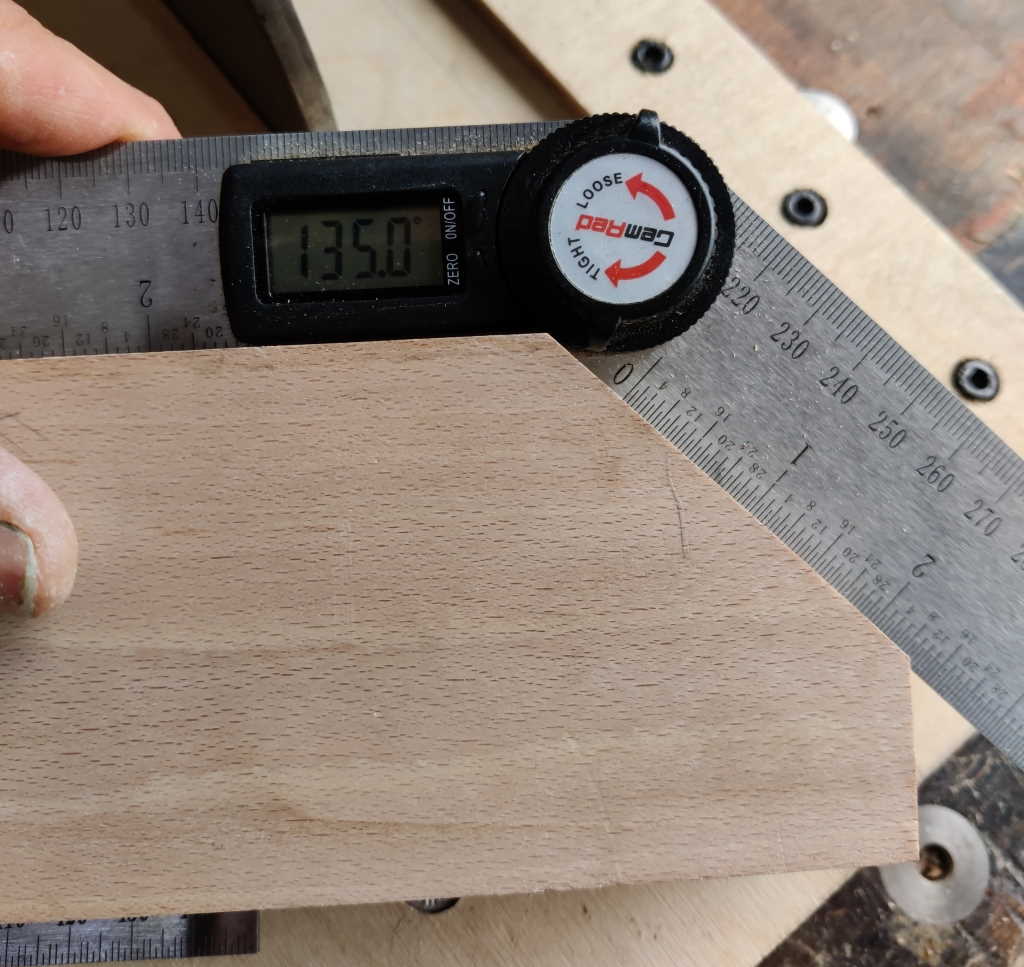
Once again, I kept tweaking and reshooting until the angle between the bottom of the ploughed groove and the shot mitre face was spot on:
 |
Page Navigation:
| First (#1) | Previous (#11) | Next (#13) | Last (#15) |
This website is free, but costs me money to run. If you'd like to support this site, please consider making a small donation or sending me a message to let me know what you liked or found useful.