Kumiko Box Build Process
19/8/2022
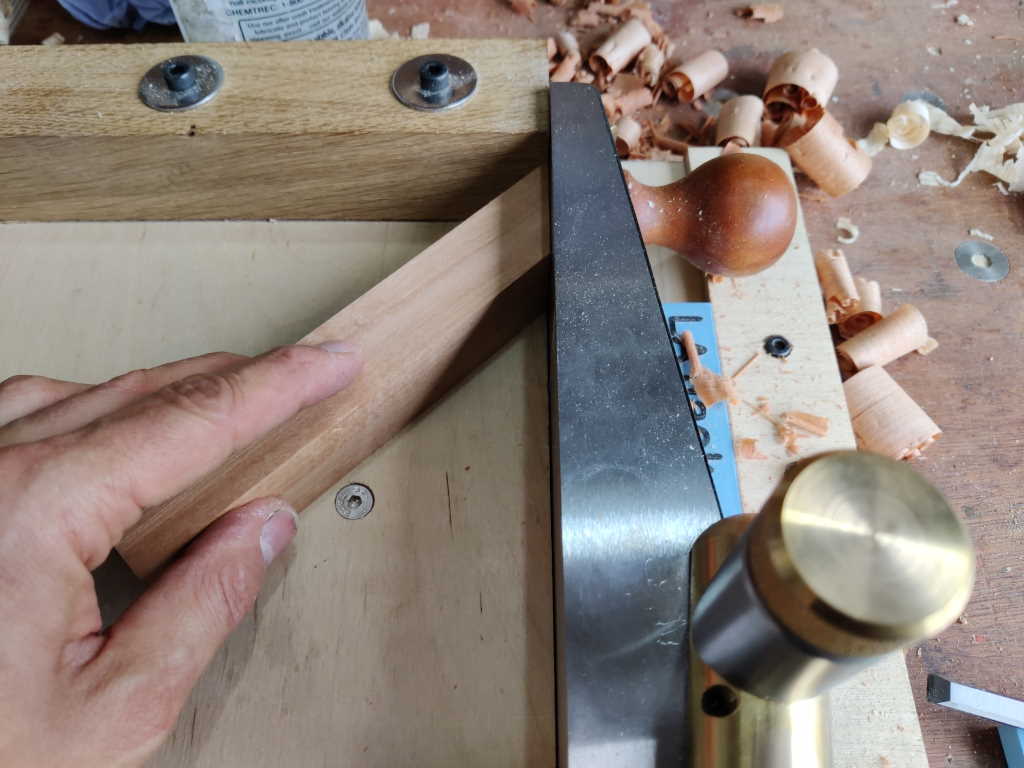
When I made my mitred dovetail test piece, I used a bit of oak that I'd previously cut at 45° with my table saw (before I sold it). Since I'm trying to do more with hand tools, I thought I'd have a go at making a new 45° reference piece using hand tools only. I had a short-ish bit of square-ish cherry in the drawer. I planed it so that all four sides were square with each other and then cut a very rough 45° angle into the end with my ryoba. With that done, I could hold the block on my shooting board and shoot the end to approximately 45°:
 |
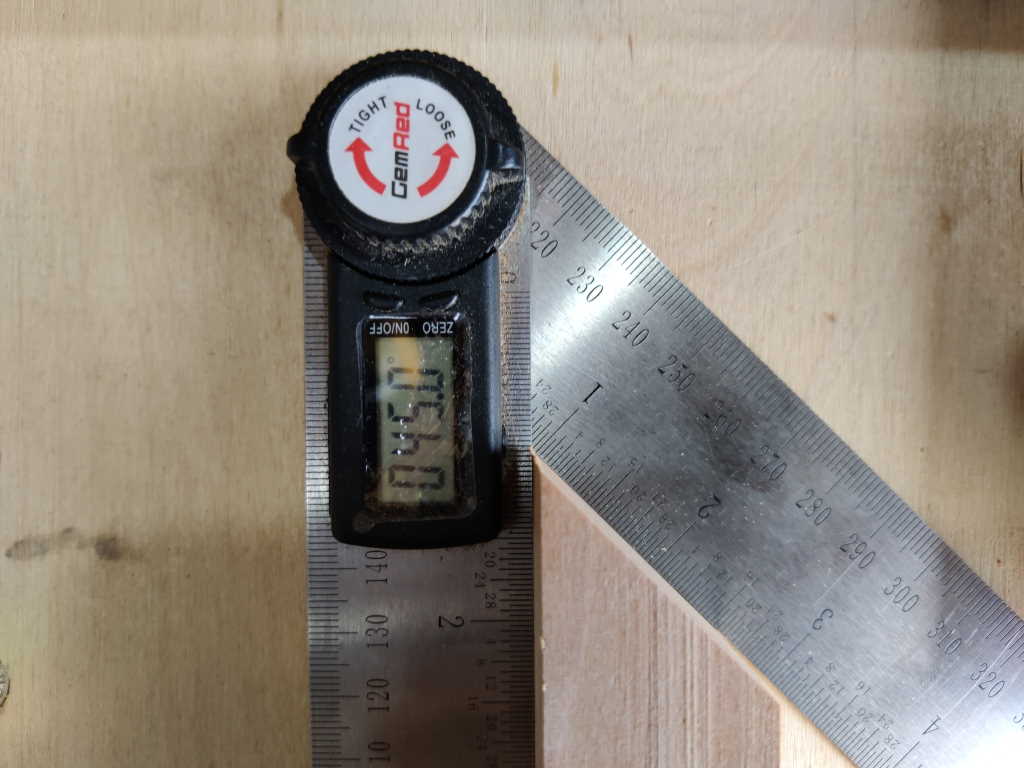
I checked the angle with a digital protractor and kept tweaking the angle, shooting again, checking the angle over and over until I got it spot on:
 |
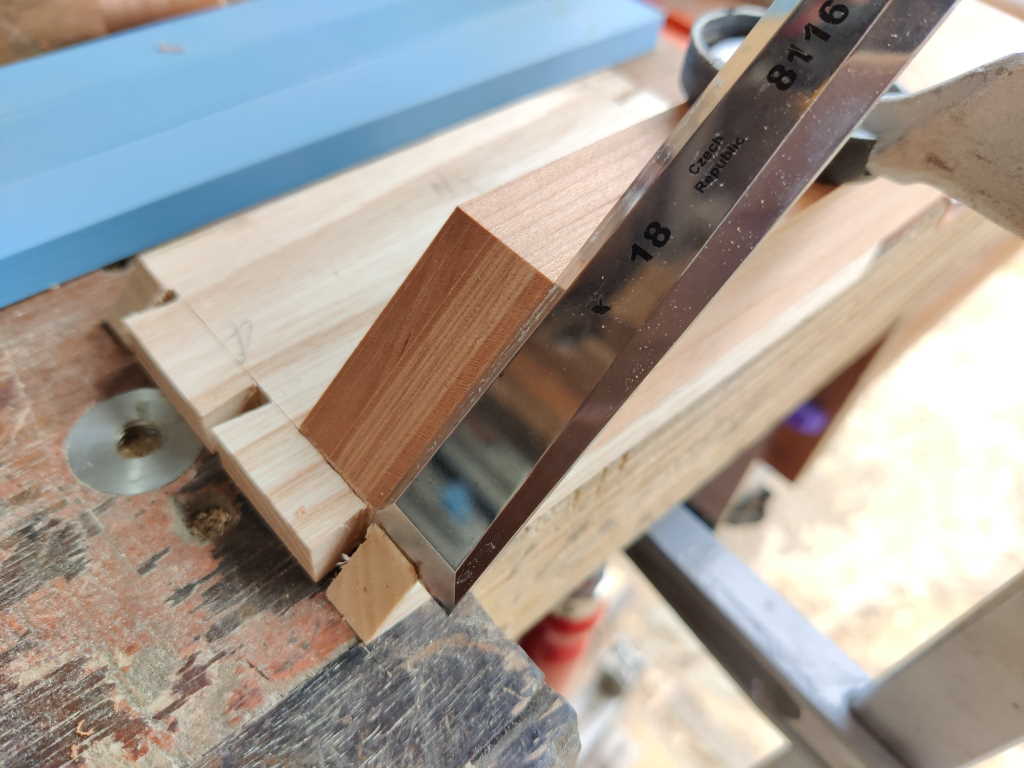
I could then clamp that cherry block down onto the tail board and gently push a chisel down to cut the mitre (in two stages in some cases). I thought I'd be brave (stupid?) and chop to the scribed line rather than doing lots of test fits and creeping up on it:
 |
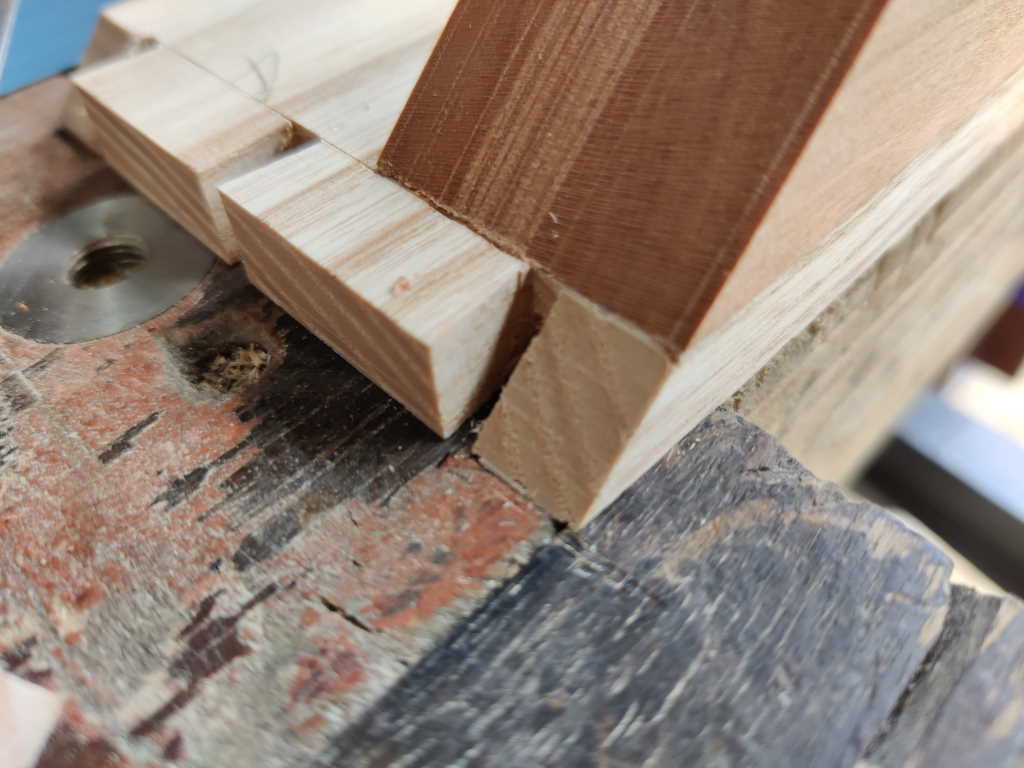
Chiselled mitre:
 |
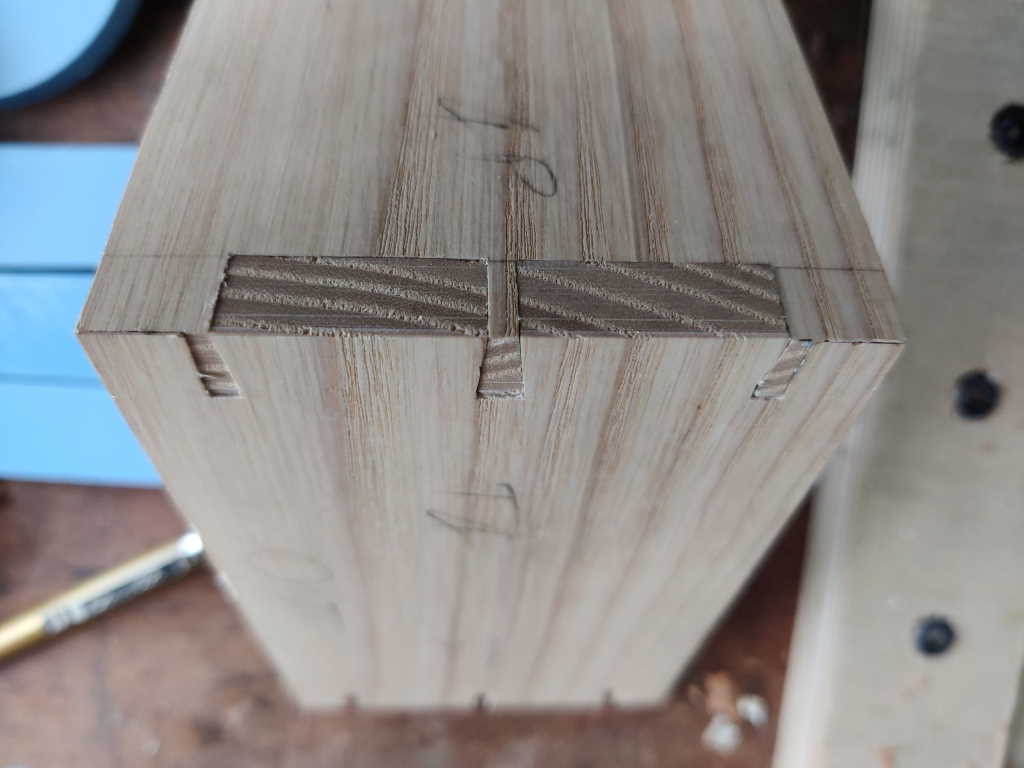
With that, the first joint is nearly ready for test fitting:
 |
Before trying to push them together, I relieved the inside edges of the tails with a chisel:
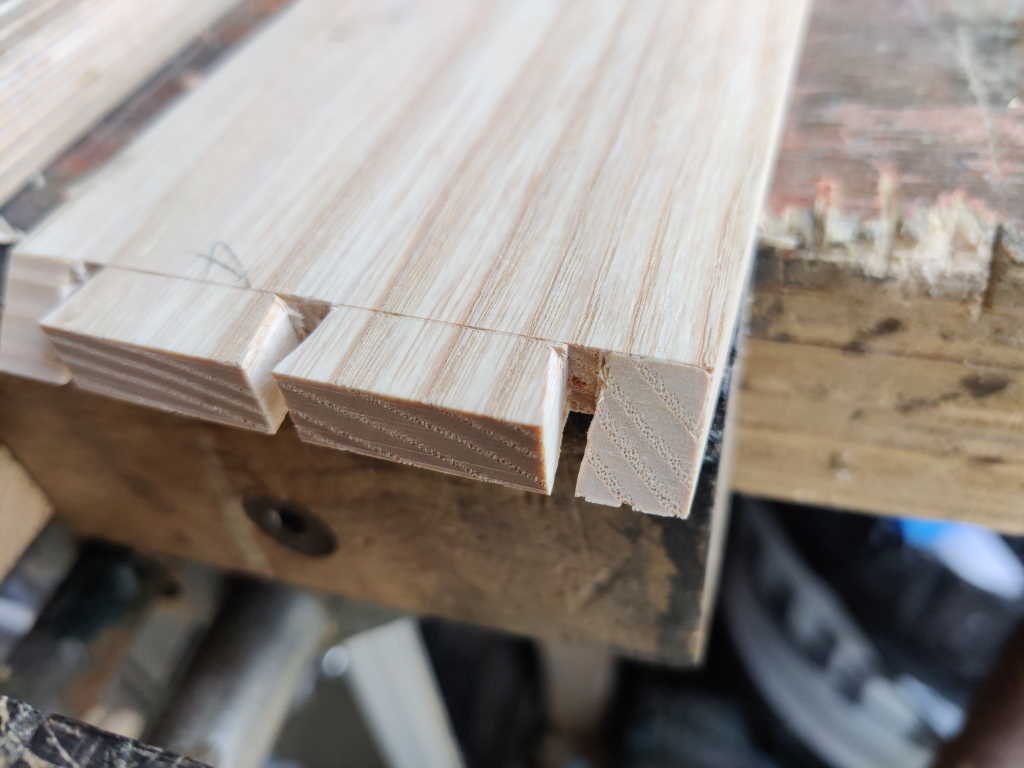 |
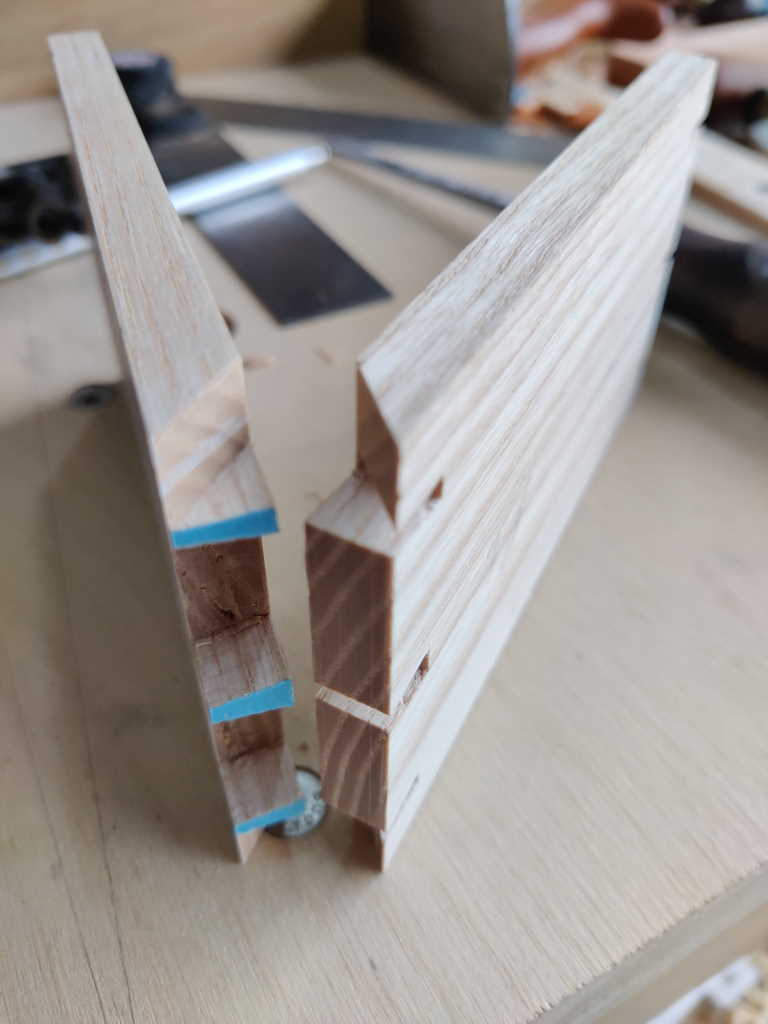
The pins and tails weren't quite right and I had to widen the tail openings very slightly, but it didn't need much and in very little time the first joint was together:
 |
That's it for today; tomorrow I'll get on with the other three sets of pins & mitres.
Page Navigation:
| First (#1) | Previous (#4) | Next (#6) | Last (#15) |
This website is free, but costs me money to run. If you'd like to support this site, please consider making a small donation or sending me a message to let me know what you liked or found useful.