Kumiko Box Build Process
19/8/2022
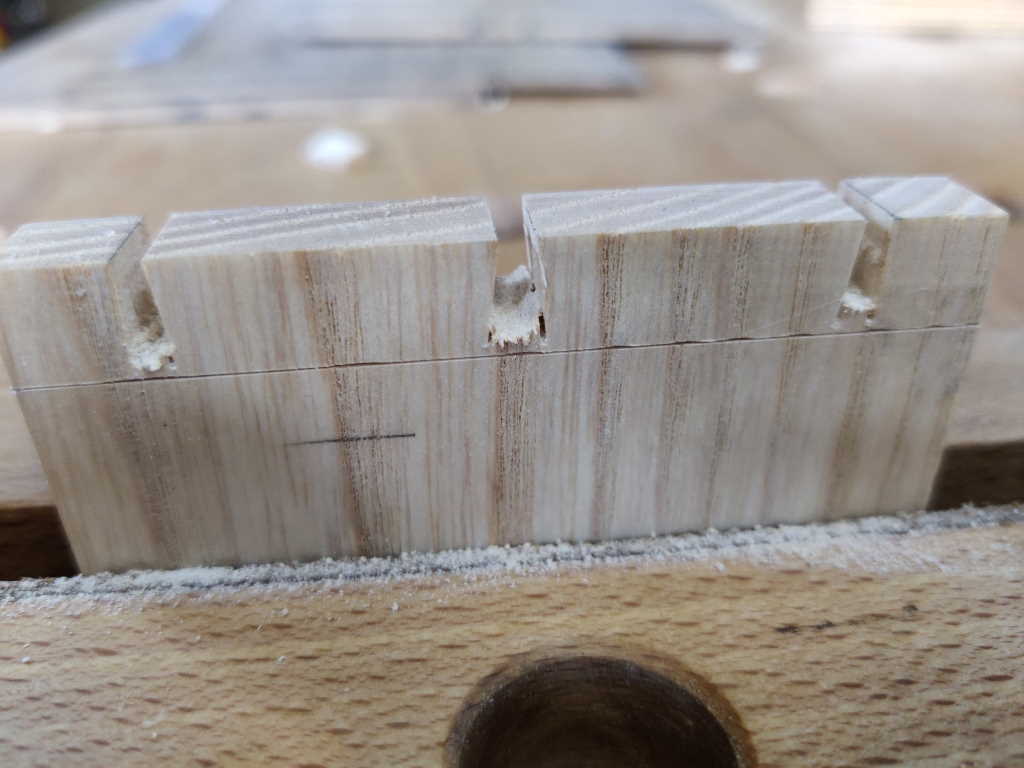
After sawing all the sides, it looked like this:
 |
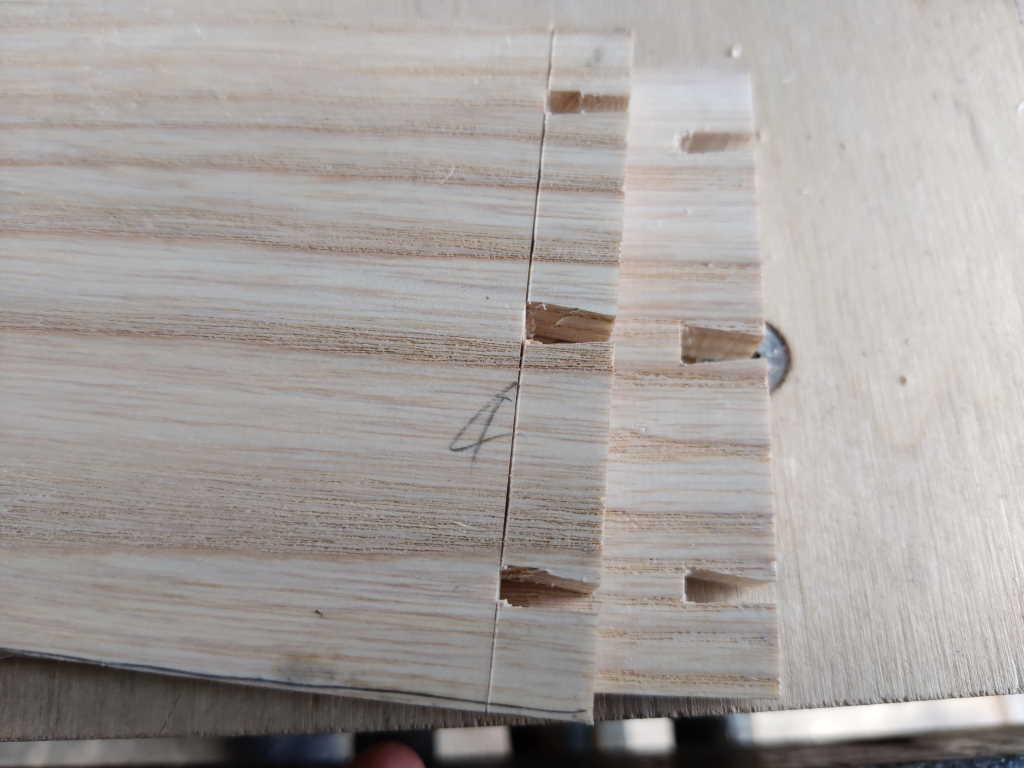
I usually cut out the bulk of the waste with a coping saw, but I've designed the pins to be very narrow so I thought I'd try my new-ish fretsaw for these. If slots down into the kerf of the dozuki and worked very well:
 |
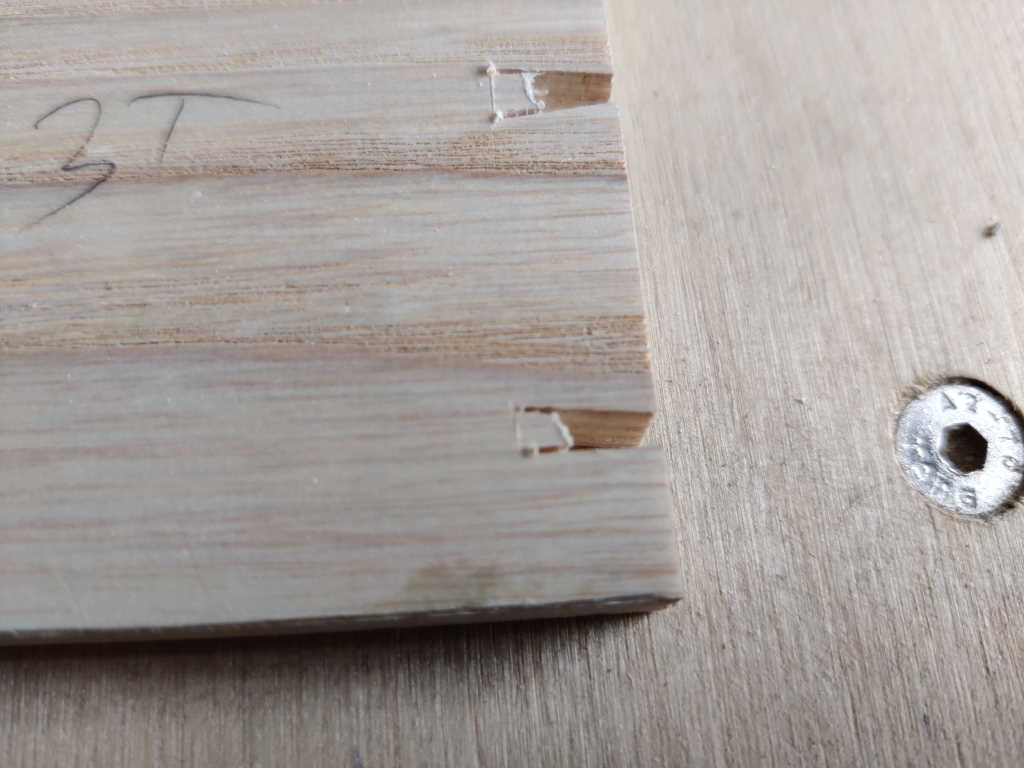
All four boards waiting for the pin holes to be cleaned out:
 |
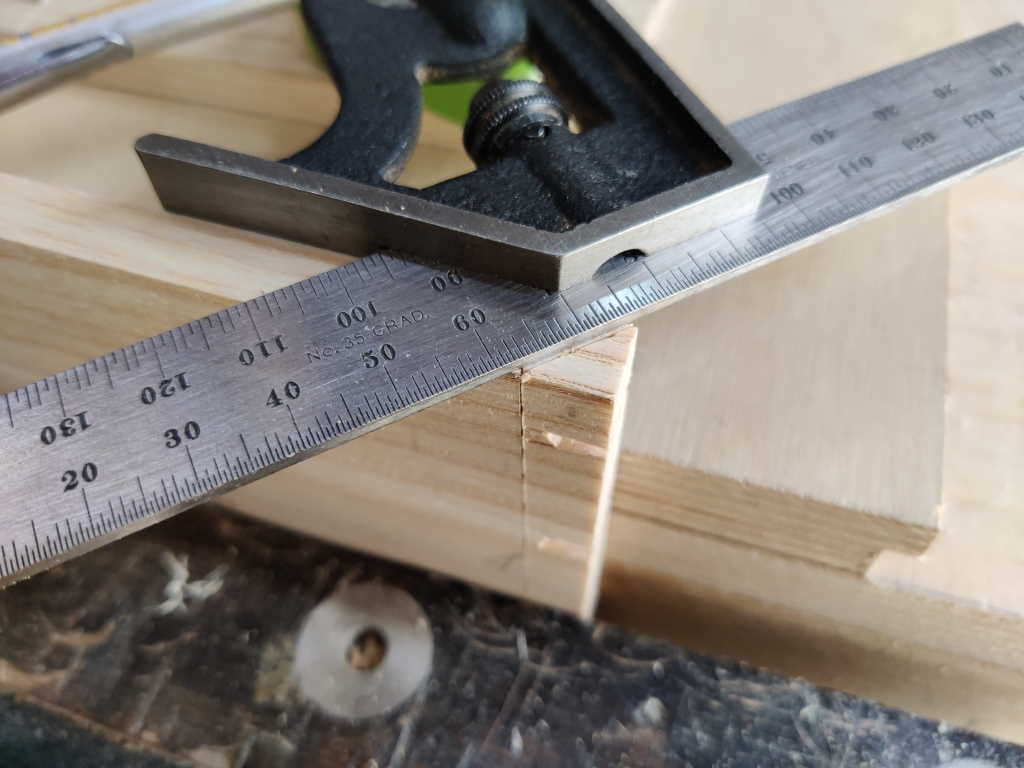
I now needed to mark the depth of the pin sockets on the outside face, so I transferred the knife marks round the edge (with a little notch on the corner) and cut a line just in the places where the pin sockets needed to come out:
 |
While I was in the process of knife marking, I also marked the mitres on all the tail and pin boards (checking several times to make sure I was marking them the right way round!):
 |
I'd intended to do all the chopping out of the pin sockets with my 3 mm chisel, but hadn't taken into account that it isn't a bevel edged chisel and it doesn't really fit into those tiny pin sockets. Instead, I resorted to a relatively new acquisition: a 2 mm chisel. It's still doesn't have bevel edges, but it's small enough to get into those pin sockets and can be angled a little to get round the lack of a bevel:
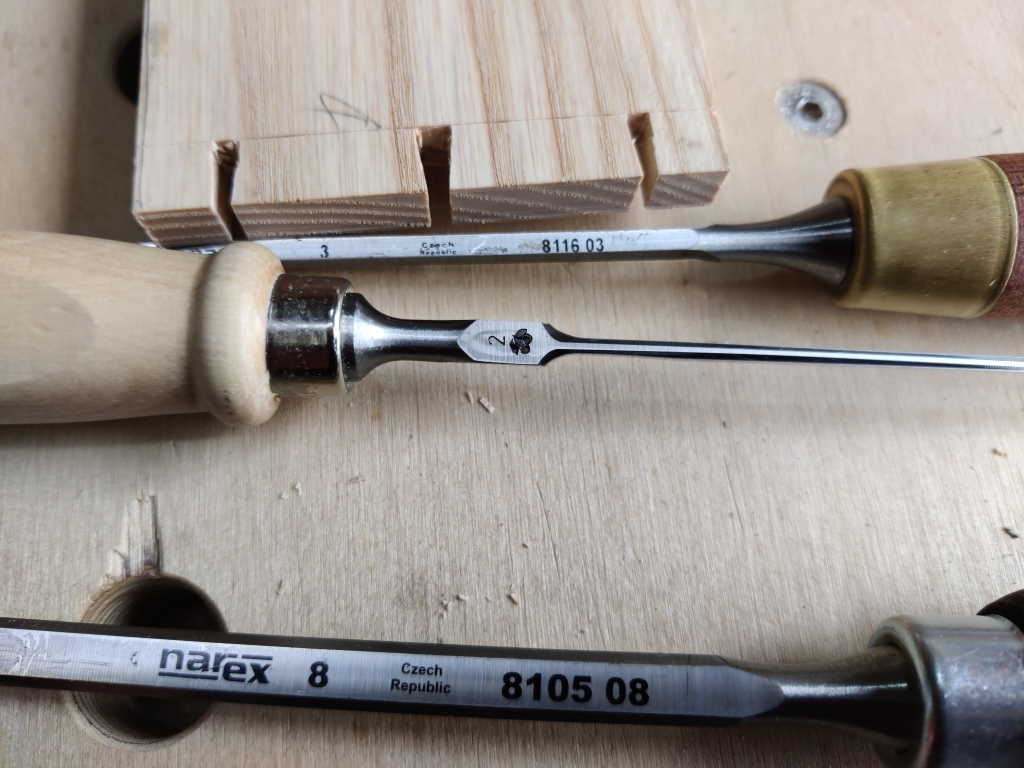 |
After not too long, all the pin sockets were cleared:
 |
Page Navigation:
| First (#1) | Previous (#2) | Next (#4) | Last (#15) |
This website is free, but costs me money to run. If you'd like to support this site, please consider making a small donation or sending me a message to let me know what you liked or found useful.