Kumiko Box Build Process
19/8/2022
I've decided to have a go at another box. This one's going to have mitred dovetails, even though at this point I've only ever cut one of them. I thought I'd write this one up as a WIP because, well, why not? This is probably the first box I've made for which I've got a fairly clear idea in my head of what it's going to look like at the end, so it'll be interesting to see if it all goes to plan!
I started with a piece of ash about 10 mm thick. I skimmed the faces with a Stanley #4 and then chopped it into four pieces and squared everything up with my shooting board. Ideally I'd probably resaw a thicker piece to guarantee that I could get the grain to wrap around the box, but I had a piece of ash about the right size and the grain seemed fairly straight so I thought I might as well just go with what I've got.
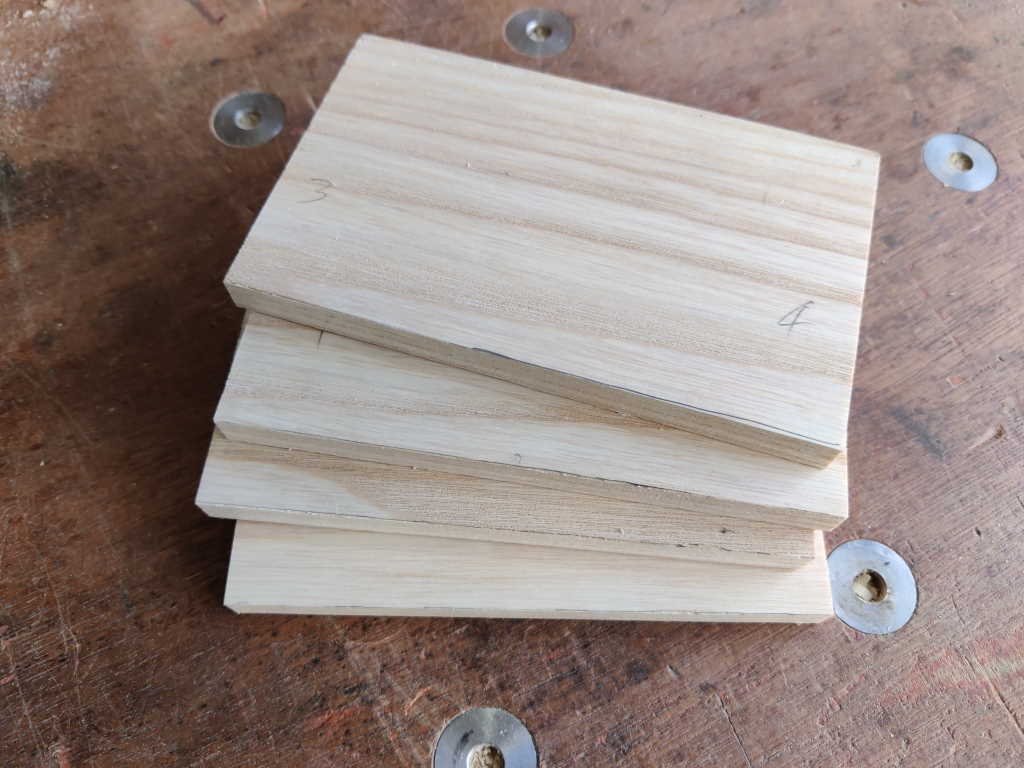
These are the ash boards, all are approximately 130 mm × 80 mm × 10 mm (and shot to be exactly the same as each other, which I thought was more important than being any particular size):
 |
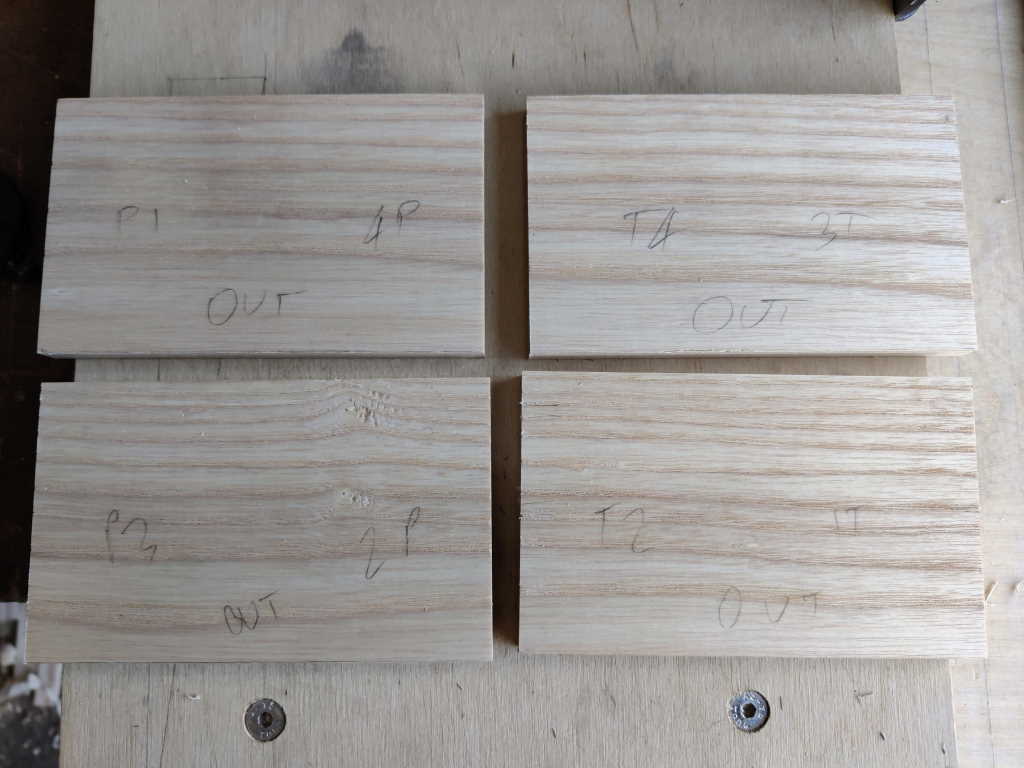
The first job was to lay them out and choose which side was the outside and which boards would be tail boards vs pin boards:
 |
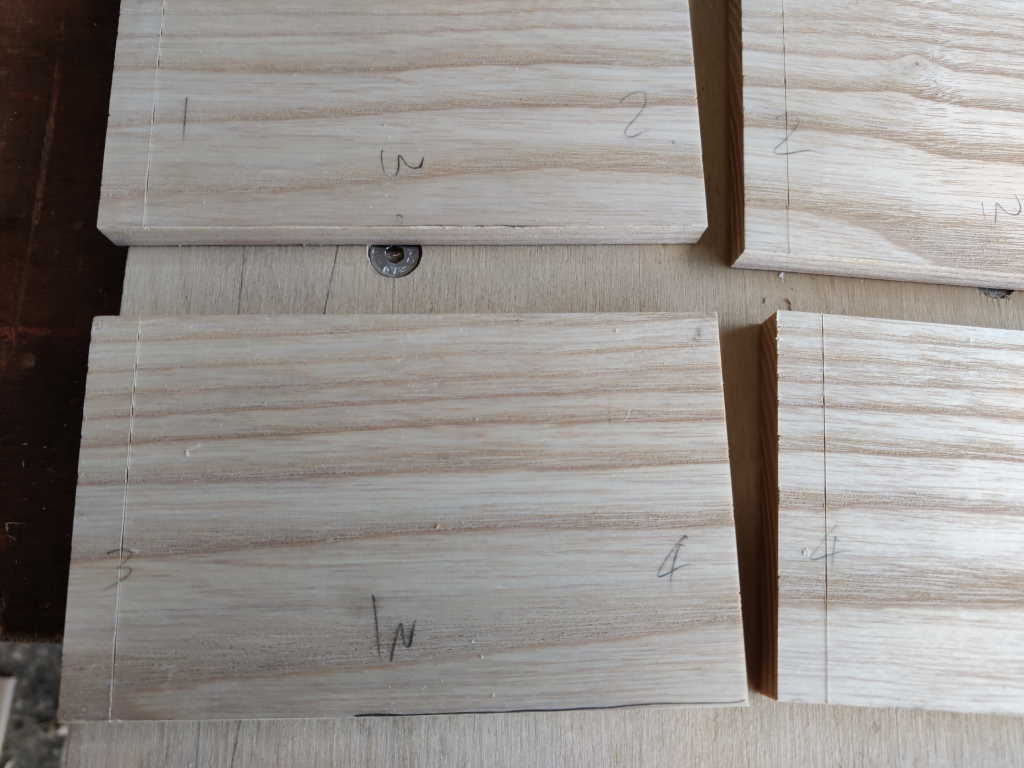
I then used a square and a knife to mark 10 mm in from one edge of each board, on the inside face only. I wasn't too worried about getting this spot on: I figured I'd probably plane the outside down a little at the end and that'll sort it out:
 |
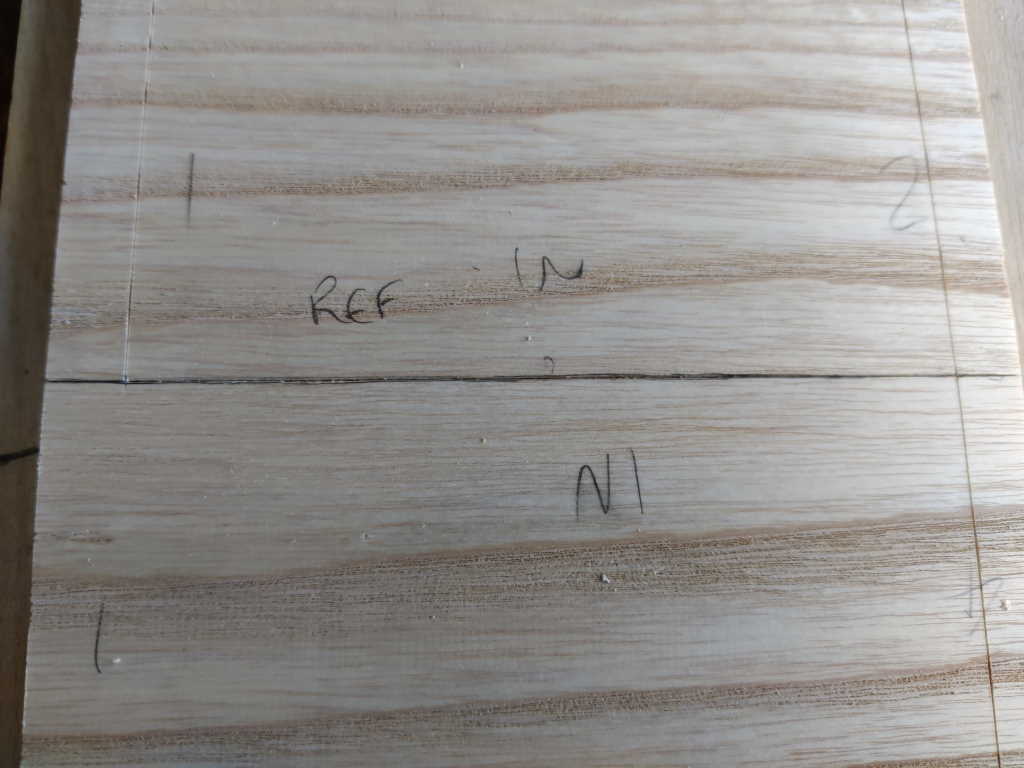
I then picked one board as a reference board and butted its reference edge against the reference edge of a second board. That allowed me to transfer the edge mark across from the second board onto the other end of the reference board:
After squaring that mark all across the inside face of the reference board and I could then use the reference board to mark all the other boards:
 |
The tails were marked out roughly (on the end face only) using my edge distance gauge and a 0.5 mm pencil. I thought I'd try marking and sawing them out in pairs (with the outside faces together such that the visible sides both had knife lines visible). The plan is to try having separate sections for the mitres (my first test had a mitre that merged with one of the tails):
 |
I didn't put any vertical (or 1:8) marks down the face: just a mark on the end grain and the knifed line for depth.
I used a 3D printed 90° saw guide to cut the outside marks, using the pencil line as a rough guide for position and relying on the magnetic saw guide to keep the cut square:
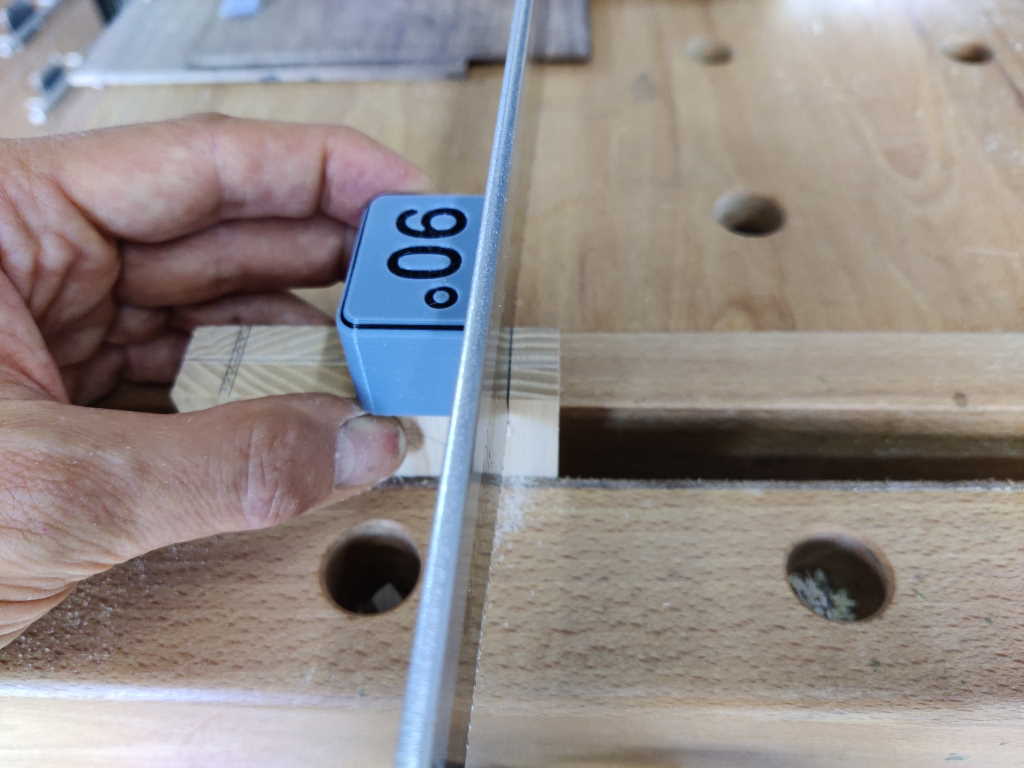 |
I then used a 3D printed 1:8 saw guide in the same way to cut the sides of the tails:
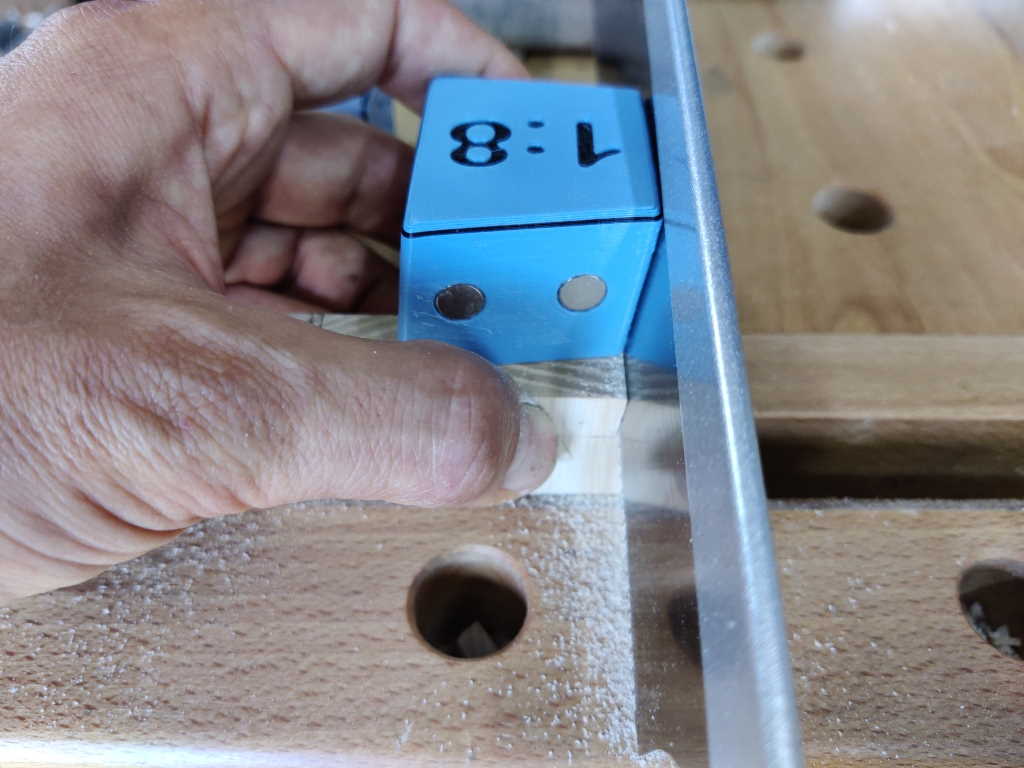 |
Page Navigation:
| First (#1) | Next (#3) | Last (#15) |
This website is free, but costs me money to run. If you'd like to support this site, please consider making a small donation or sending me a message to let me know what you liked or found useful.