Chunky Planter Build Process
15/10/2021
After a lovely walk round Westonbirt arboretum this afternoon there was still a bit of daylight and it was dry so I thought I'd cut the middle slots in the long lengths. I went through each piece and picked a face that would be on the inside of the planter and then alternated them so that four had the inside face pointing towards me and four had them pointing away. I then clamped them all together with some of the spare pieces in the end slots to make sure all the pieces were aligned.
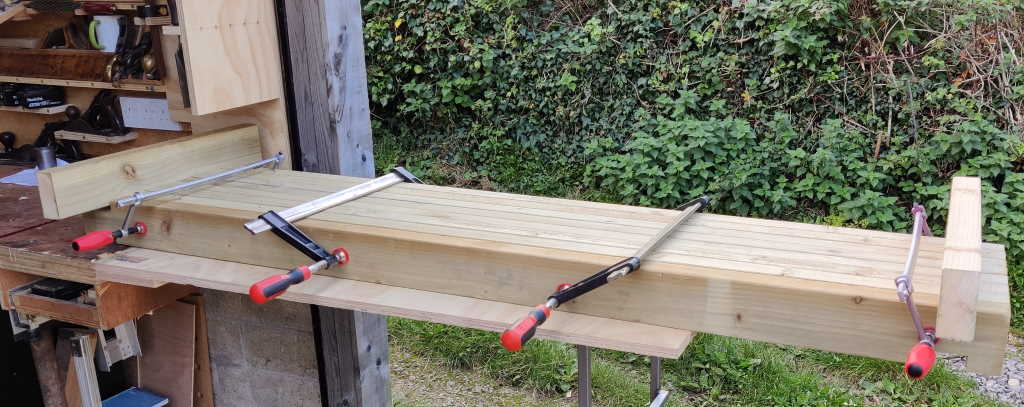 |
I then marked the extents of the slots, deliberately marking them very slightly under-size so that I don't inadvertently end up with a loose fit. I could then use the track saw to cut the edges of the slots:
 |
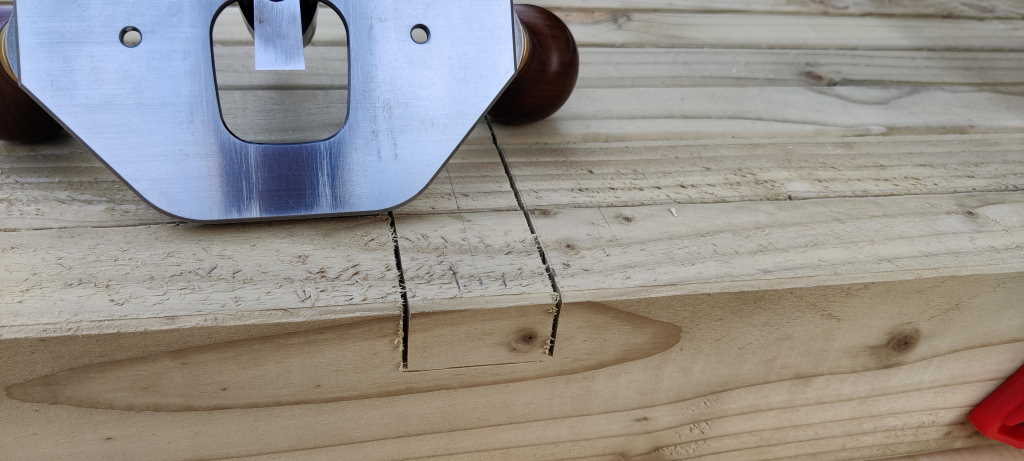
I'd left the router plane set up at the slot depth after cutting the end slots. I could thus use it to quickly mark the depths on the front and back planks:
 |
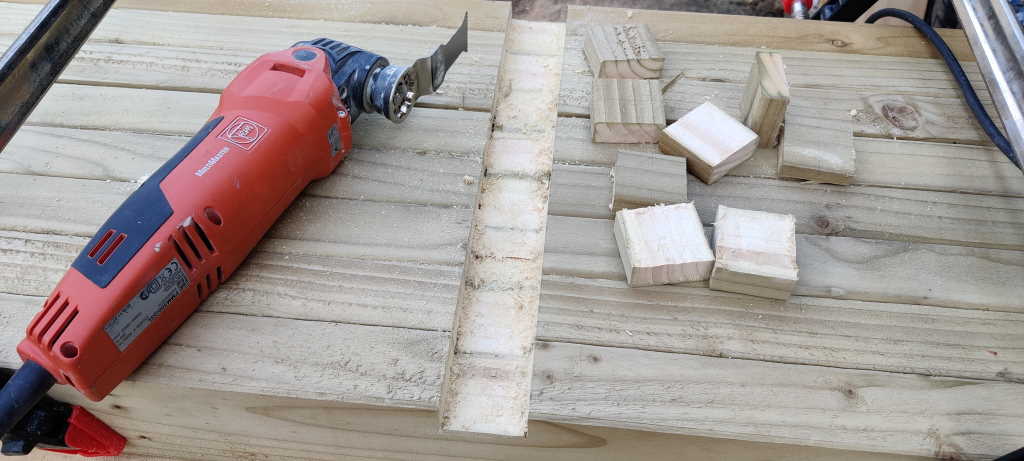
I then removed the bulk of the waste with an oscillating multi-tool:
 |
Each plank was then put in the portable workbench vice and the router plane brought the slot down to depth.
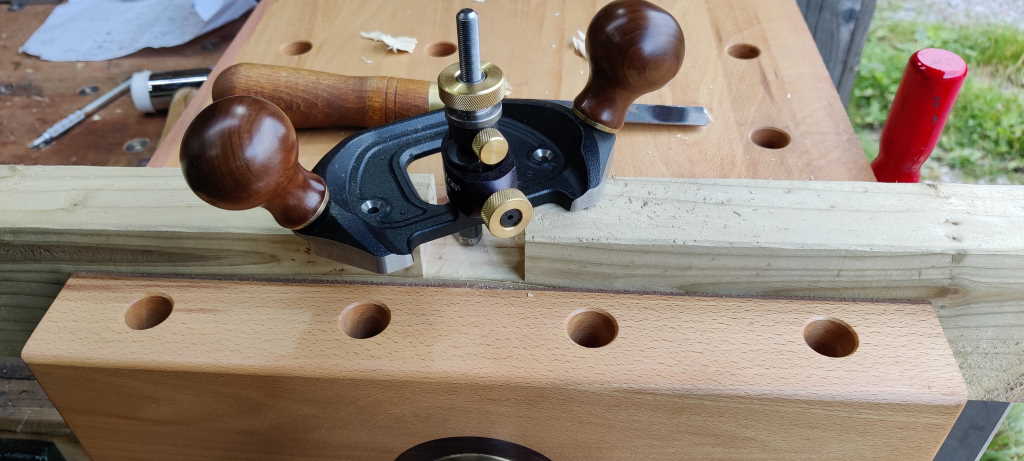 |
With only eight slots to do, it didn't take me long at all to get them all done.
 |
I still need to bring them all to the right width as they're a little under-size as I mentioned earlier. I also need to cut a blind slot in six of them, as you can see in this CAD model:
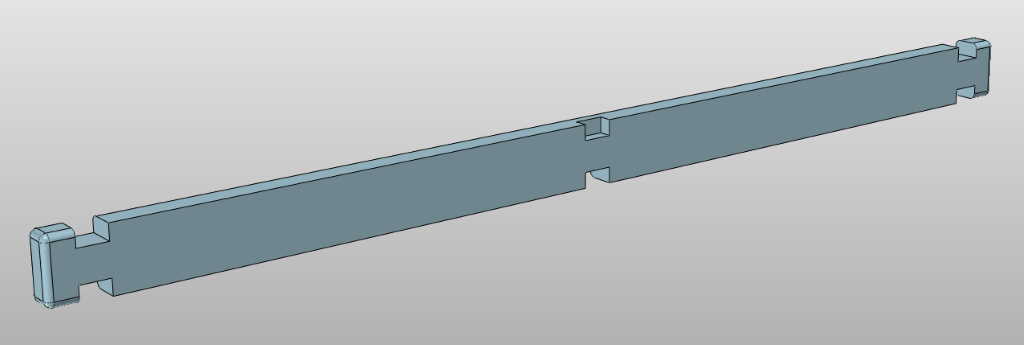 |
The image makes it look as if the slot goes most of the way through the plank, but that's a result of the rounded corner on the plank (and possibly modelling the slot deeper than it's planned to be - I can't remember): it's a 20 mm deep slot in a 47 mm wide board so there will be plenty of material left.
Page Navigation:
| First (#1) | Previous (#7) | Next (#9) | Last (#17) |
This website is free, but costs me money to run. If you'd like to support this site, please consider making a small donation or sending me a message to let me know what you liked or found useful.