Chunky Planter Build Process
16/10/2021
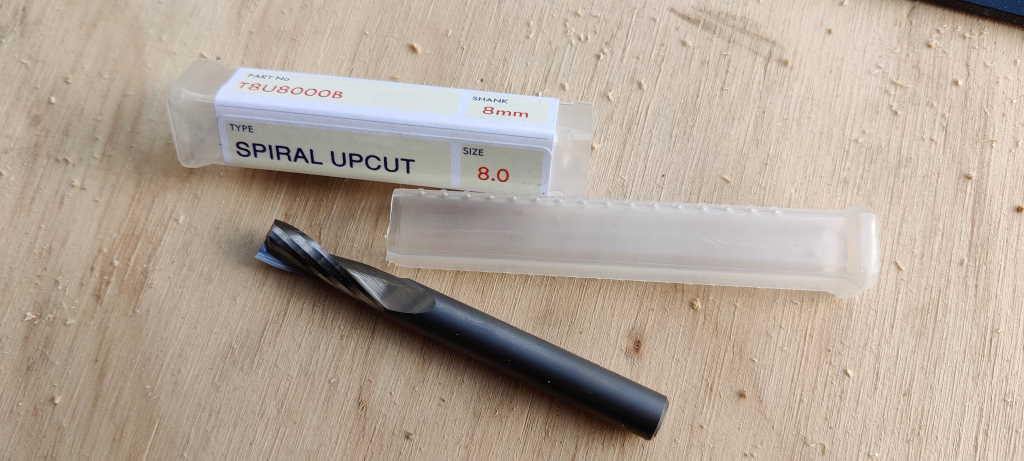
The next job was to cut the grooves for the weld mesh to sit in. I've got this 8 mm shank spiral up-cut bit and that seemed ideal for the job:
 |
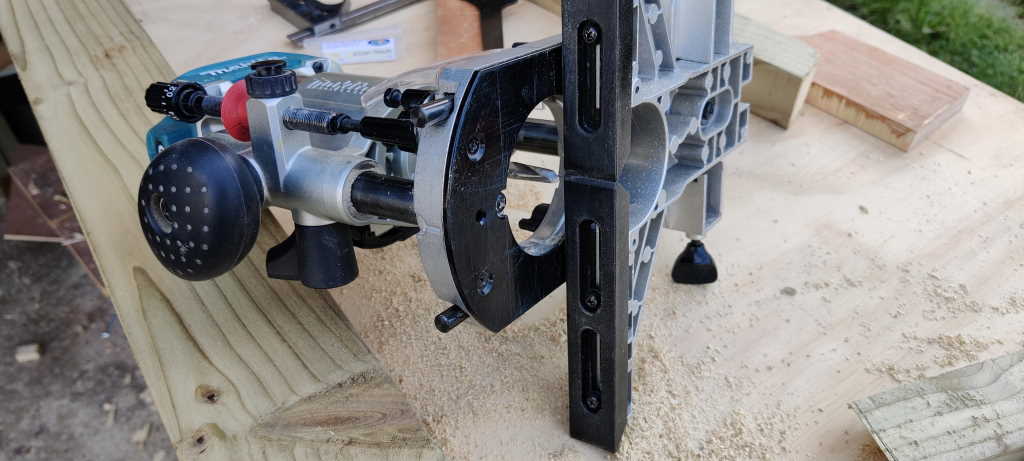
I fitted the big fence (from my larger router) onto my small router to help give a consistent cut.
 |
First up was the rebates, which are cut in two of the long lengths for the big planter...
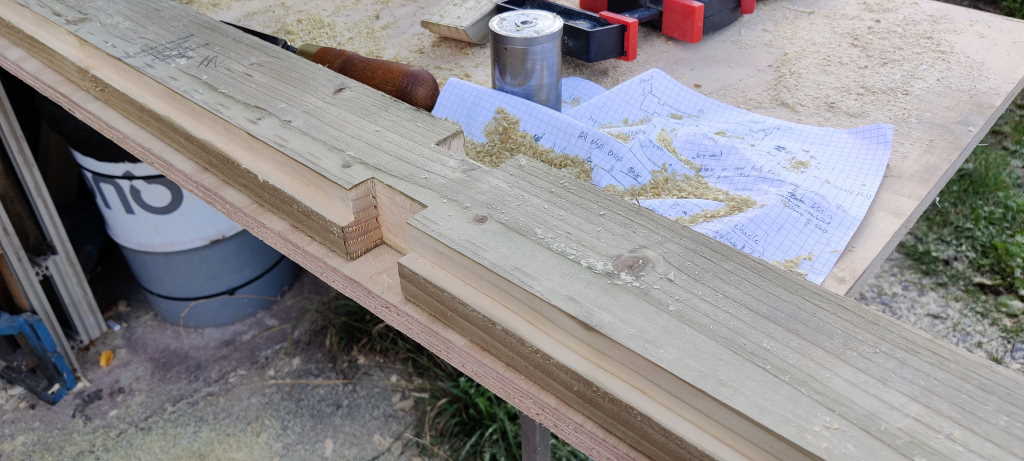 |
... and two small lengths for the small planter:
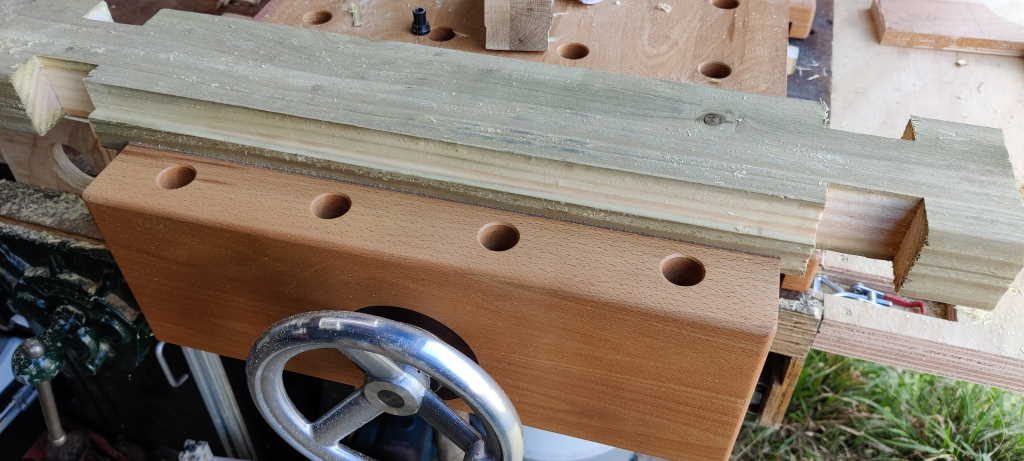 |
Then I just had to cut the slots in the short pieces that form the ends and middle of the planters. I think I was getting tired at this point: my first attempt was in completely the wrong place:
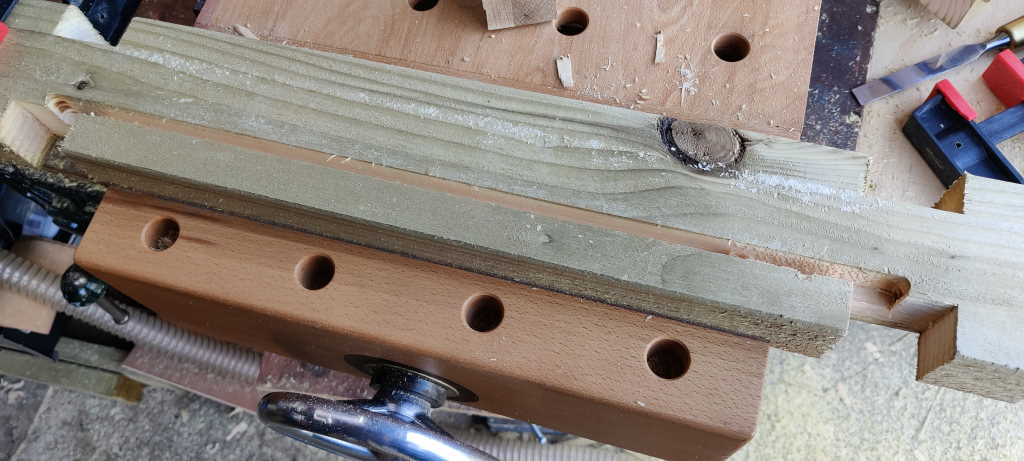 |
I haven't got any spare wood, but I think there are plenty of places where this can be hidden on the inside of the planter! I'll probably cut a bit of wood and glue it in to protect it a bit from water ingress.
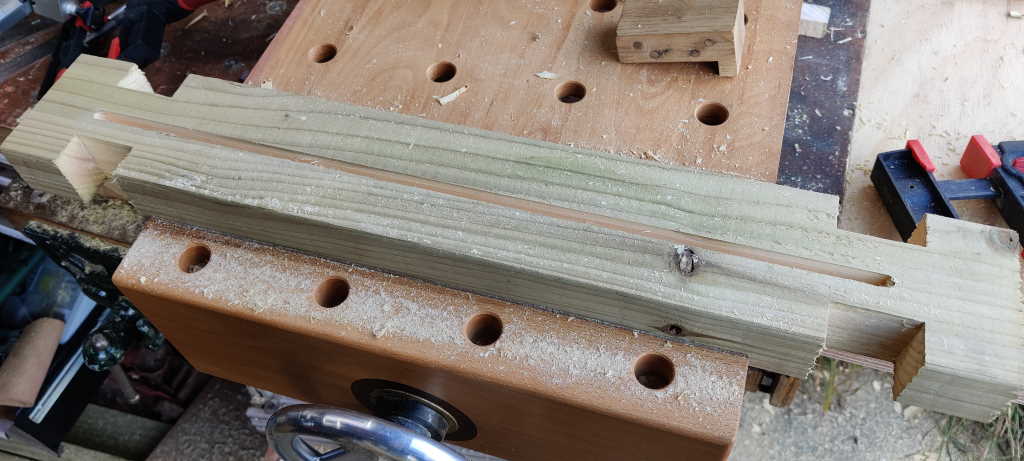
This is where it should have been:
 |
Page Navigation:
| First (#1) | Previous (#10) | Next (#12) | Last (#17) |
This website is free, but costs me money to run. If you'd like to support this site, please consider making a small donation or sending me a message to let me know what you liked or found useful.