Weighted Base Box Build Process
26/9/2021
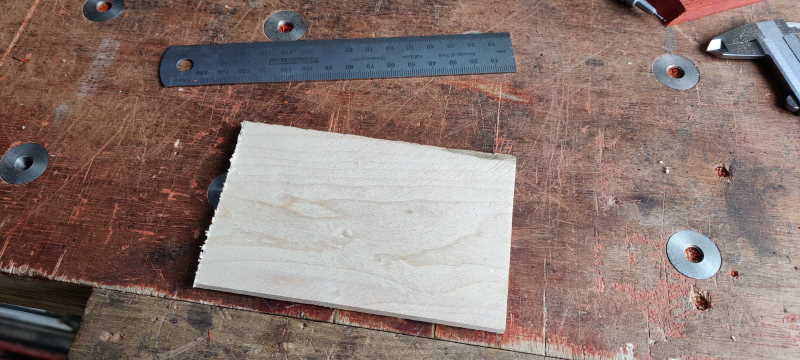
Back at the start of this thread, I hand planed some maple that was going to form part of this box. However, for the box design as it is, I need some maple that's a lot thinner (4 mm vs 9 mm) than the stuff I prepared earlier. Rather than carry on reducing the thickness of that bit, I dug around in my drawer and found this little bit of 5 mm maple:
 |
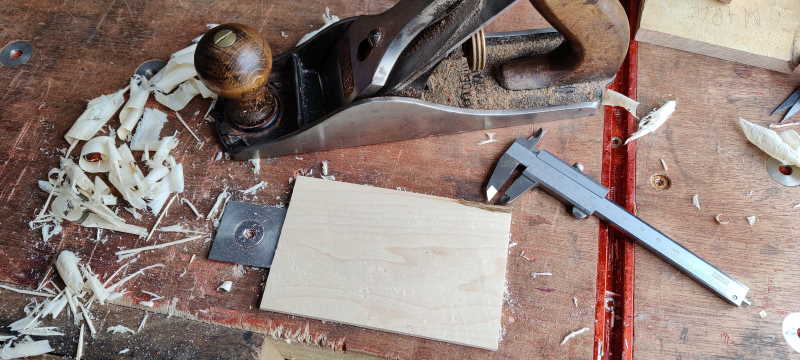
I used my #4 to plane that down to 4 mm thickness.
 |
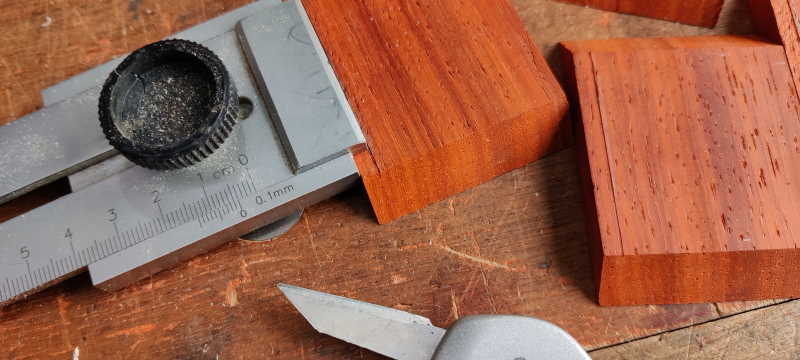
I then got started on the rebates and grooves. First of all, I used a knife and a handy little edge gauge to cut the edge of the rebate on each piece:
 |
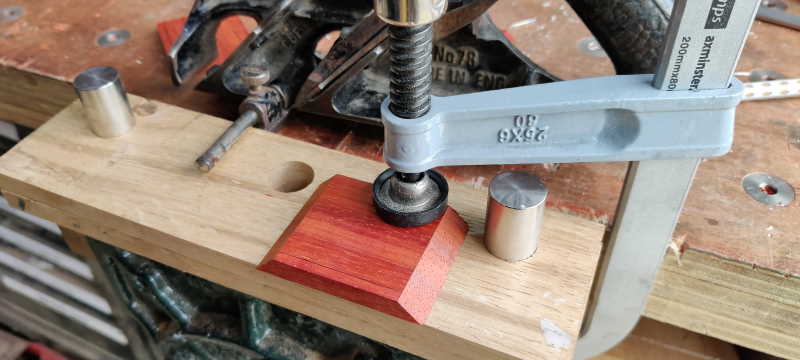
I then clamped each piece in turn on the edge of the bench, hanging over slightly to give clearance to the rebate plane's fence:
 |
The grain direction was right for the rebate (on all the pieces) so it left a nice finish:
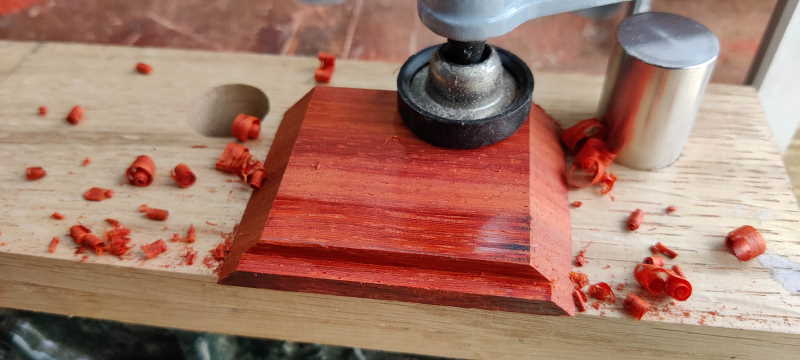 |
I then used the edge gauge again to mark the positions of the edges of the groove for the maple insert:
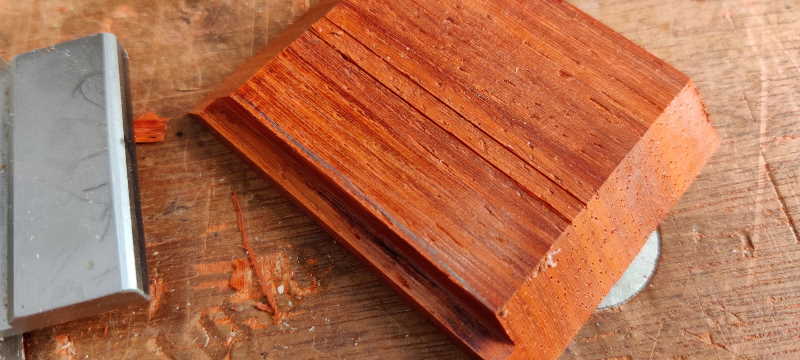 |
Unfortunately, I haven't managed to find any cutters for my plough plane in sensible metric sizes, so 4 mm wasn't an option. There's a 3.2 mm (1/8") cutter and a 4.8 mm (3/16") cutter. I felt the 4.8 mm one was a bit thick, so I went with the 3.2 mm one. My plough plane is missing a screw and nut for holding thin blades in place, so I used an M6 cap screw with a penny washer, which seemed to do the trick:
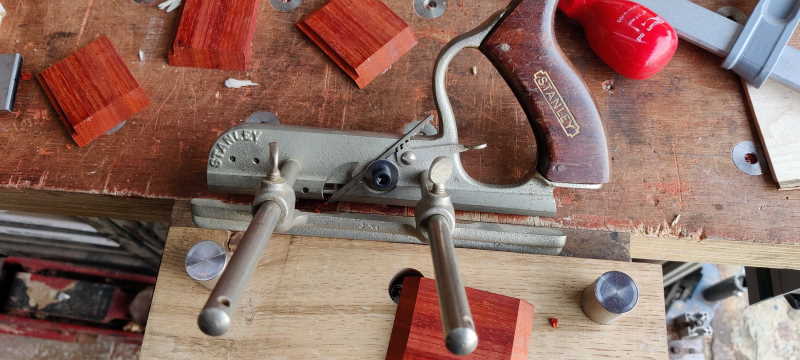 |
As there was no way of clamping the part down without the clamp interfering with the wood, I used some carpet tape that I'd bought in Lidl earlier today:
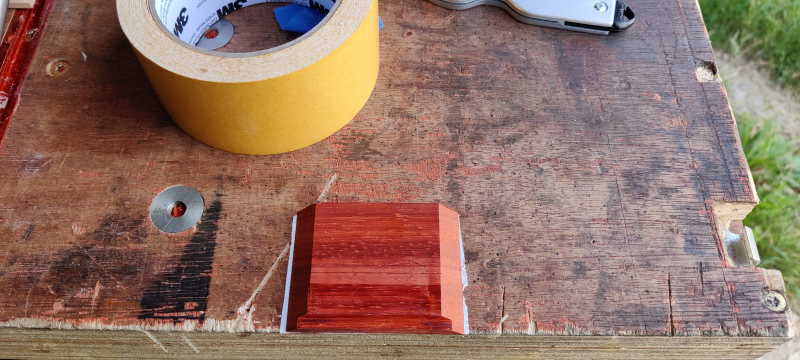 |
The carpet tape worked really well: it held the part down firmly but it was quite straightforward to get it back off the workbench once the groove was cut. The grain direction had changed by this point, so the cut was a bit rougher than the rebate.
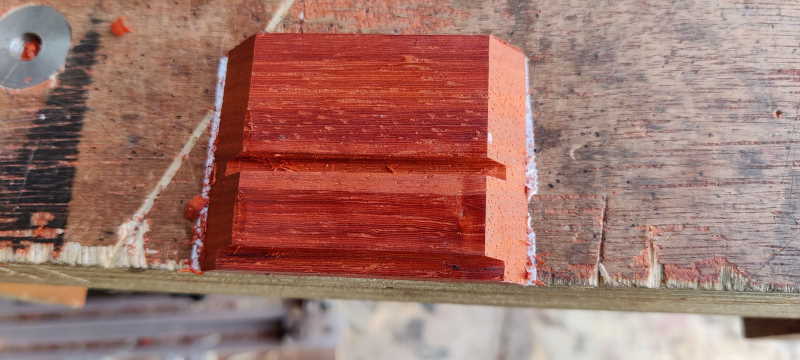 |
Stupidly, I stopped being quite so careful on the last piece and levered it off from the tape using the rebated edge rather than the opposite side:
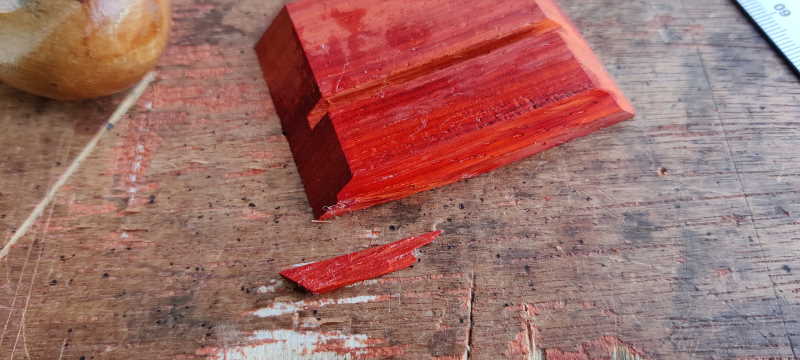 |
Thankfully the broken off corner came off in one piece so I could glue it back on again. Being on the bottom, it shouldn't be too noticeable and, if I remember, I'll put the hinge on that side so it's at the back as well as the bottom.
The next job was to work on the 4 mm maple piece, starting by shooting one corner square (apparently using my #5 instead of my more usual #5½ - I didn't realise that until I saw this photo!):
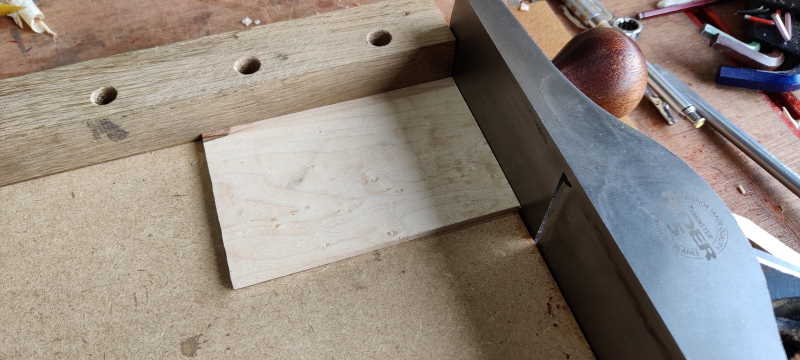 |
I then marked up the size for each piece (one at a time: this photo just shows one marked out):
 |
Rough cut it to size with my ryoba:
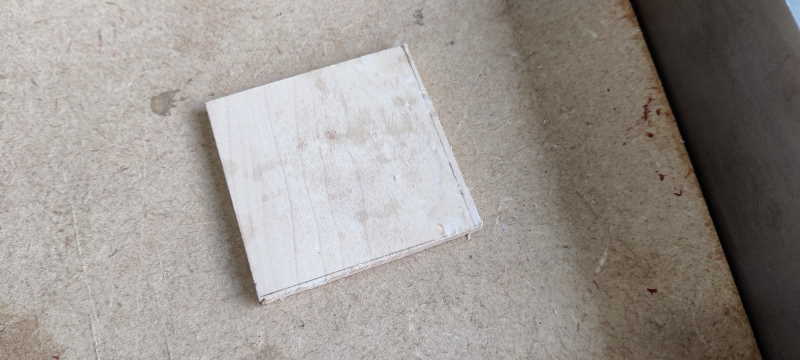 |
I could then shoot it to size and (in the case of the piece that goes into the groove rather than the rebate), stick it to the bench with carpet tape and plane it down to a shade under 3.2 mm.
 |
Time for a quick test fit:
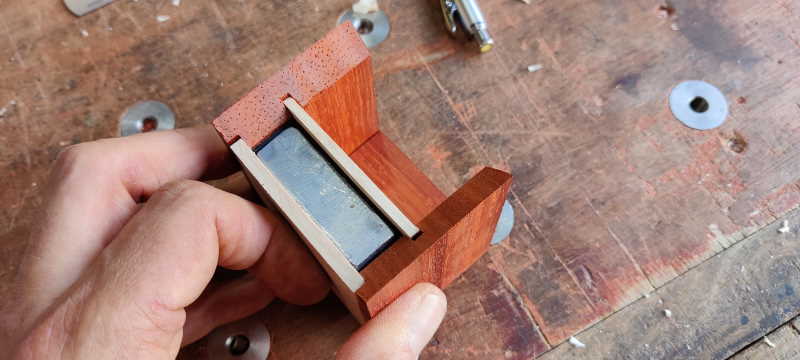 |
I used some masking tape to help with gluing the box together:
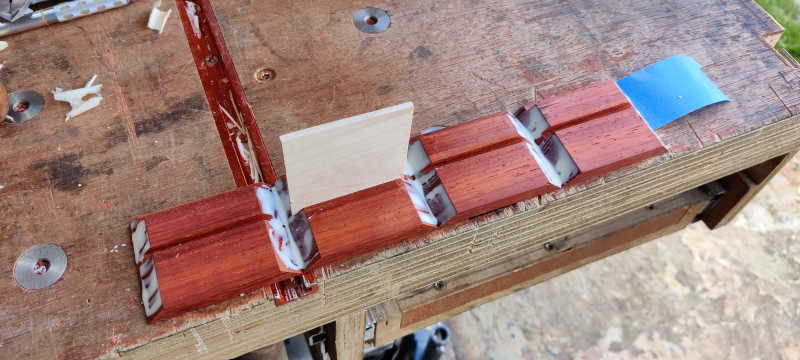 |
I only fitted the insert that goes in the groove as the one that goes in the rebate can be added later. It's now drying; top view:
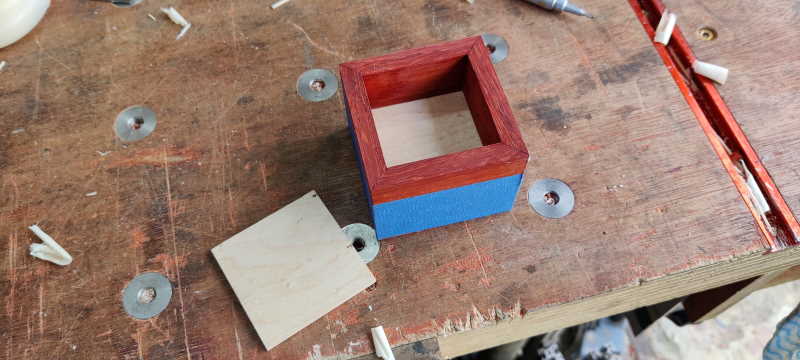 |
Bottom view:
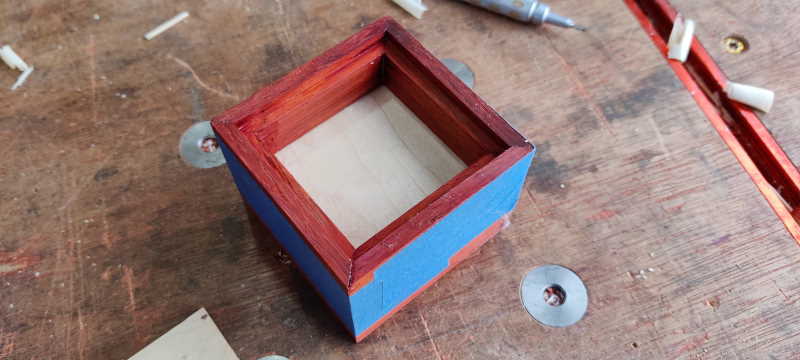 |
Next job is probably to add some splines for reinforcement and then I need to figure out what I'm going to do about a lid. The cylindrical hinges I've got are relatively long, so they need a relatively thick piece of wood for the top. I'd like it to overhang the front (for ease of opening) and maybe the left and right too (which at least should reduce the required accuracy!) One option is a simple bit of maple (maybe with some chamfered edges) if I've got anything thick enough. Not sure what other options there are so I'm open to suggestions at this point!
I'm pleased with how it's gone so far: unless you count the TIG welder, I haven't reached for any power tools so far, which I think is a first for me: there's usually something I "cheat" on! Of course the thing I said in the first post about possibly doing a dovetail hasn't happened: mitres are a lot easier than that! Maybe I'll be brave and try that using the rest of the padauk.
Page Navigation:
| First (#1) | Previous (#7) | Next (#9) | Last (#18) |
This website is free, but costs me money to run. If you'd like to support this site, please consider making a small donation or sending me a message to let me know what you liked or found useful.