Weighted Base Box Build Process
26/9/2021
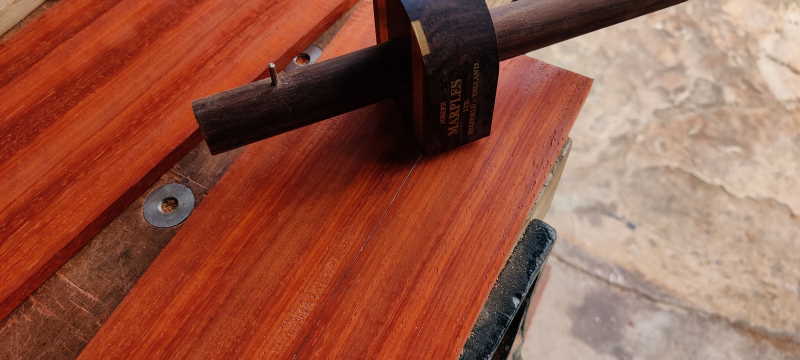
The next job was to start making the box bits. I've decided to make the lid separately (so it can overhang a bit); that means that I don't have to allow for the size of it when making the box base, so I marked up the height I wanted the base to be and filled in the marked line with a pencil to make it clearer:
 |
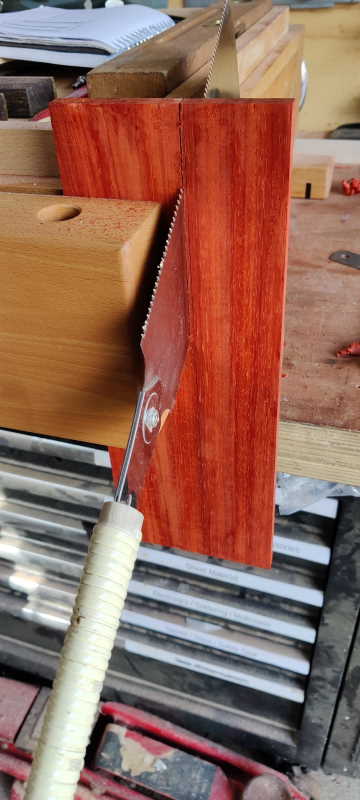
I then put the two boards (one at a time) in the vice from my portable workbench and cut a millimetre or so to the side of the line:
 |
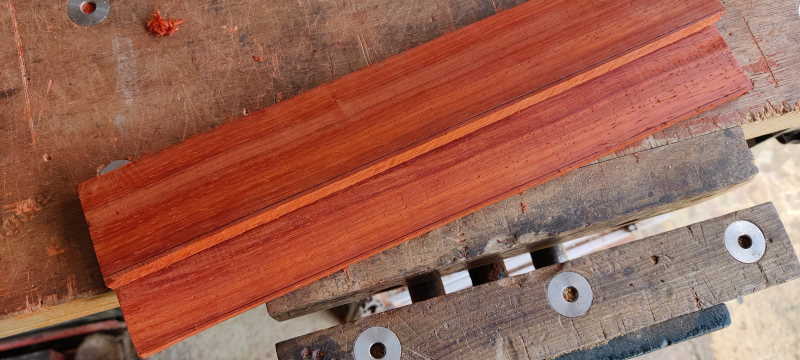
This gave me two slightly oversize boards:
 |
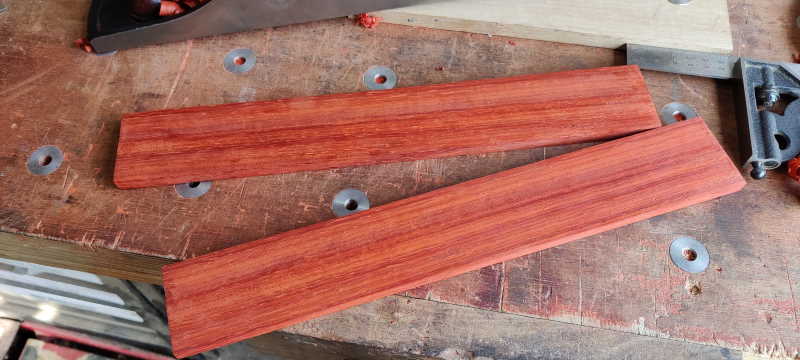
Which could be planed to the line with my #5:
 |
There were some rough bits on the face near the ends (where I didn't scrape enough), but the boards are much longer than needed for this tiny box, so I picked out some good bits and marked the two boards and which bit joined which. Spot the mistake I made here...
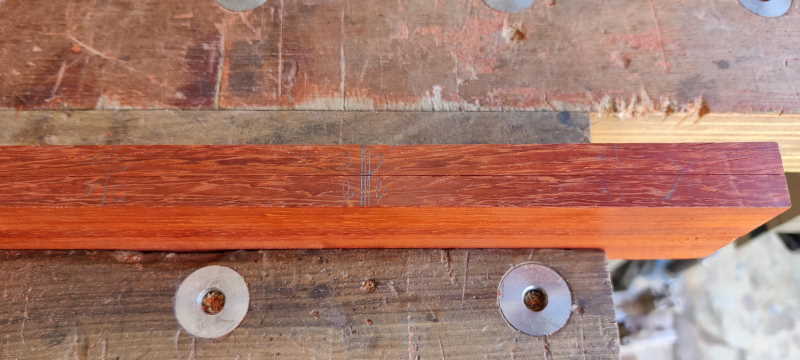 |
I then cut the pieces up (with the two boards together this time):
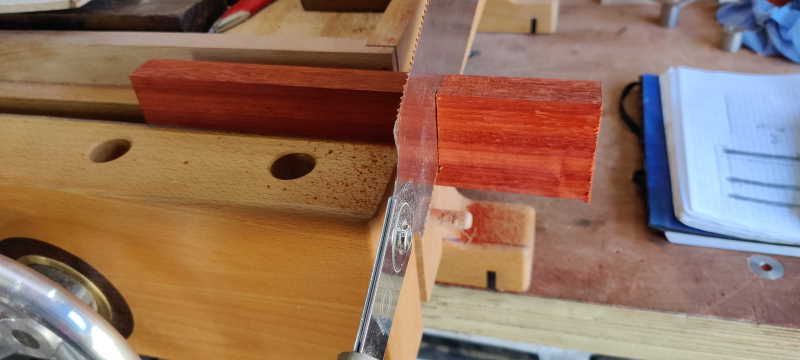 |
The result: most of this wood is spare for a future project!
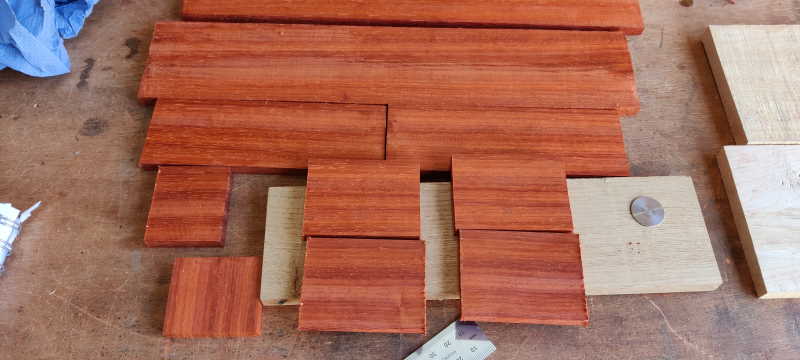 |
It's not quite right yet:
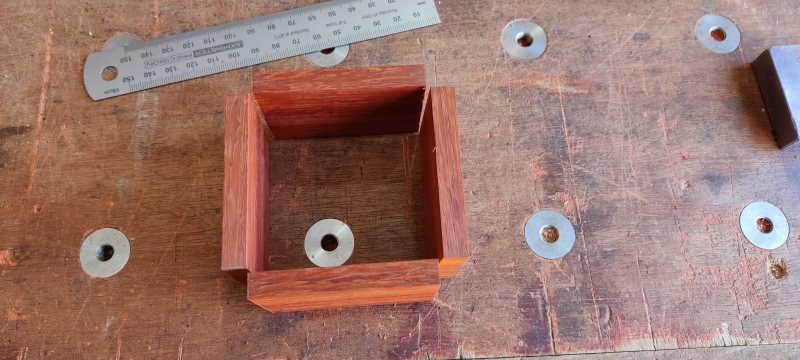 |
Next up was the trusty shooting board to turn those right-angles into mitres:
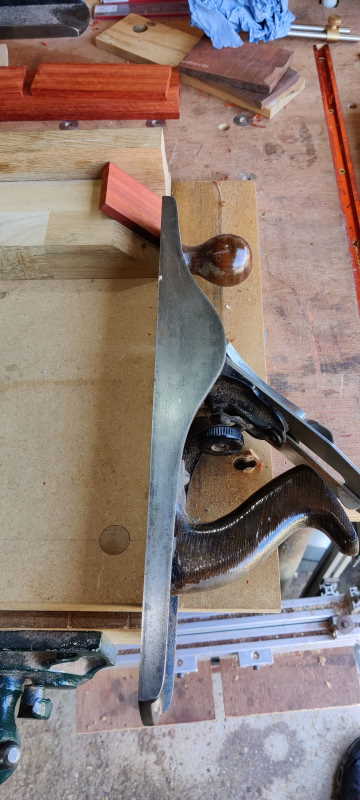 |
All done and matched so they're all the same length:
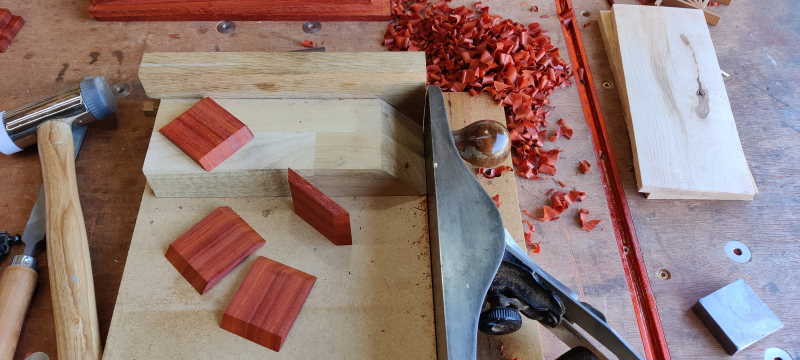 |
It was at this point that I realised my mistake: I'd marked the end of each piece with A, B, C or D so I knew which one joined onto which and then proceeded to plane off the markings. That meant I had to shuffle them around on the bench until I found how they should fit together. As the grain is quite straight, it was quite difficult to figure it out, but I got there in the end. Unfortunately, the only masking tape I could find for a test fit didn't allow me to check the grain pattern but I'm fairly sure it's right!
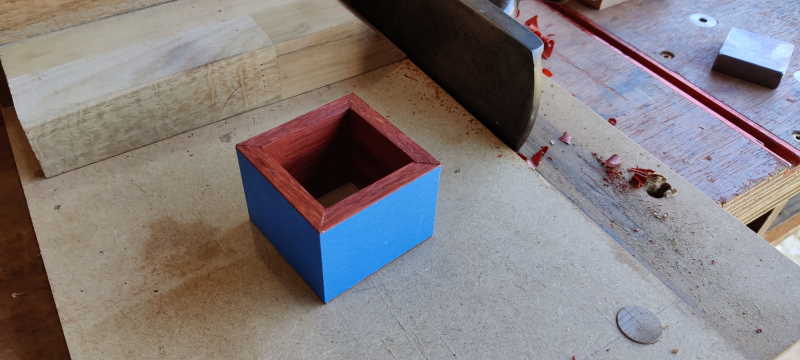 |
My plan had been to reduce the size of the box sides until they were a fairly close fit on the lead block, but the trial fit showed I'd have to take a millimetre or two off each side and I realised it would be better to have a gap to allow for expansion/contraction (not that I expect there to be much on a box this size). I had some neoprene (or something like that) sheet in the drawer, so I cut out some pieces to match the size of the lead block and this should hold it in place while allowing for a bit of movement if necessary:
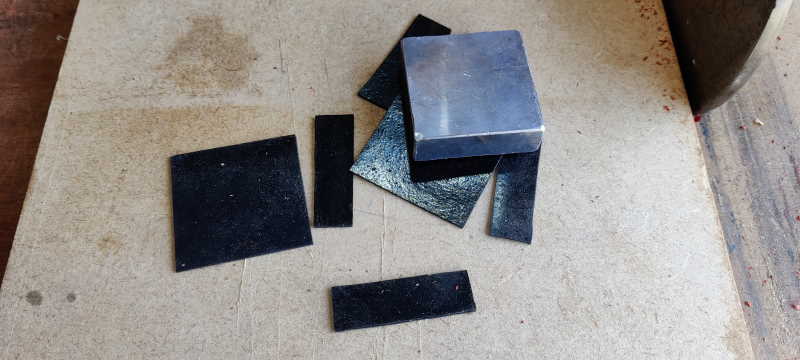 |
The next job is to plough the grooves for the base and the insert that goes over the lead. My plan at the moment is to use a rebate (rather than a groove) for the base and glue a piece of wood into the rebate. That won't allow any room for expansion/contraction, but the base will only be about 50 mm × 50 mm, so I'm hoping it won't be a problem.
I've also got the challenge of figuring out how to hold such a small piece for ploughing/rebating. I'd wondered about cutting the grooves while the boards were long, but I was worried that there would then be a lot of break-out when shooting the mitres. Hopefully some double-sided tape will allow me to hold them down and cut the slots.
Page Navigation:
| First (#1) | Previous (#6) | Next (#8) | Last (#18) |
This website is free, but costs me money to run. If you'd like to support this site, please consider making a small donation or sending me a message to let me know what you liked or found useful.