Weighted Base Box Build Process
2/10/2021
While the glue's drying on the splines, I decided to do some experimenting with hinges. I found a couple of scrap bits of cherry that are the same thickness as the box sides (9 mm):
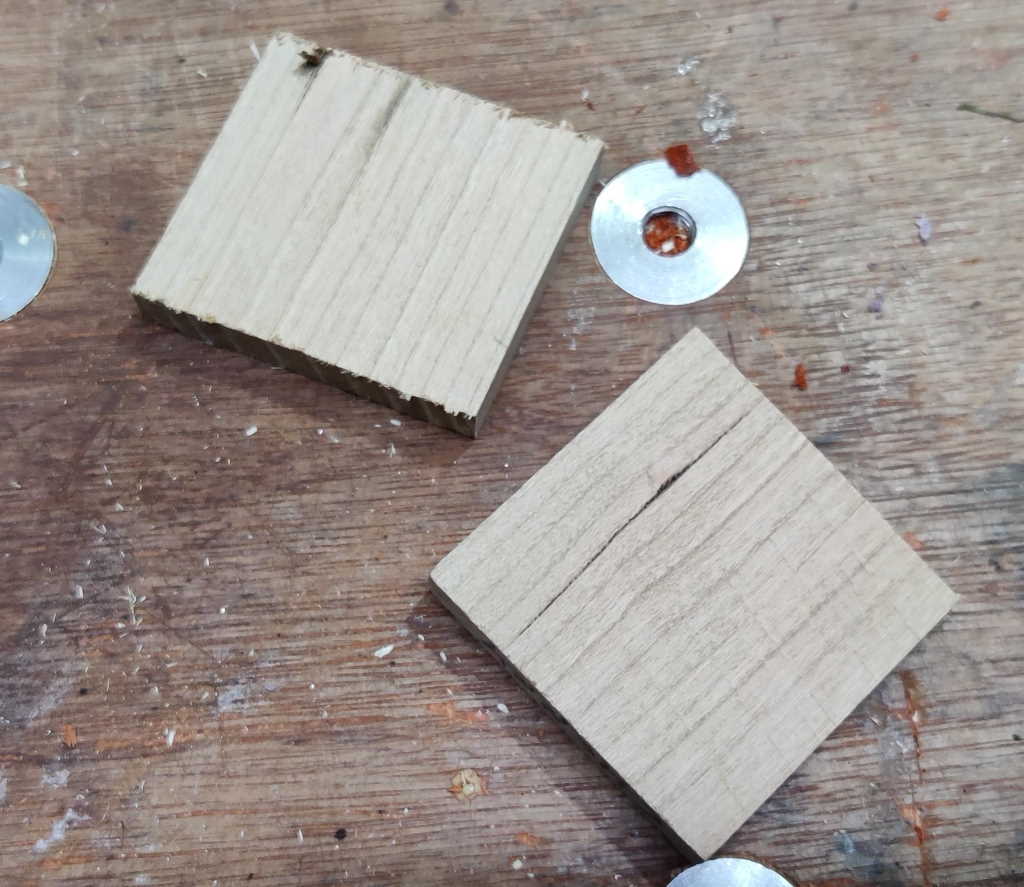 |
I marked the centreline on the end of one and the same distance (4.5 mm) in from the edge of the other, using my fabulous little marking gauge and a knife.
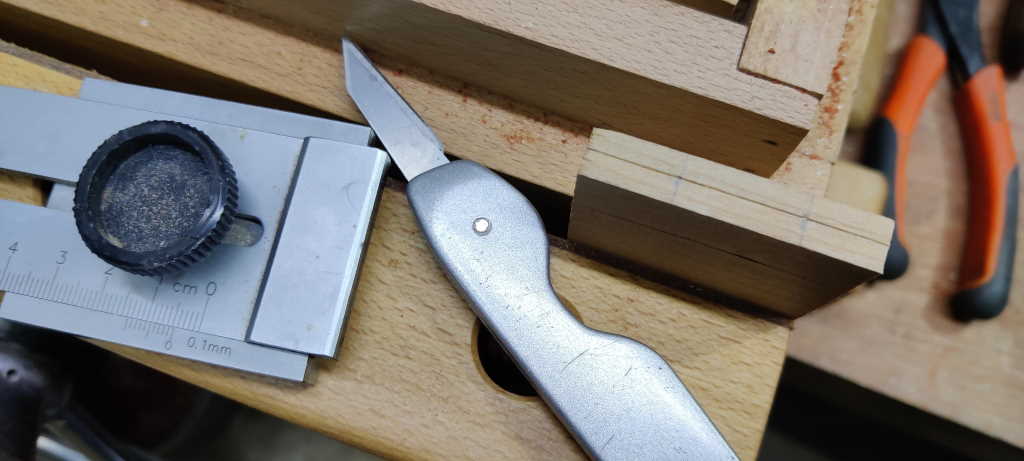 |
I then marked a couple of locations for hinge holes:
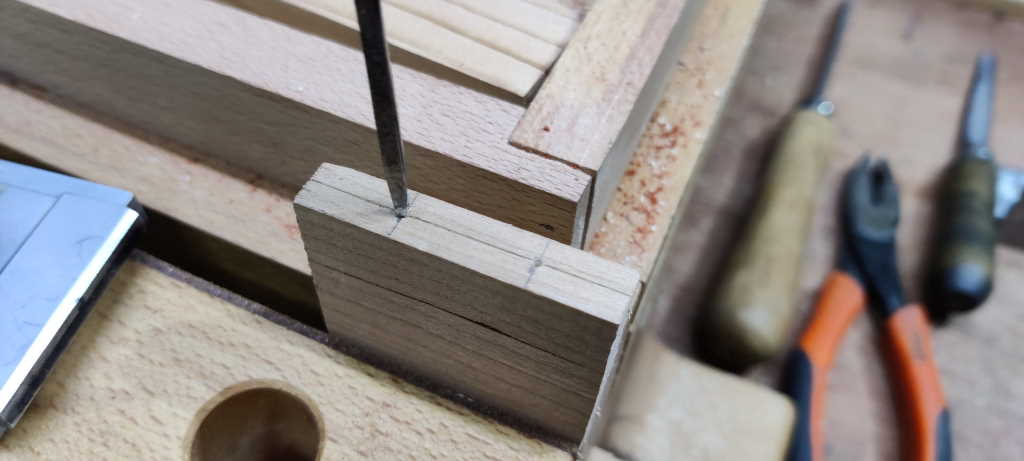 |
First of all, I tried drilling with a 4 mm pointy drill bit, but the hole was oversize and the hinge was loose. Thankfully, I'd stopped after only drilling a couple of millimetres to check, so rather than moving to a new hole location, I just drilled the rest of the depth a different way. For the rest of the hole and for the other holes, I used a 3 mm pointy drill bit to get the hole drilled in the right place and then a 4 mm twist drill to enlarge it to size. That worked much better. You can see the one that I did oversize at first on the right of this photo:
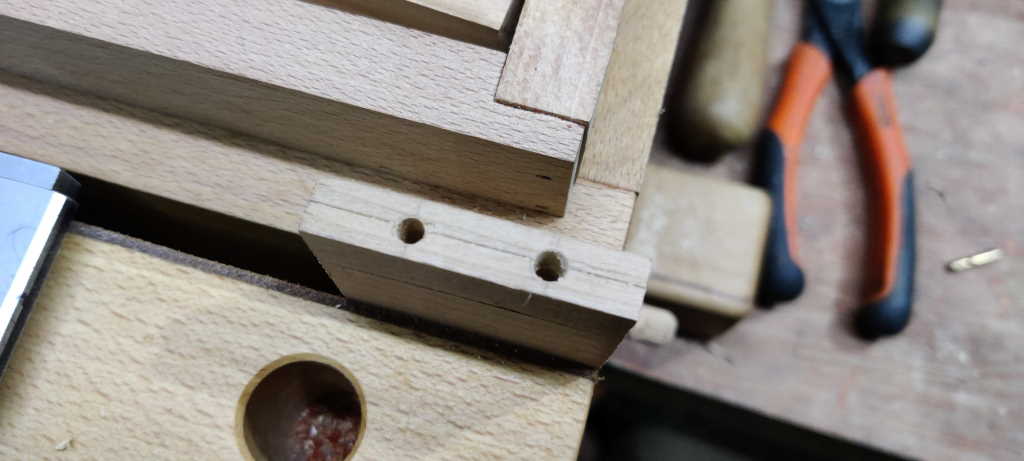 |
I then transferred the hole locations as best I could onto the piece that would form the lid. I drilled this all the way through (in the real box I would make this a blind hole, but the cherry wasn't thick enough for that):
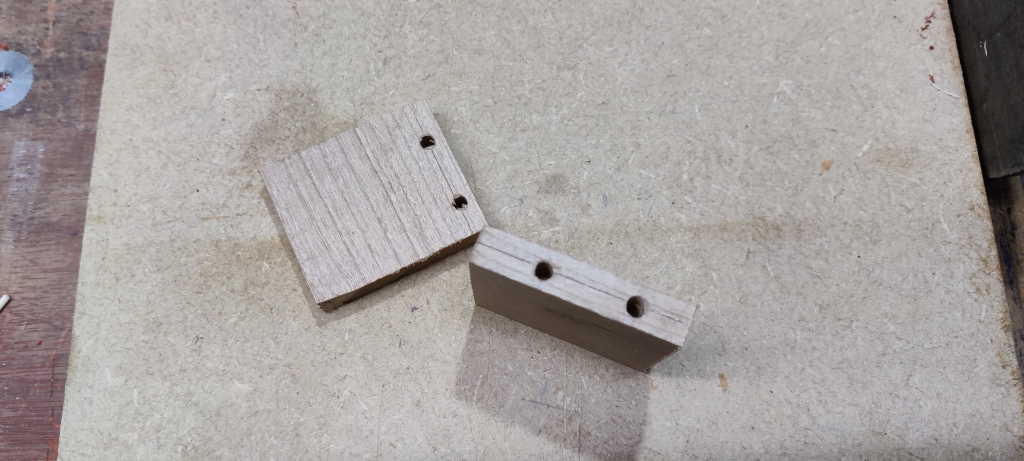 |
I then used the mitre block on my shooting board to chamfer the edges down to the centreline that I'd cut with a knife at the start:
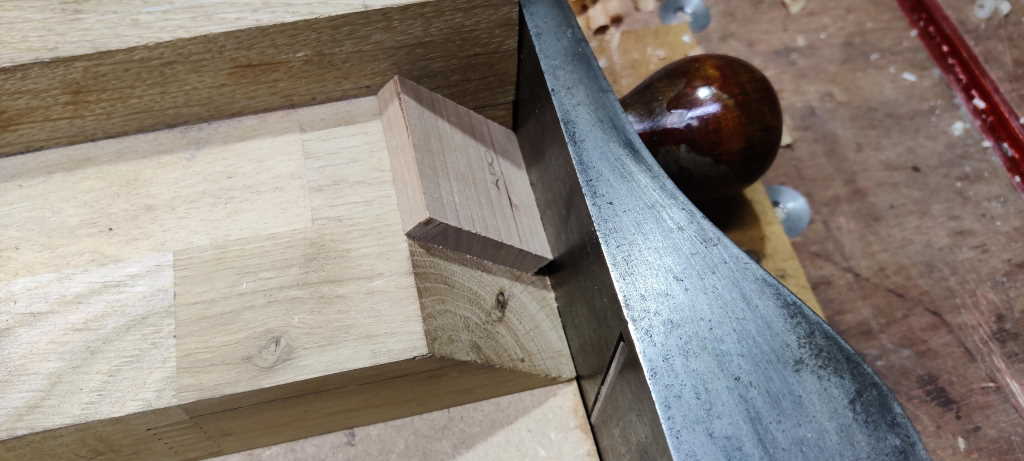 |
That gave me two pieces ready for testing.
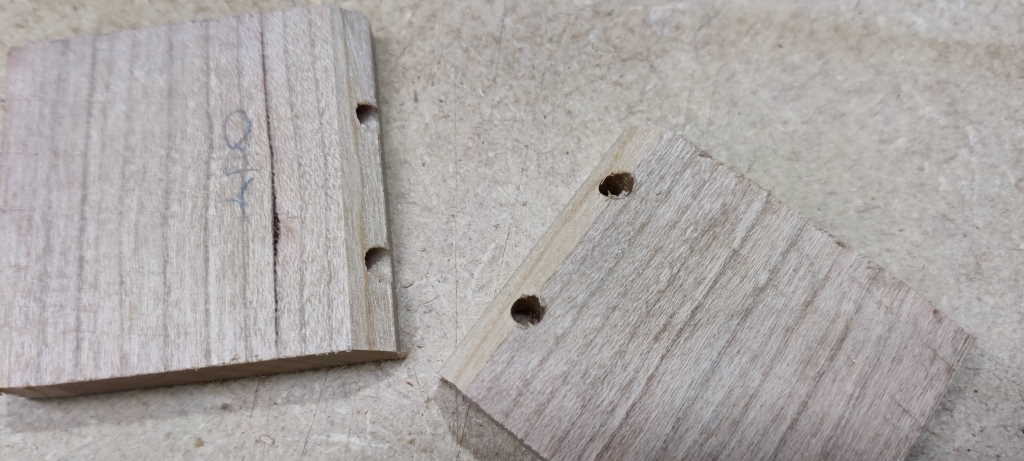 |
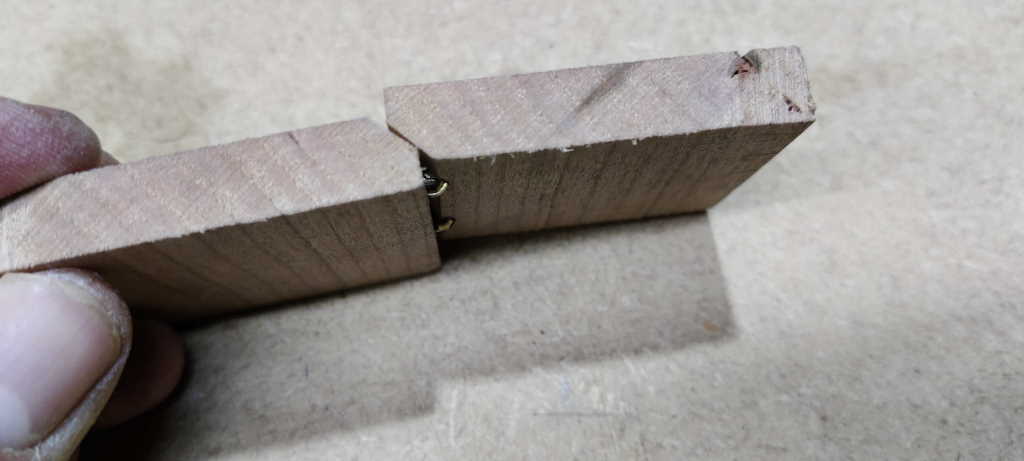
I pushed the hinges into the holes with the hinge bent (as I figured it would be easier to get the depth right).
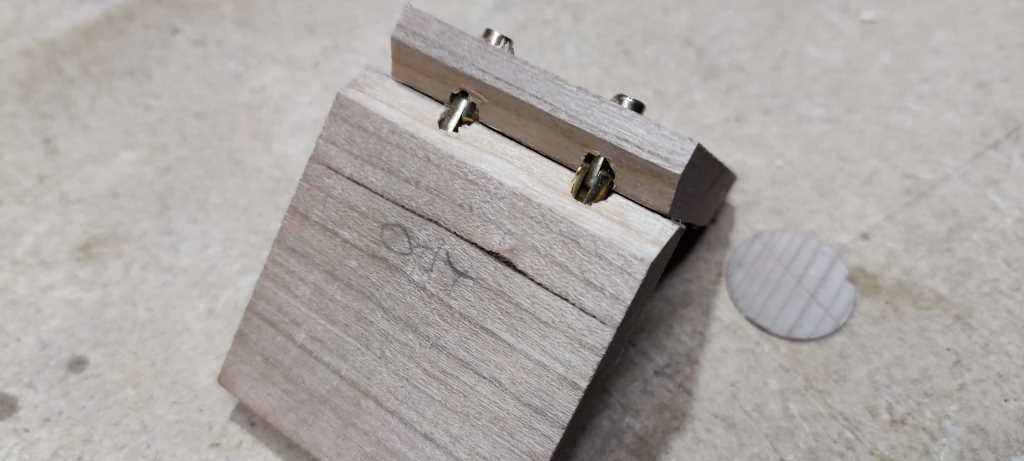 |
I think my technique needs work...
 |
Page Navigation:
| First (#1) | Previous (#10) | Next (#12) | Last (#18) |
This website is free, but costs me money to run. If you'd like to support this site, please consider making a small donation or sending me a message to let me know what you liked or found useful.