Portable Workbench Build Process
12/3/2021
I work a 4½ day week so after doing a couple of chores I had most of the afternoon to make some more progress. Today was spent mostly on the milling machine. I've been working on the vice mechanisms. I decided to cut all the pieces to (slightly over) length on the bandsaw and then mill stuff to size. When I made the prototype, the only milling I did was the curved face on the bits that are welded to the outside of the half-tube. Everything else was cut with an angle grinder. I figured it would all fit a bit better (with less need for washers!) if I used the mill this time; given I've had to shrink it a bit as described in an earlier post, the tolerances are slightly more critical (although still not very tight at all), so the milling machine helps with that as well.
I'm generally working on the premise that I'll only make one vice mechanism for now (to check it'll work!), but some of the set-ups lend themselves to doing all the parts at the same time, so where that's the case I've done so.
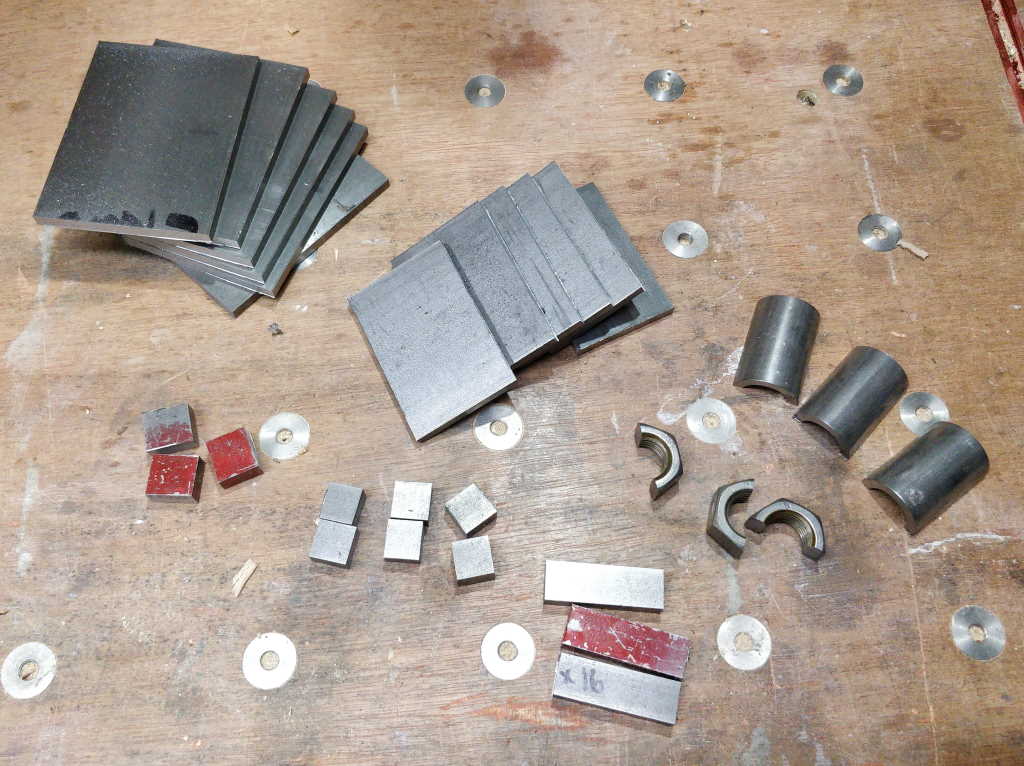
Here are all the parts fresh off the bandsaw: from left to right and top to bottom: the front & back plates of the box, the side plates of the box, the half-tubes on which the threaded rod slides, the half of the hinge that's welded to the nut, the half of the hinge that's welded to the tube, the jam bar that locks the mechanism and the half-nut.
 |
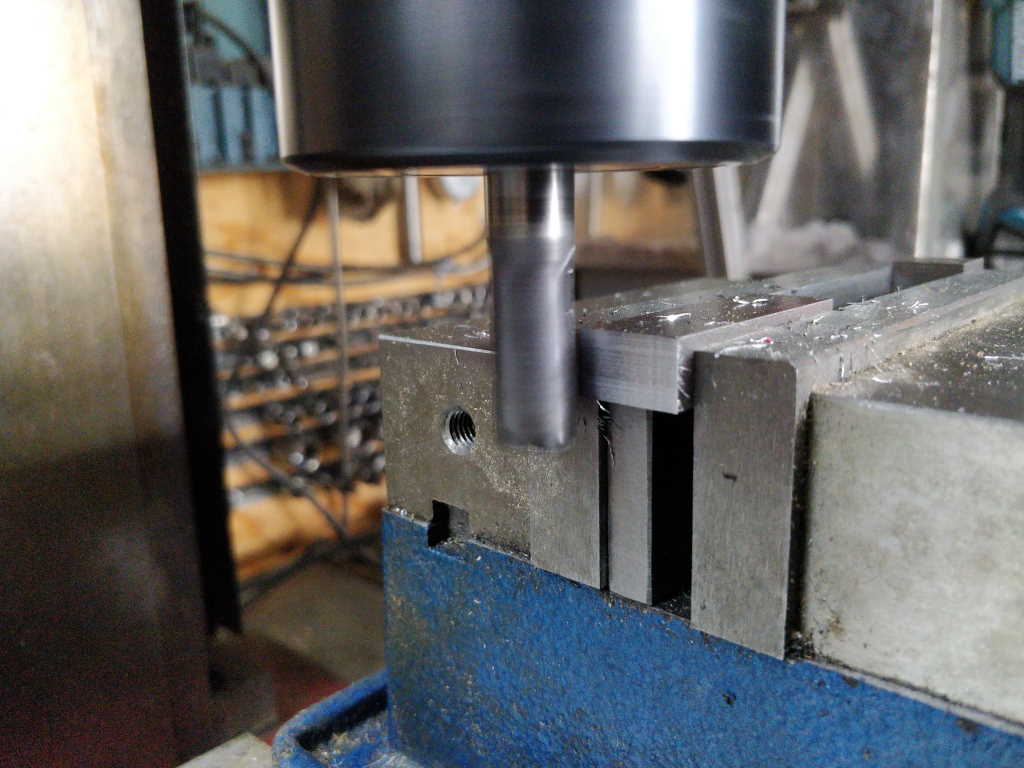
I started by facing the jam bar and nut hinge blocks to length. I didn't bother with the tube hinge blocks at this point as they are more complicated.
 |
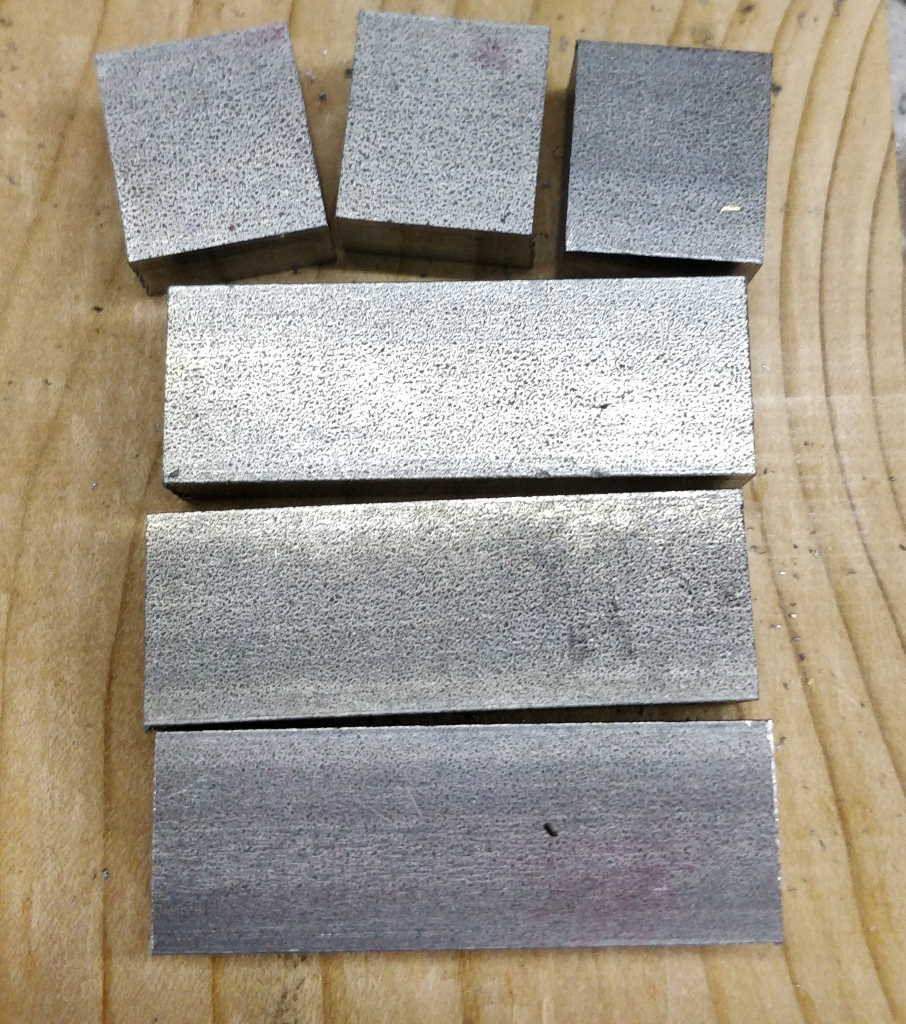 |
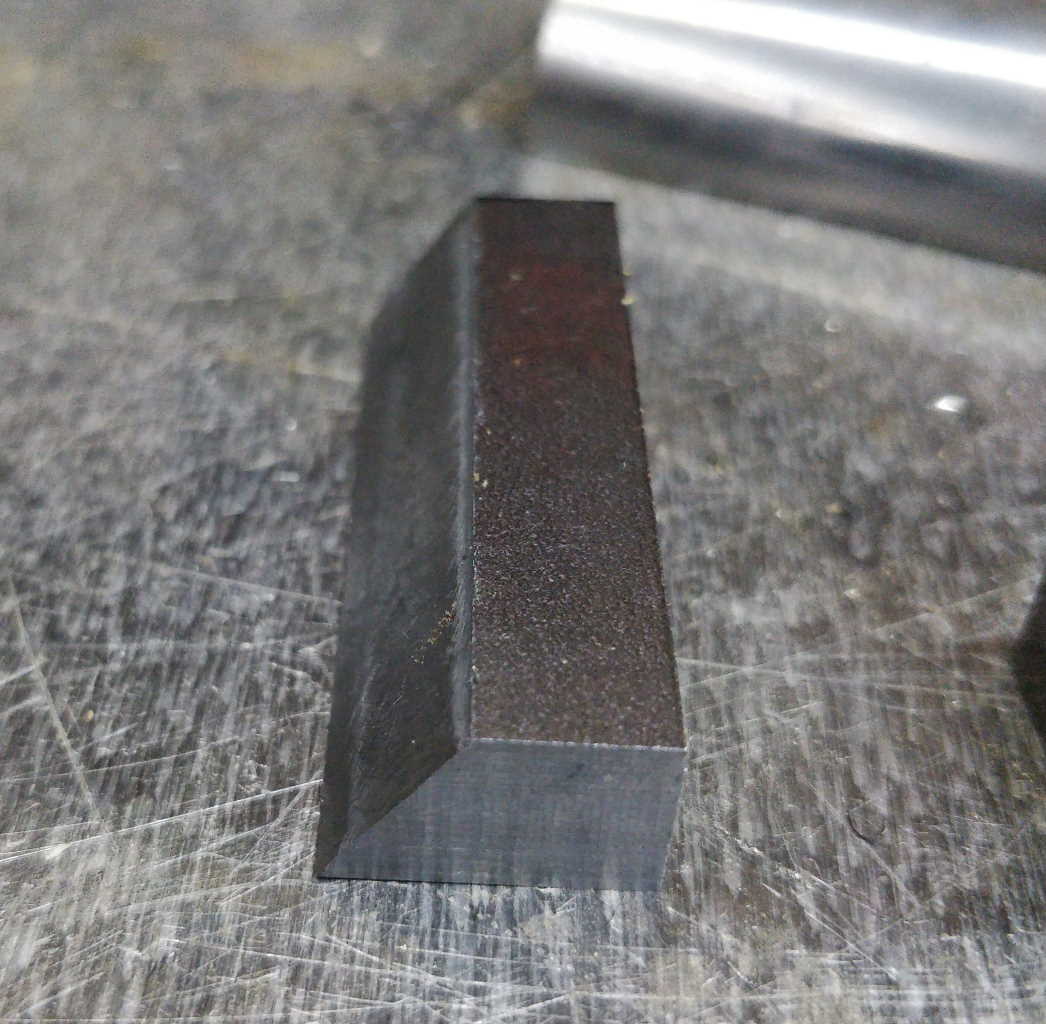
The nut hinge blocks (top) are basically finished now. After they've been welded to the nut, I'll drill the hole for the hinge bar, but I don't want to do that yet. The jam bars need a chamfer on the back edge. The chamfer isn't especially critical, so I just marked it up on the end and eyeballed it level in the vice.
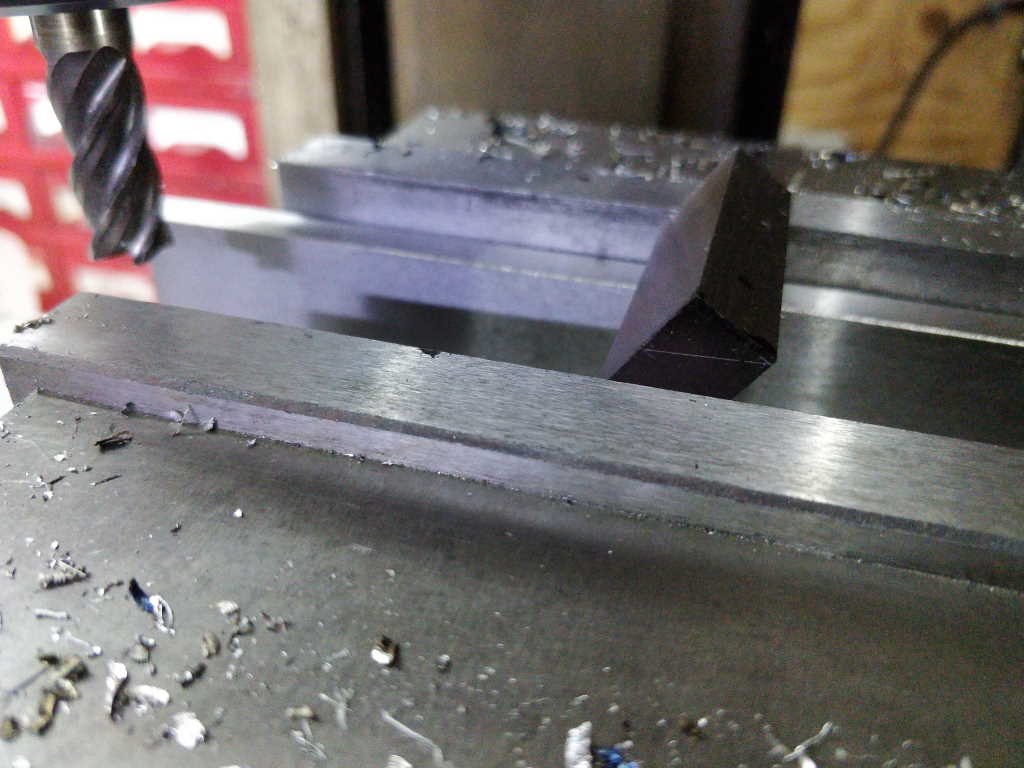 |
et voila (I've only done one of these so far):
 |
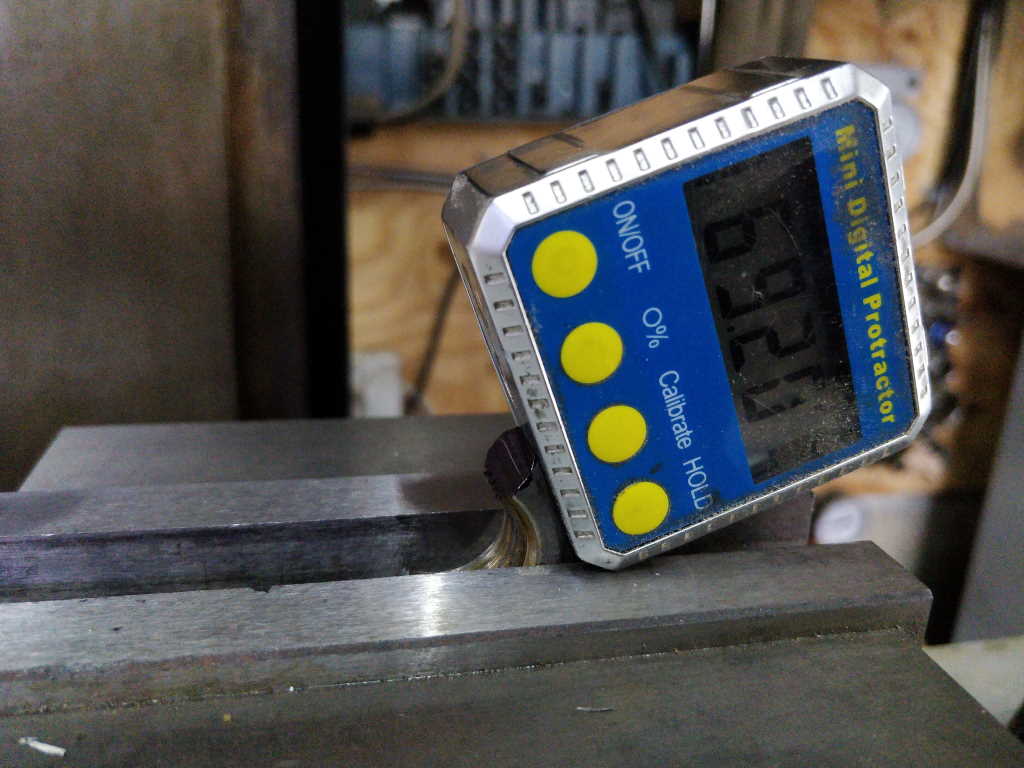
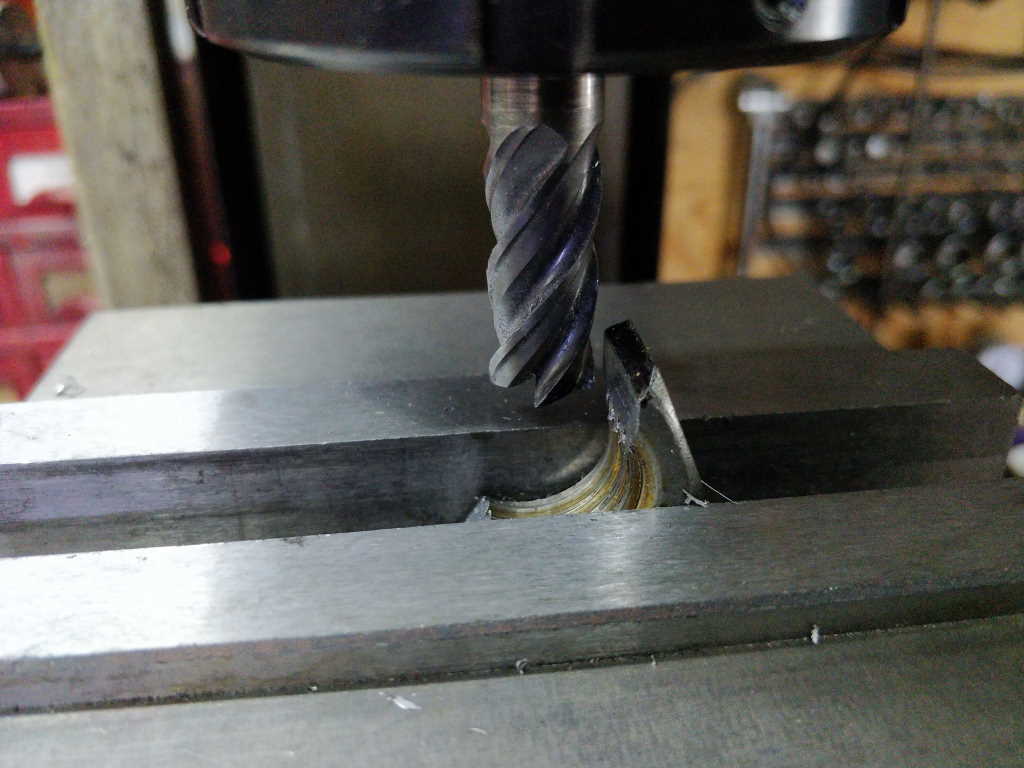
Next up was a bit of relief that's needed on the nut. Last time this was done after welding, using an angle grinder. This time I thought I'd just mill it off while the nut is free (again only one done so far). The set-up looked like this (the angle was fairly arbitrary, but the angle gauge will mean I can do the others at the same angle if it works):
 |
… and the result looked like this
 |
Page Navigation:
| First (#1) | Previous (#7) | Next (#9) | Last (#67) |
This website is free, but costs me money to run. If you'd like to support this site, please consider making a small donation or sending me a message to let me know what you liked or found useful.