Portable Workbench Build Process
3/4/2021
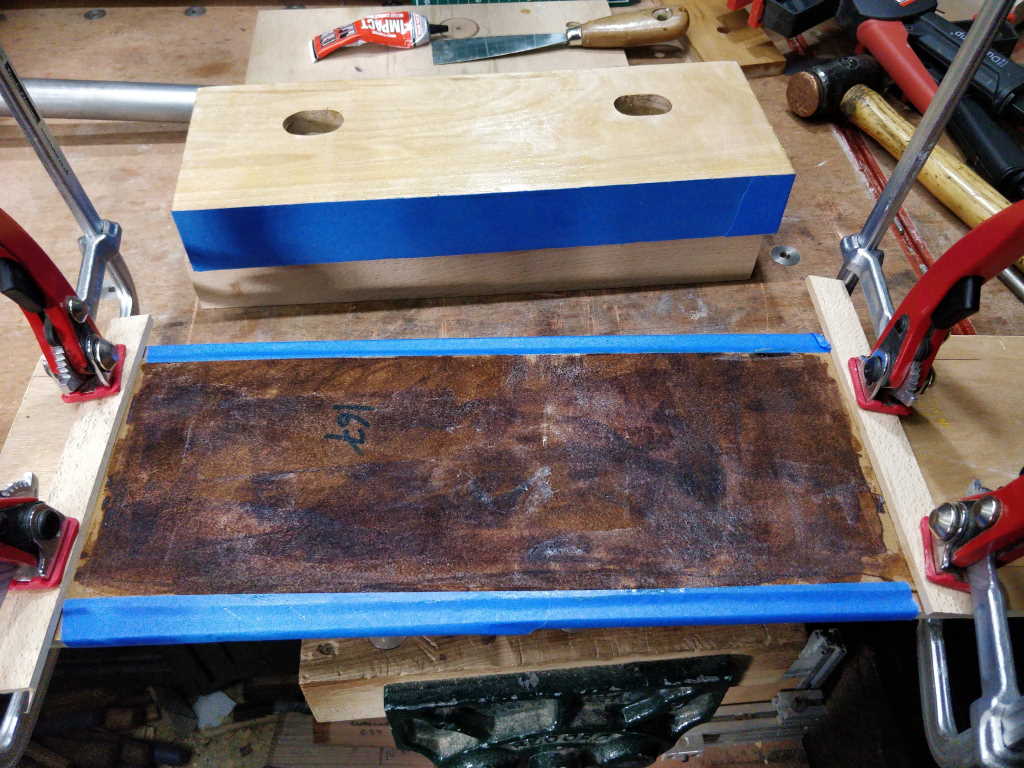
Next up was the dual-screw jaw. For this one, I didn't punch the holes first, so laying everything out was relatively simple. The only challenge was that the leather piece I was using for this was only a little wider than the jaw, so stretching and clamping it was much more difficult. I used the same plywood piece as a base; if you look closely you can see some darker patches where the holes are underneath the leather.
 |
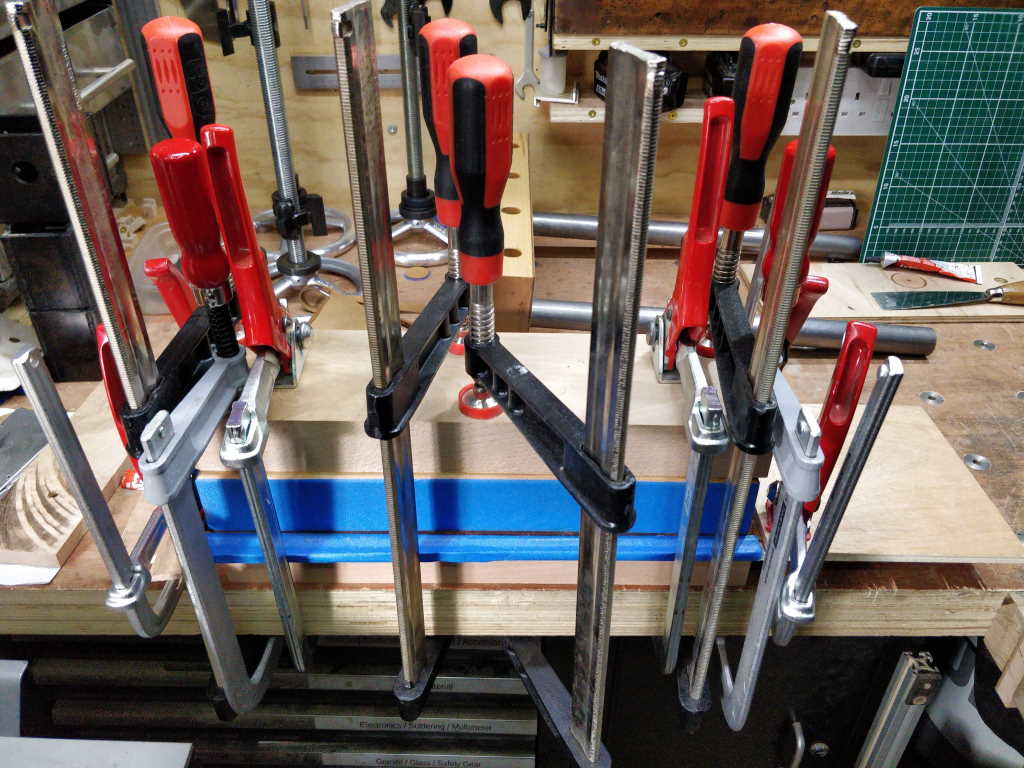
Once the contact adhesive had been left for 10 minutes, I flipped the jaw over onto the leather and again covered it in clamps:
 |
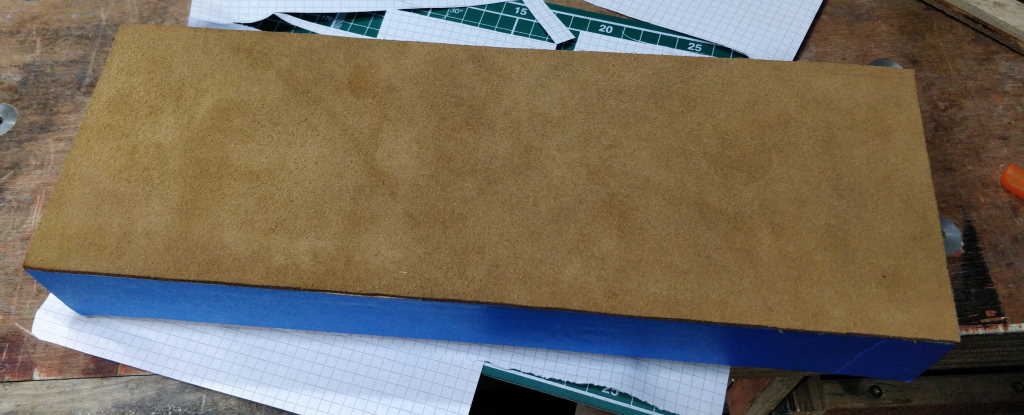
This is what it looked like after trimming the excess around the edges:
 |
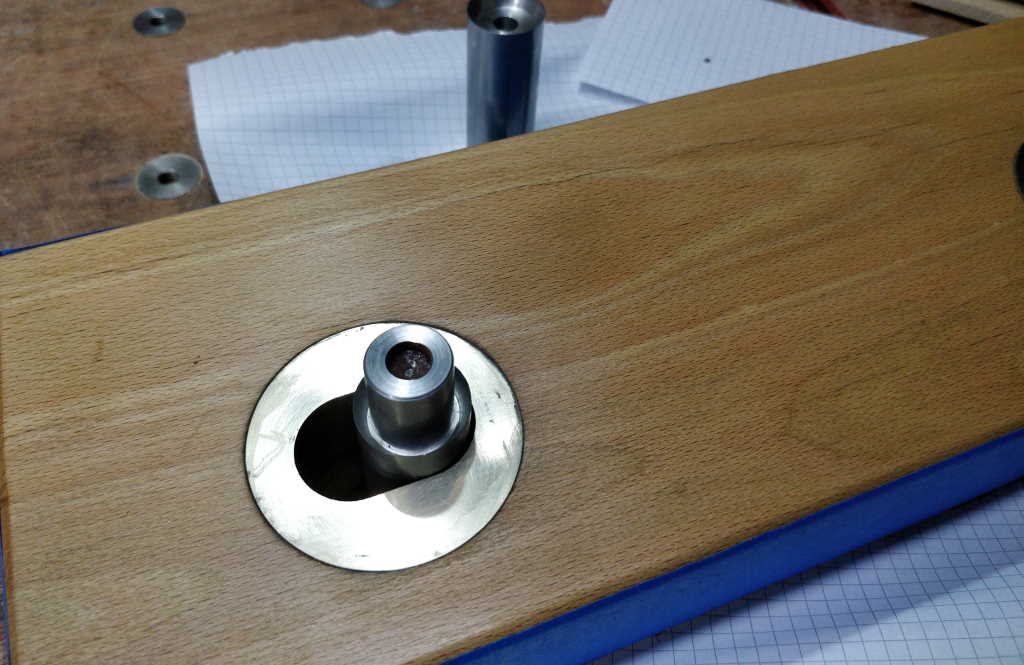
The punches could then be used with the slotted bushes acting as a guide to get the holes punched in the same place. If I were doing this again, I'd drill the central hole a lot deeper in the punches and have a longer stub on the "hammering insert": it tended to fly out of the hole when I hit it and it would have been nicer for it to be better retained.
 |
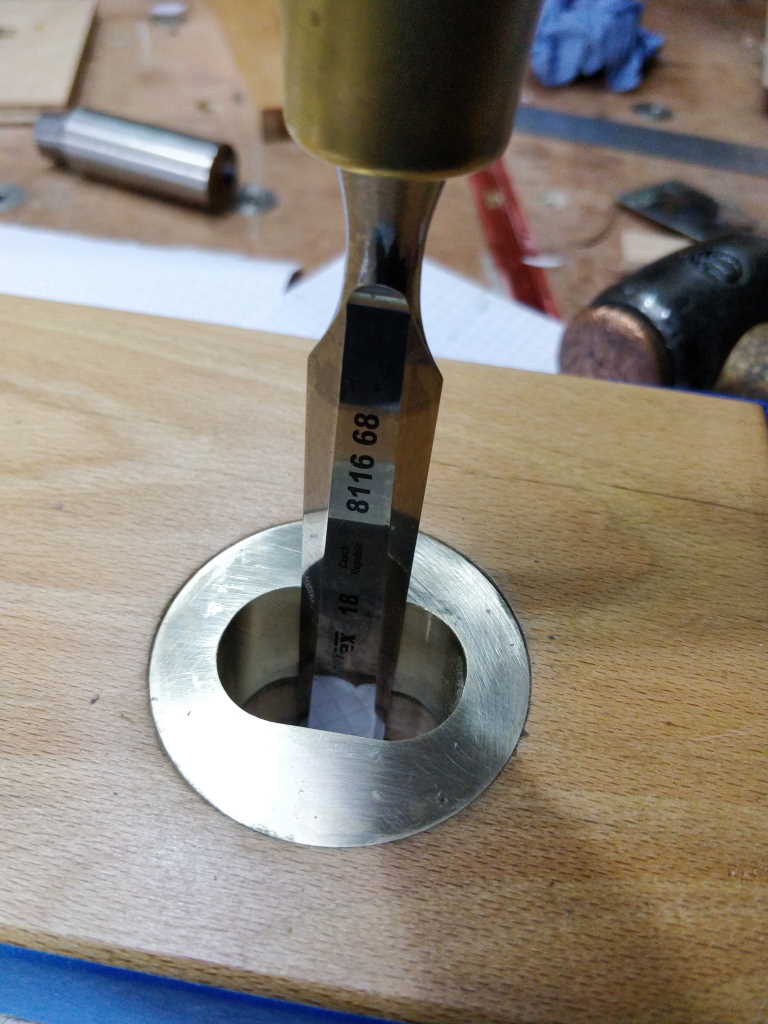
I could then use a chisel against the flat surface of the slotted bush to join the two punched holes together. This went through the leather with very little force (I guess I'm used to paring wood with it!)
 |
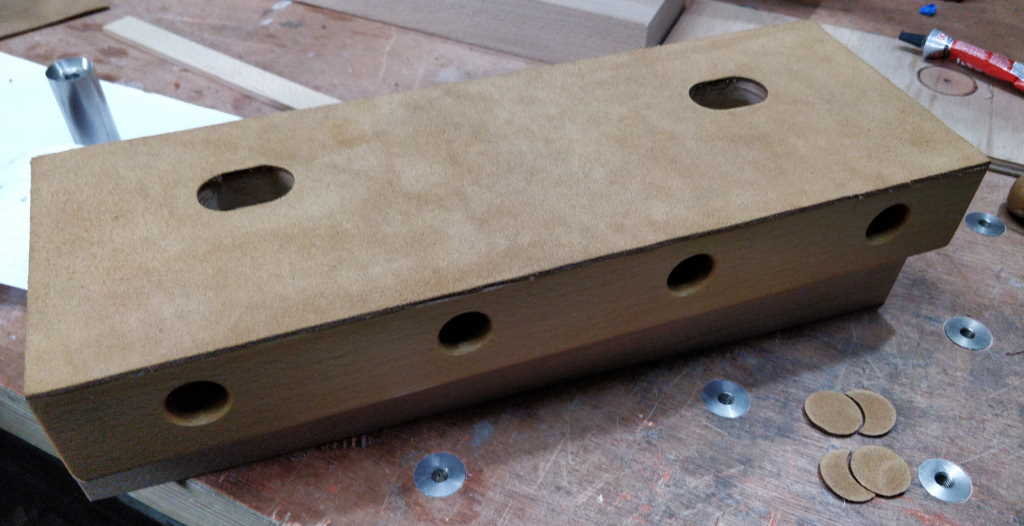
The end result:
 |
Page Navigation:
| First (#1) | Previous (#62) | Next (#64) | Last (#67) |
This website is free, but costs me money to run. If you'd like to support this site, please consider making a small donation or sending me a message to let me know what you liked or found useful.