Portable Workbench Build Process
3/4/2021
The first job of the day was to take a deep breath and have a go at fitting the leather. I had no spare leather and have never worked with this material (apart from for the test jaws) before, so I was a bit nervous about this. I started by getting a bit of 9 mm plywood (that came as part of the packaging for a very well-protected #7 plane I recently acquired) and drilling three holes in it. These didn't have to be super accurate, so I just marked them out and drilled them on the drill press. The outer two holes were drilled with a 30 mm Forstner bit; the inner hole was cut with a 50.8 mm (2") hole saw as I'd made the punch 50.8 mm to give clearance around the 50 mm threaded bush.
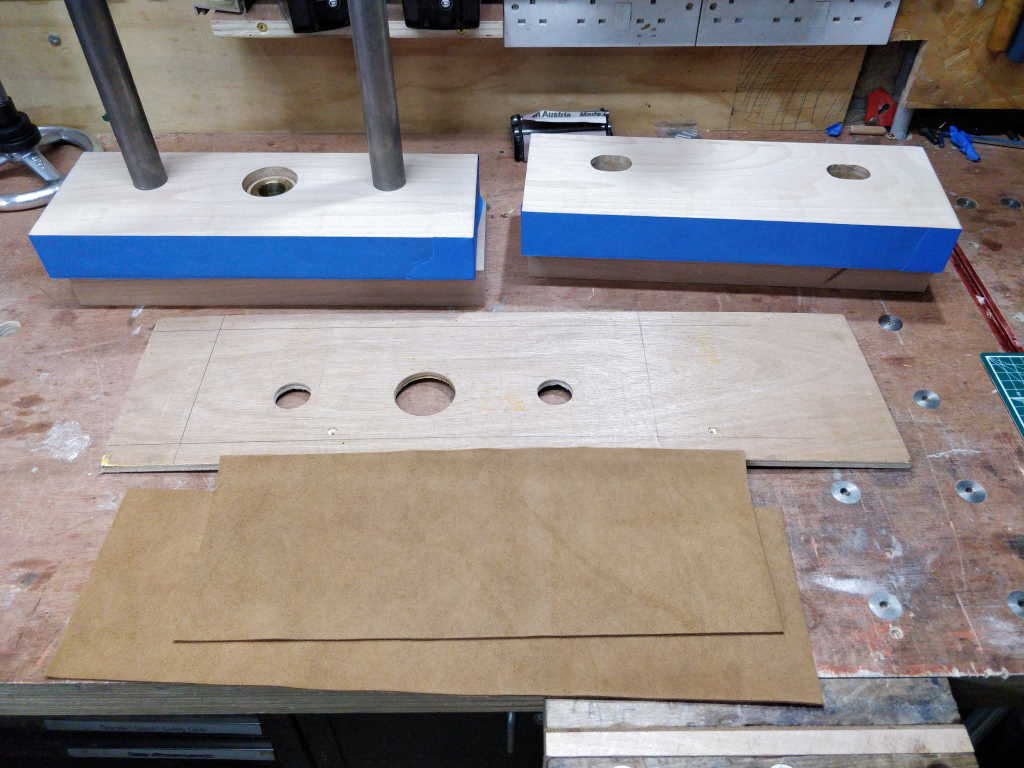 |
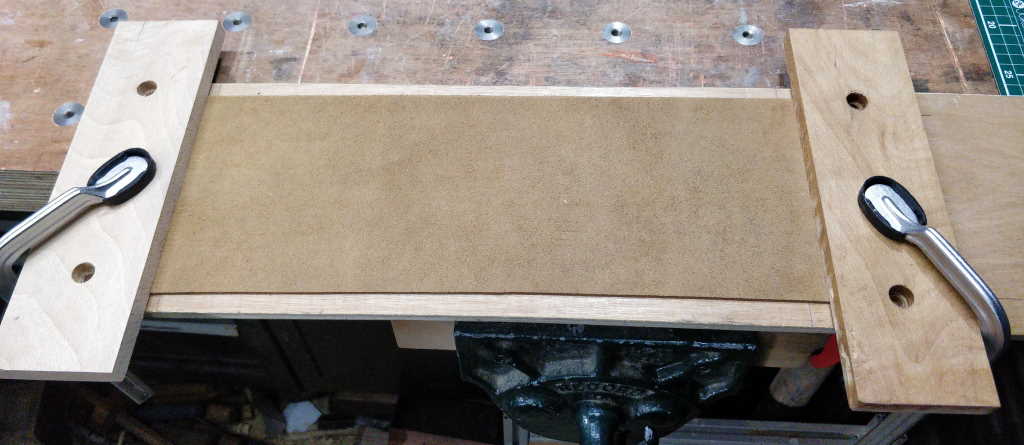
You can see in the photo that I also put masking tape all the way around the rim of the jaws to stop contact adhesive getting on the oiled faces. Next I clamped one end of the longer piece of leather to the plywood and stretched it by hand before clamping the other end. I could have done with more hands for this, but I got there in the end!
 |
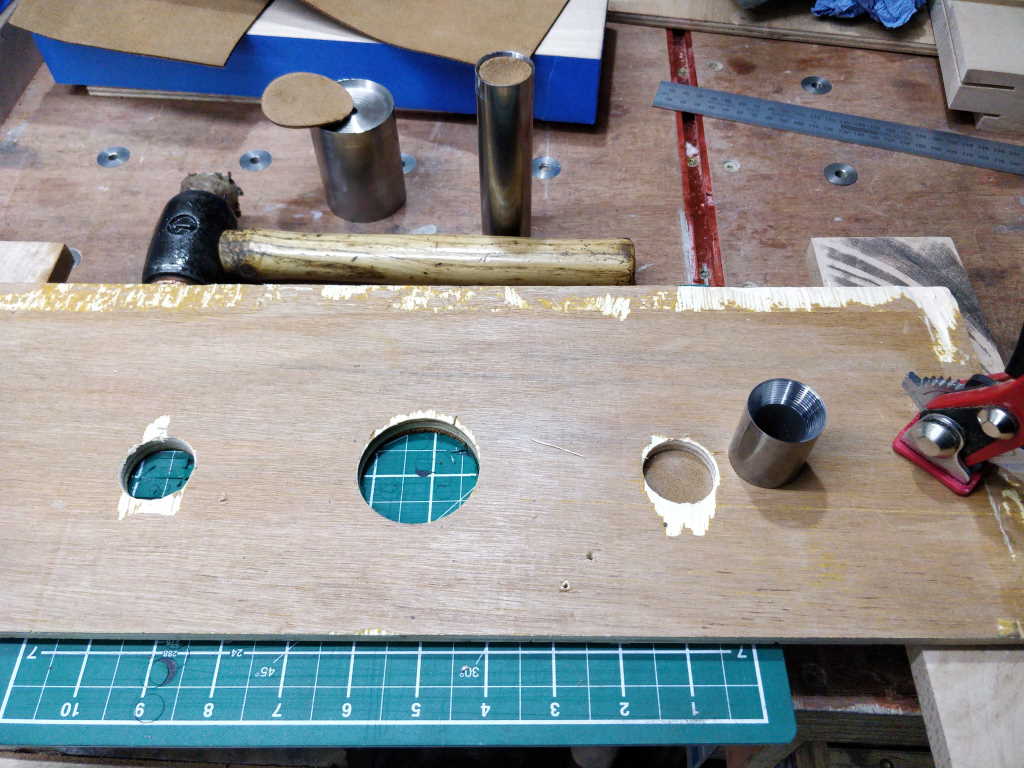
I could then use three of my home-made punches to make the holes. For each hole I positioned the hole location over one of the bench legs (scaffolding poles), put the punch in place and then hit it repeatedly with a hammer.
 |
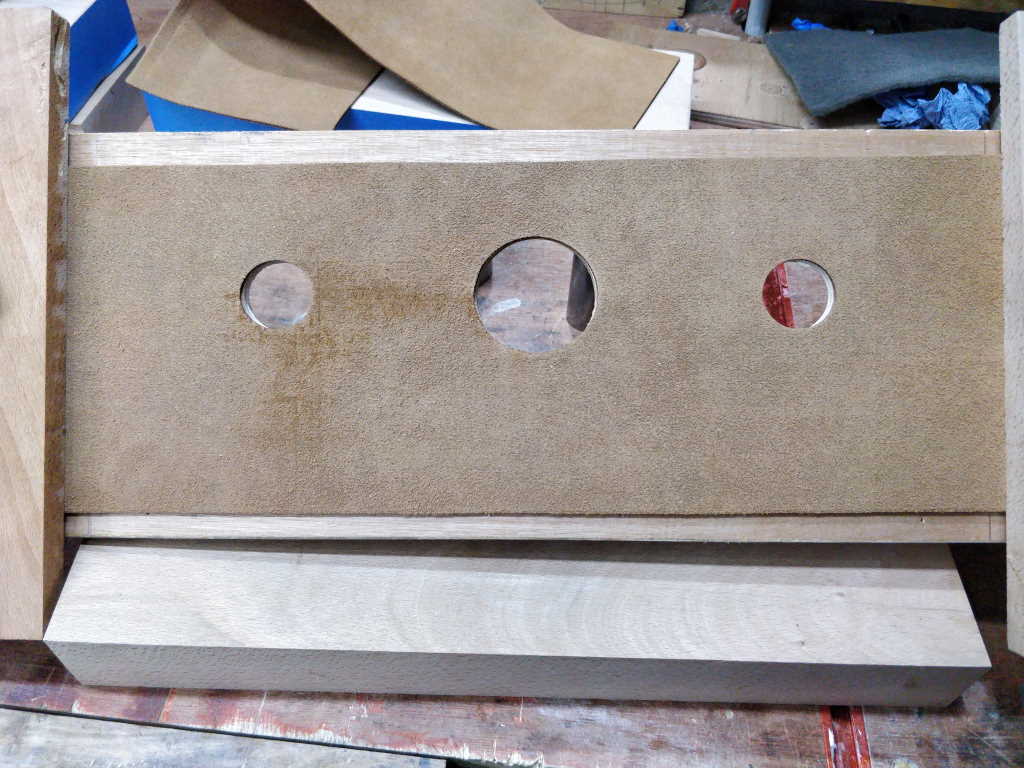
It seemed to work well, giving clean cuts. There was obviously something on the old cutting mat I used as a base as it has stained the leather slightly near one of the jaws. Thankfully this is the contact adhesive side, so it's not a problem, but it gave me good warning to use some extra protection when I do the other jaw, which will be punched with the visible side on the cutting mat.
 |
I took the offcuts of leather and put masking tape on them and then cut round a slightly larger circle by eye with a craft knife:
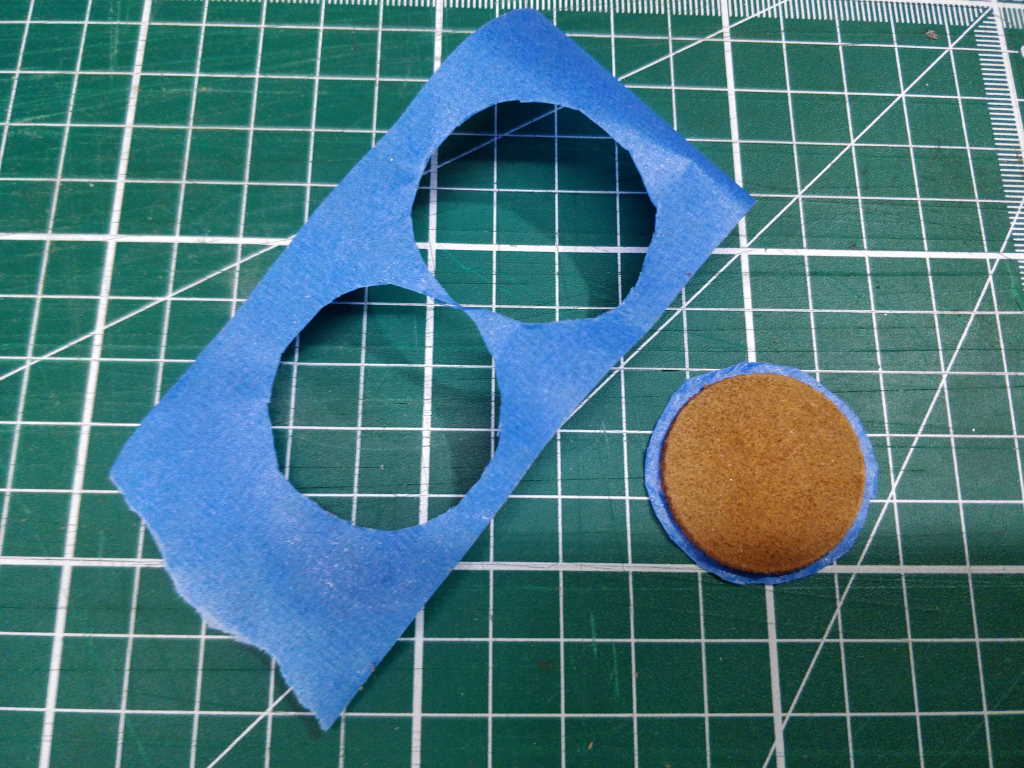 |
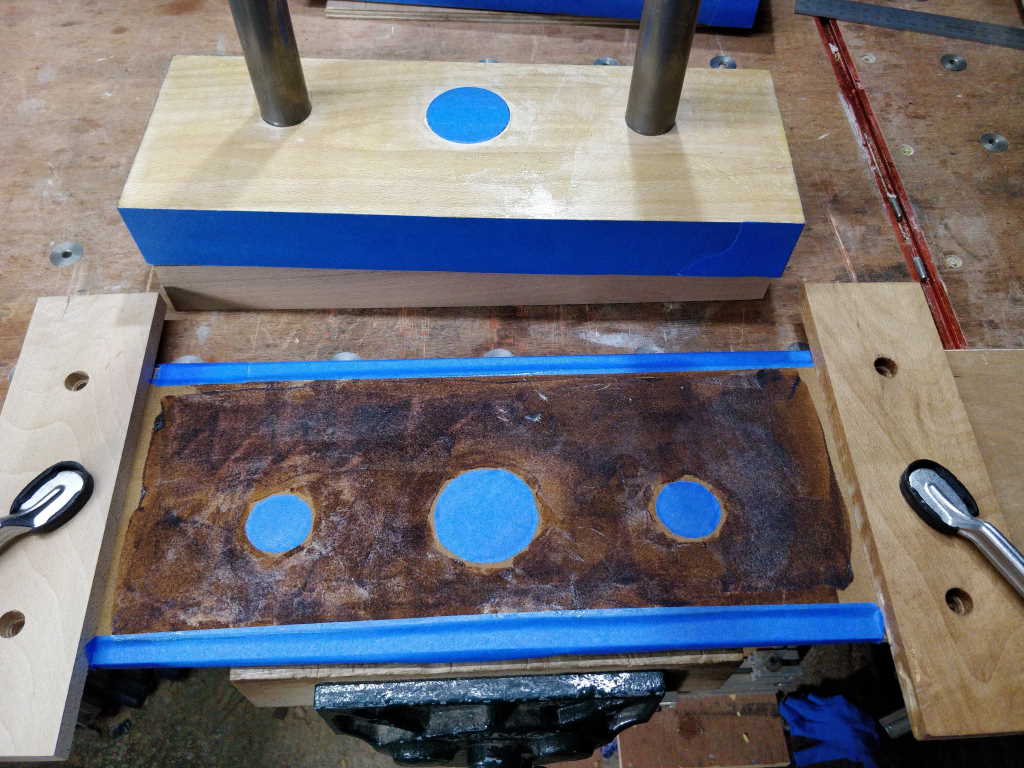
I could then use these circles to mask the area immediately around the holes and make sure no contact adhesive got through and on to the visible face. I also put masking tape along the edge of the leather (which is slightly wider than the jaw so there's space for this outside the adhesive area). Finally, I put some lithium grease on the threaded insert, pushed it into place and then masked over the top of that as well. The contact adhesive could then be spread over both faces:
 |
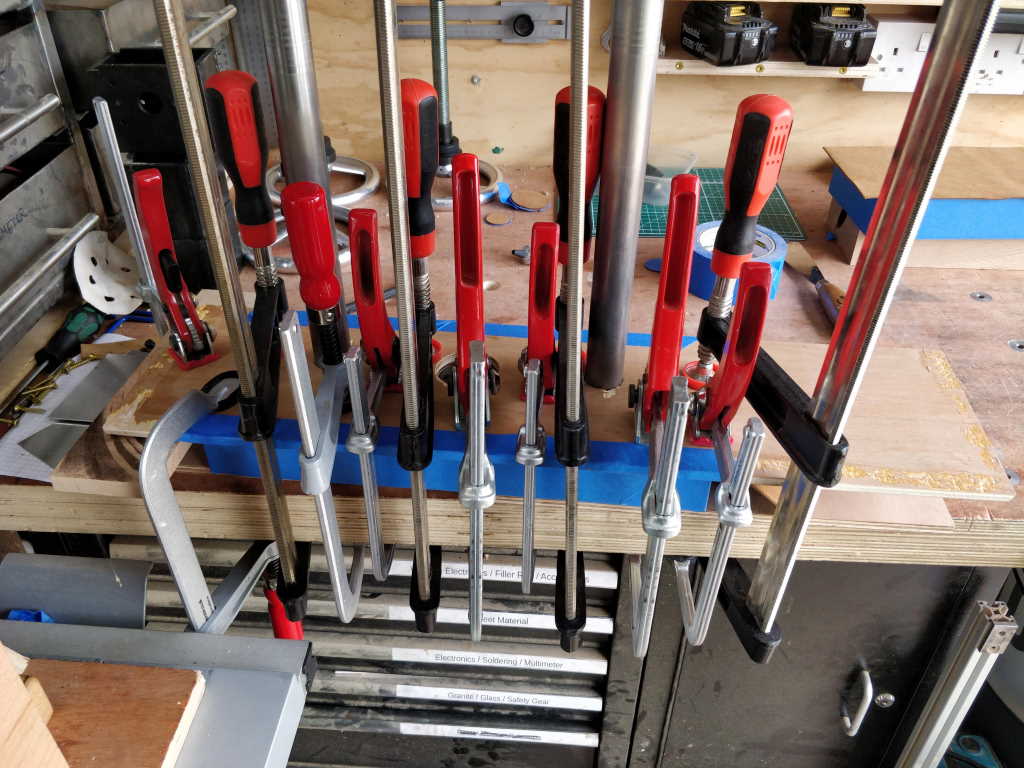
After leaving it for about 10 minutes to get tacky, I flipped the leather-clad plywood over and slide it over the rails of the jaw. I then got a bit carried away clamping it together:
 |
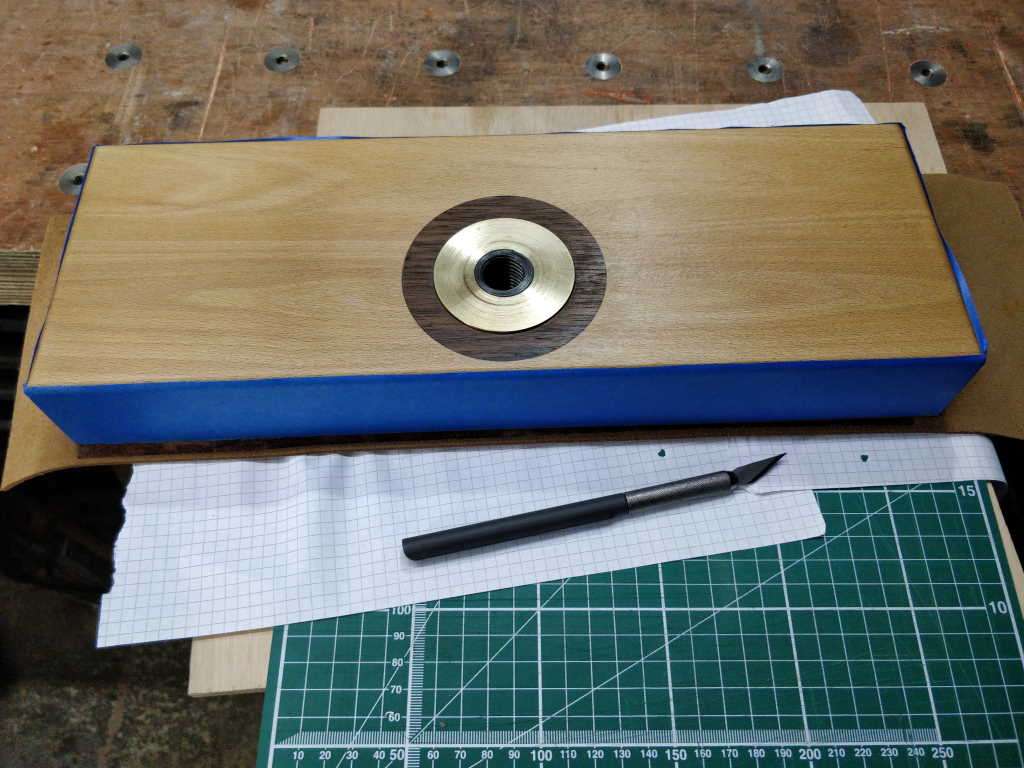
After 5 minutes or so to be sure it had set (the packet says it's an instant bond requiring no clamping, but I figured it couldn't hurt to err on the side of caution), I took the clamps off and (with some paper between the cutting mat and the leather), trimmed all the way round the jaw:
 |
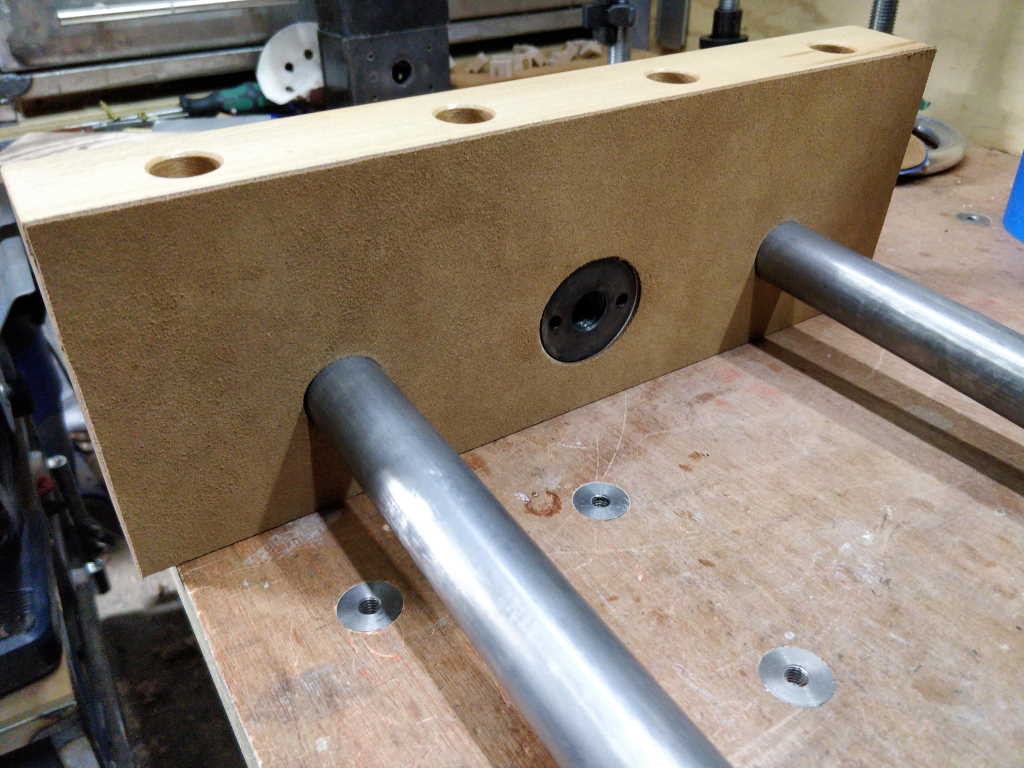
That worked surprisingly well:
 |
Page Navigation:
| First (#1) | Previous (#61) | Next (#63) | Last (#67) |
This website is free, but costs me money to run. If you'd like to support this site, please consider making a small donation or sending me a message to let me know what you liked or found useful.