Monitor Stand
 |
This is a monitor stand (for two widescreen monitors) that I made out of lots of offcuts of four different woods: Oak, Maple, European Walnut and American Black Walnut. The legs are made from stainless steel and splayed out at 15° from vertical. There is a support frame of thin stainless steel sheet set into the wooden top and a cross-bar made out of square stainless steel bar at the front behind (and attached to) the front legs. The feet have self-adhesive felt on the bottom to stop them from scratching the desk on which the stand is placed.
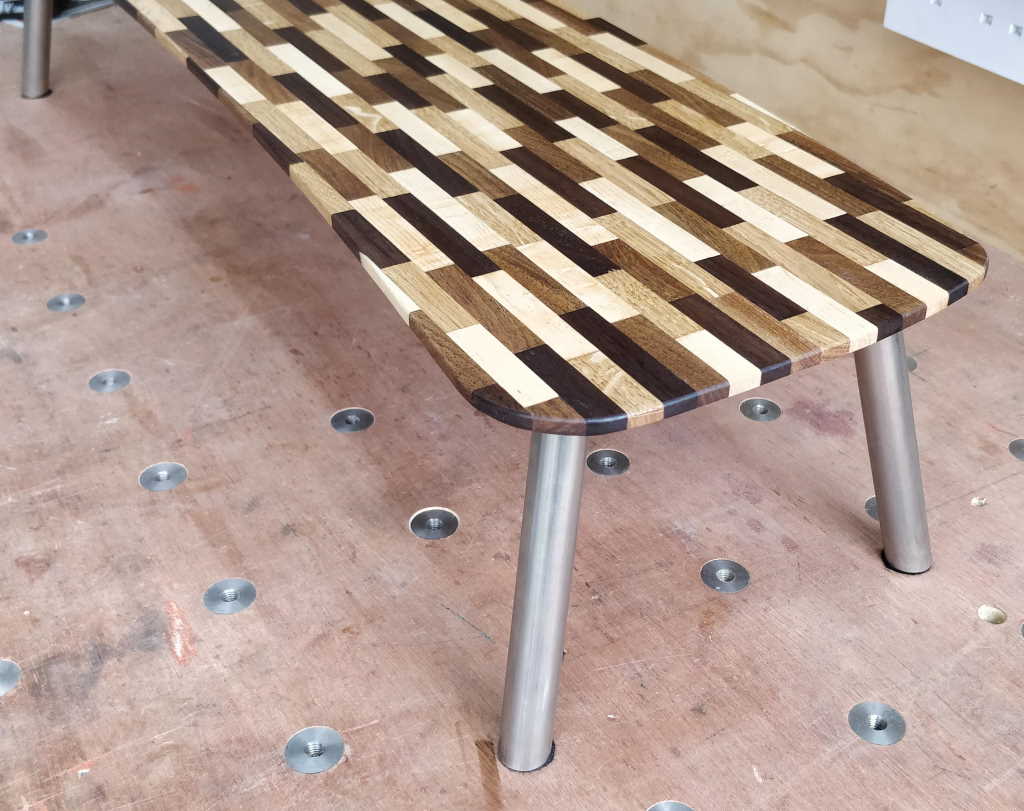 |
This photo gives a better view of the general look of the monitor stand.
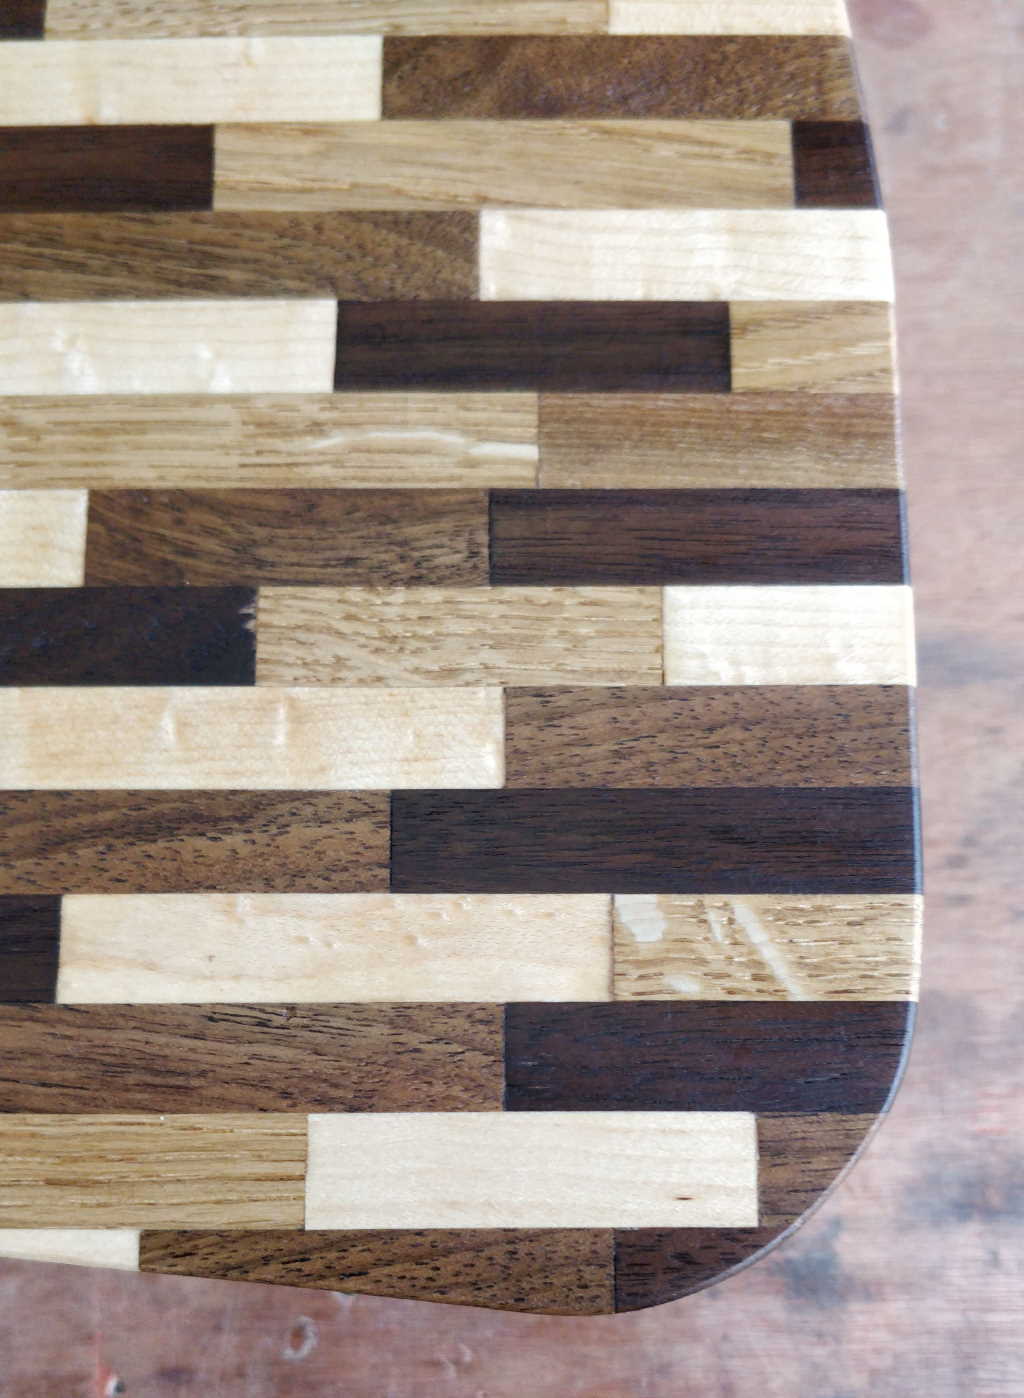 |
This shows the pattern in a bit more detail.
 |
This photo shows the shape of the monitor stand slightly more clearly. It is about 150 mm high, 800 mm wide and 240 mm deep.
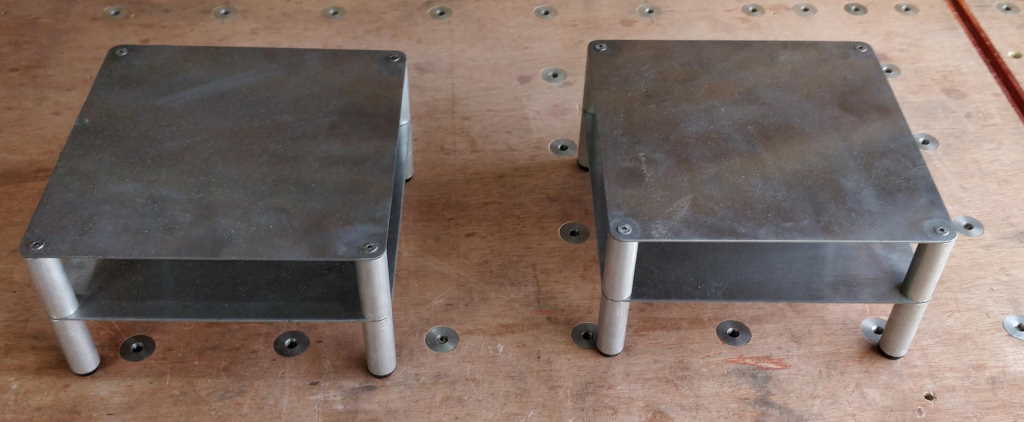 |
For contrast, this photo shows my previous monitor stands, made from stainless steel sheet and aluminium round bar. I made these a few years go, but with home-working looking to be a relatively long-term prospect, I thought I'd make something a bit prettier for the home office. The old ones will continue to be used back in the "proper" office post-Covid.
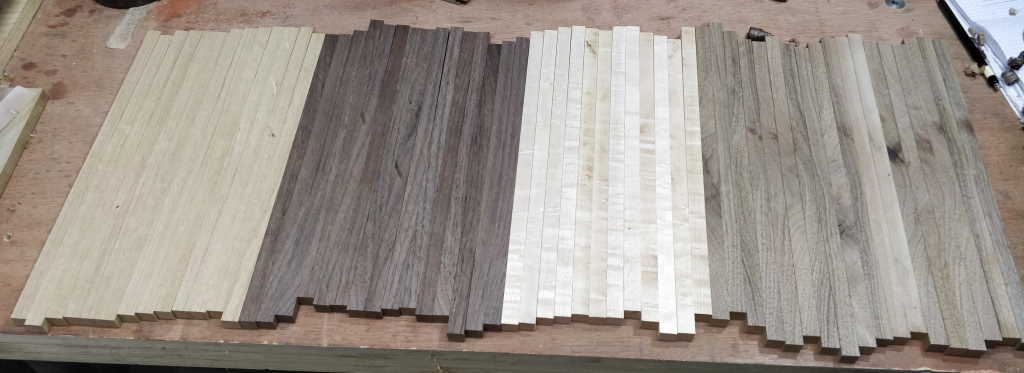 |
These are the strips from which the stand was made. I started by ripping them to roughly the same width on the table saw and then hand-planing them on a simple jig involving some rails to stop the plane dropping too low so they were exactly the same size in one dimension as one another.
 |
Planing the pieces to size made some very pretty shavings!
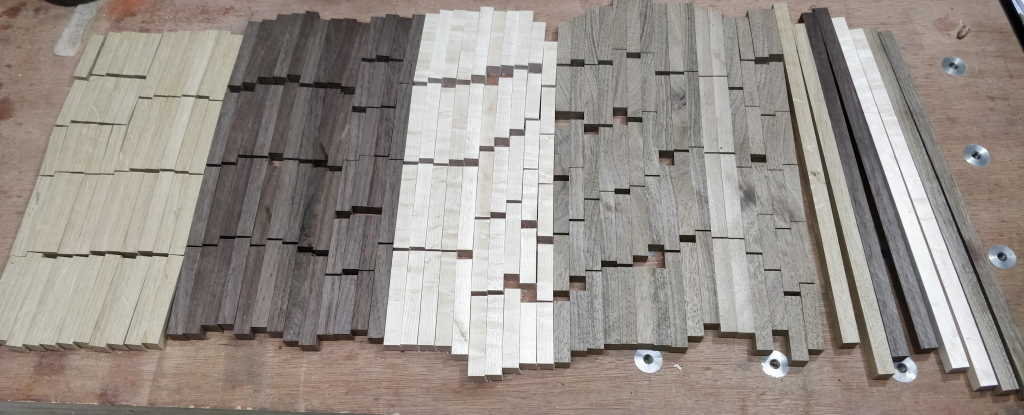 |
The pieces were then cut up into a variety of semi-random lengths.
 |
I could then arrange all the pieces in a dry-run. This was surprisingly straightforward: I carefully laid out the first row, trying to get the order of the pieces looking quite random. Once that was done, each subsequent row was very straightforward as it was simply a case of choosing the piece that didn't match the three pieces that it would touch.
 |
Once the dry-run was complete, I fixed a piece of wood to a piece of veneered chipboard covered in masking tape. I then used relatively slow curing glue to put each piece into place one at a time, as fast as I could go. I used some more of the offcuts on the left-hand end (nailed down to the chipboard) to give me a firm edge to press against (you can also see these in the dry-run photo above).
Once all the rows were in place, I placed another piece of wood on the side nearest me and started applying clamps. I used a scrap of wood diagonally across the assembly to stop the pieces springing up and used a soft-faced hammer and another offcut piece to tap each row from the right-hand end to make sure the pieces were firmly together and up against the left-hand end stop. Finally, I added lots more clamps and left the glue to dry.
 |
This photo shows what it looked like when it came out of the clamps, before planing the top surface again and cutting the outline with a jigsaw, trimming with a router flush trim bit to match a plywood template and then lots of careful sanding.
 |
The stainless sheet that forms the frame sits in a routed cut-out, which you can see in this (pre-sanding and oiling) underside shot.
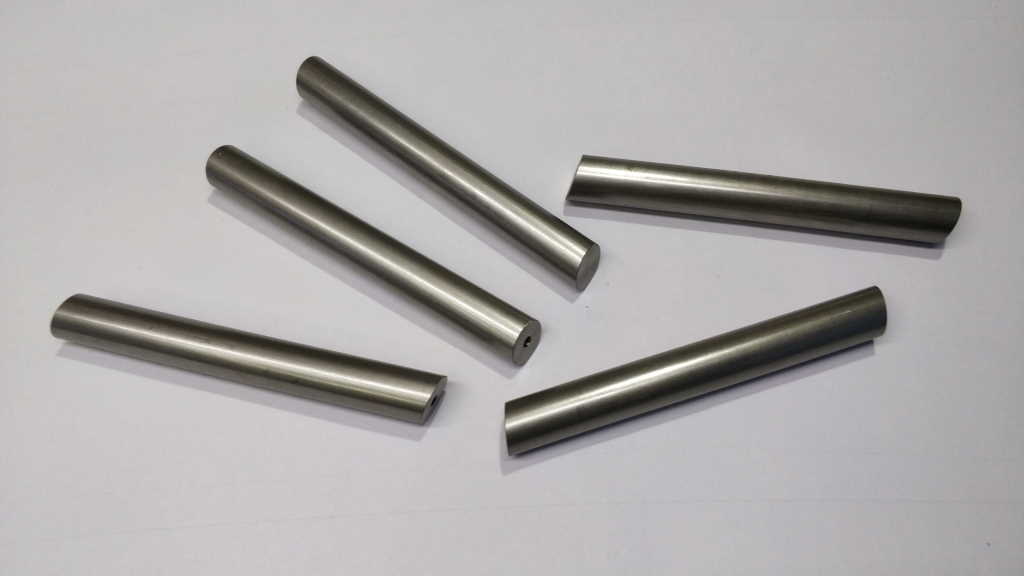 | 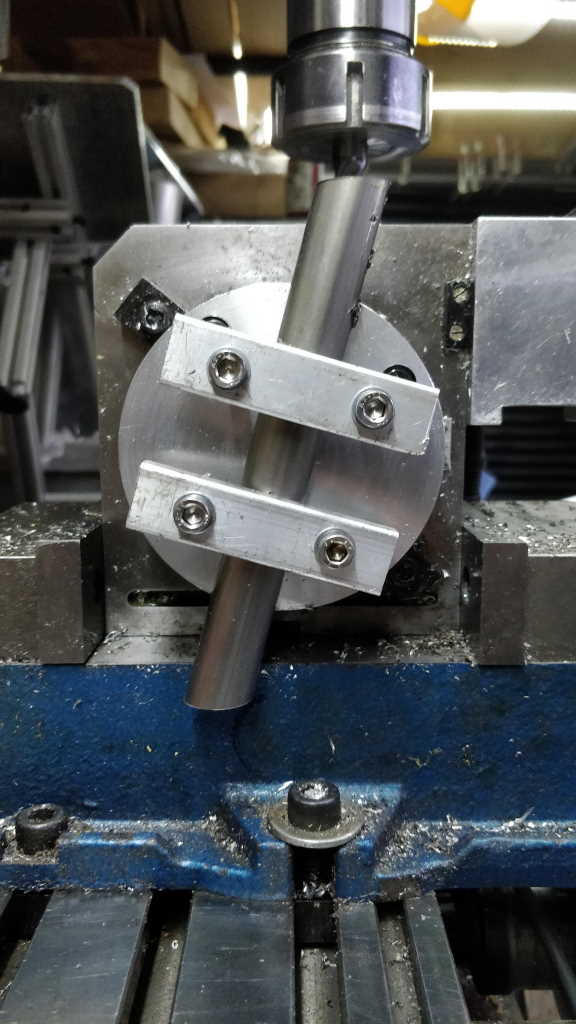 |
The legs were made out of 20 mm diameter 303 stainless steel bar. Getting the ends to be exactly the right angle and with all bars being the same length took a bit of thought. The photo on the right shows the fixture I made to go onto my rotary table / dividing head. Having clamped the bars into place, I could rotate it to the right angle, machine one end, spin it through 180° and then machine the other end. One end has a tapped hole for a screw that attaches it to the sheet that forms the rest of the frame.
This website is free, but costs me money to run. If you'd like to support this site, please consider making a small donation or sending me a message to let me know what you liked or found useful.