Weighted Base Box Build Process
25/9/2021
I haven't done much on this for a fairly long time, what with going on holiday and having a few other jobs to do, but today I got back out to the workshop and started to think about the box/boxes again. What I do now have is a plan:
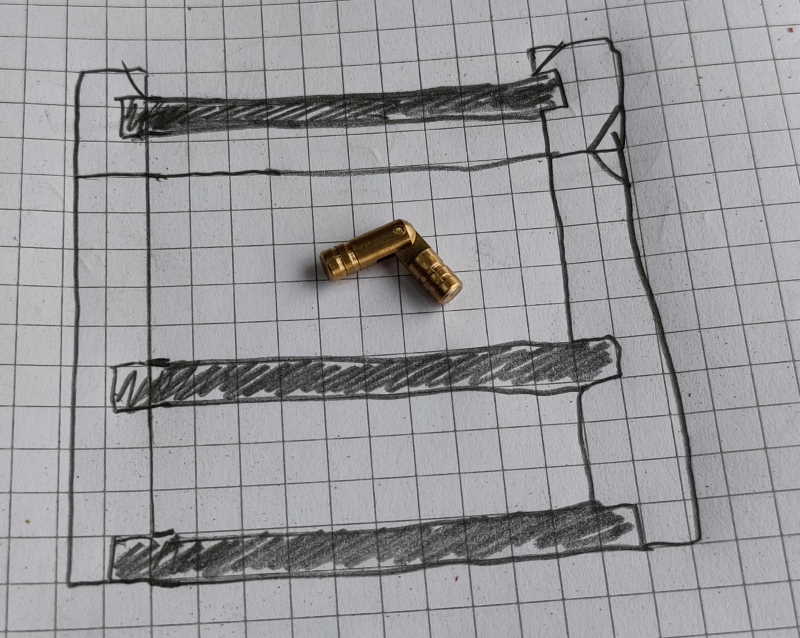 |
That rather awful quality sketch is my plan for a box. I might get more than one box out of the material I've started to prepare, but this is the first one I'm going to work on. To keep things simple, it's going to have mitred corners (probably with hand-cut splines like my previous boxes). Unlike anything I've done before, it's going to be hinged (with a couple of cheap brass cylinder hinges like the one in the photo), so that's going to add quite a challenge. Because of being concerned about getting the hinges accurate enough, I might decide to make it with an overhanging lid (probably out of a different material to the body) rather than as shown: I suspect that will be easier. The box will be a cube, somewhere in the region of 65 mm on each side. Rather unusually (and possibly rather daftly?) it's going to have two bases with an enclosed section. I'm going to use padauk for the sides and maple for the rest. Unless I change my mind in the meantime...
The purpose of the box? One of my next-door neighbours likes to do impressions of a chainsaw in his sleep, so I tend to keep a pack of Max Lite earplugs by the side of the bed. I leave the packet on the bedside table and reach for them if I happen to wake up in the night during one of my neighbour's congested rhino phases. Rather than having them in the loose packet, I thought I'd make a little box for them. It should make them easier to get to in the dark: the light plastic packets tend to wander around the bedside table if the slightest breeze blows. What I would like is to have a box that I can easily open in the dark (another reason for an overlapping lid, unlike in the sketch).
The need for the box to be easy to open is the reason for that slightly odd pocket at the bottom of the cross-section. I'm going to fill that with a lump of lead to add a bit of weight to the box so that if I reach out and push the lid up, it'll open the box rather than lift the whole box off the bedside table. I still need to decide about lining the bottom half of the box; I might choose something unusual like plastic or aluminium as I sometimes use the earplugs for a couple of nights and I'd like an easily cleanable inside surface.
That's the plan anyway, we'll see what happens...
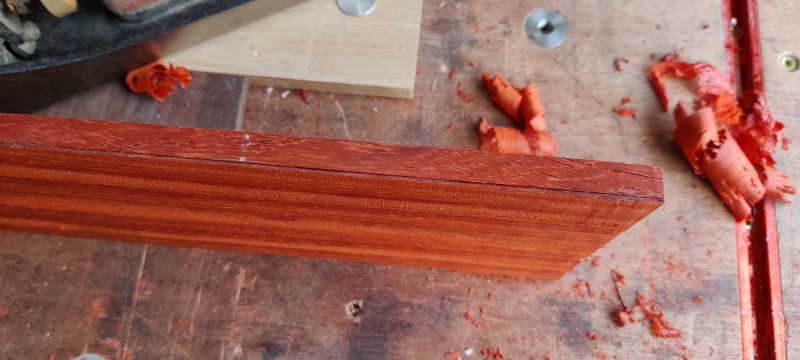
Where we left this a few weeks ago, I'd planed (and scraped) one side of each piece of padauk and one piece of maple. First job was to thickness the padauk. I started by getting a marking gauge and scoring a line 9 mm from the planed face. I followed that with a pencil lead just to make it a bit clearer.
 |
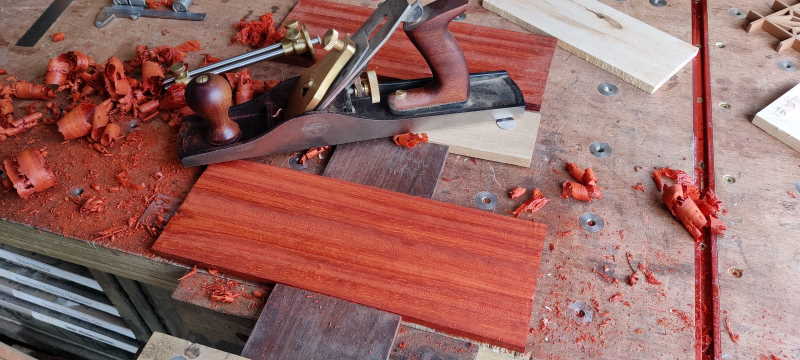
Then I attacked the padauk with my no. 5 to get it close to the line.
 |
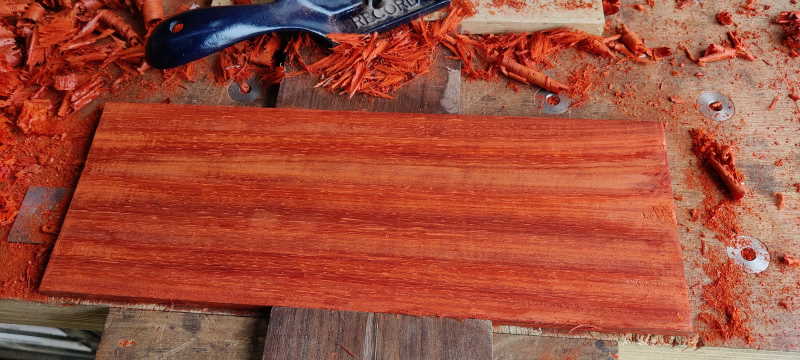
Finally, I got the #80 out again to get a finish with a lot less tear-out.
 |
After all that, I ended up with a nice pile of shavings...
 |
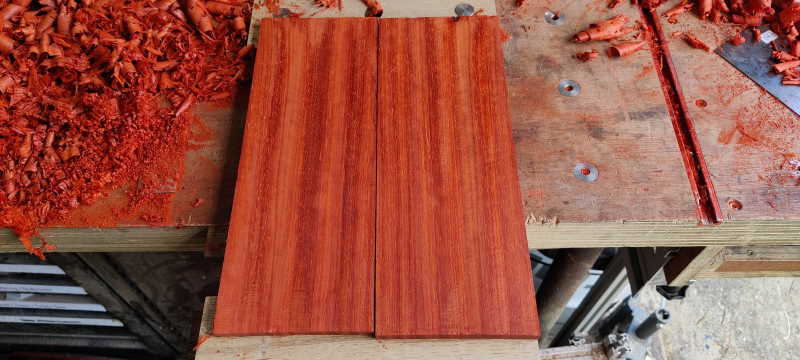
... and two 9 mm planks of padauk.
 |
Page Navigation:
| First (#1) | Previous (#2) | Next (#4) | Last (#18) |
This website is free, but costs me money to run. If you'd like to support this site, please consider making a small donation or sending me a message to let me know what you liked or found useful.