Chunky Planter Build Process
9/10/2021
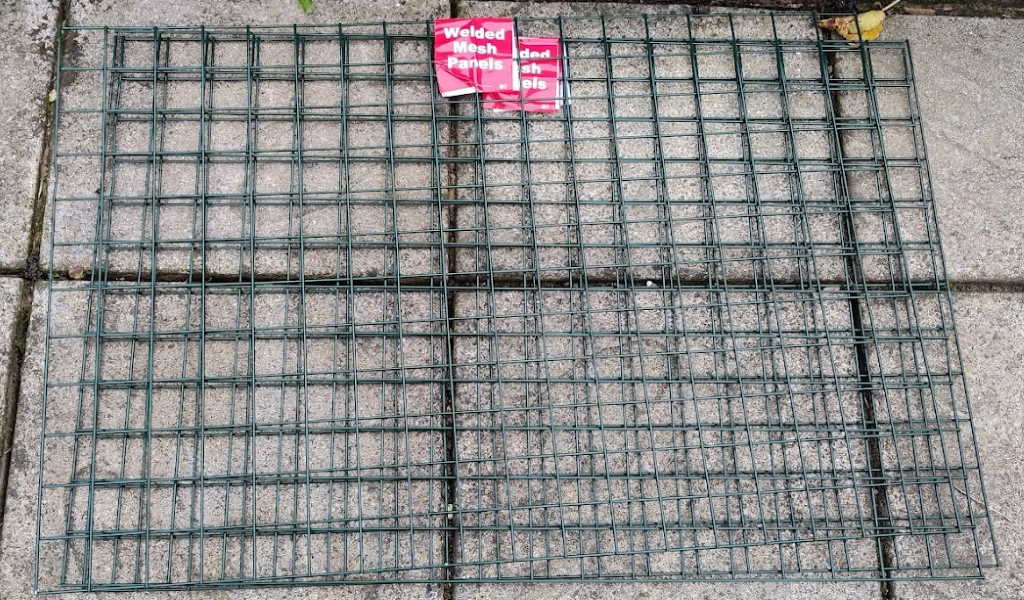
Yesterday, I bought this mesh from a local countryside store. Hopefully this will give a longer lasting base than the plywood I had originally planned.
 |
I started by created an initial model of the mesh panel in the CAD system:
 |
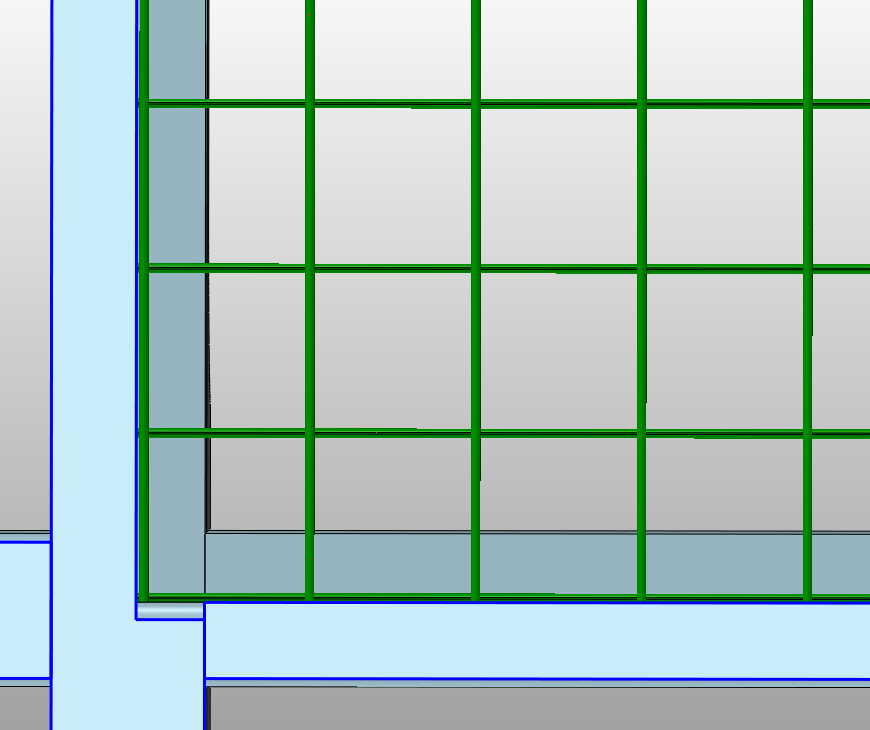
This morning I spent a bit of time playing with the dimensions of the overhangs and rebates to make weld mesh sit with a long edge inside each of the rebates as that seemed a good idea:
 |
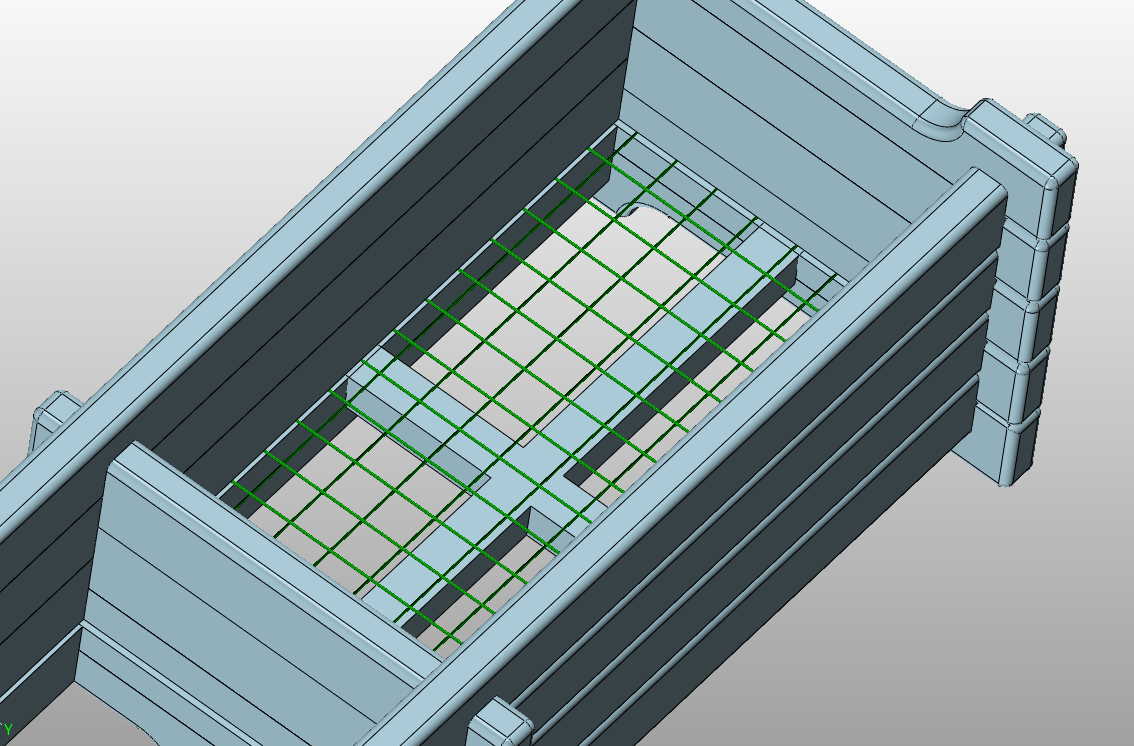
The full model now looks like this (the overhangs are 45 mm, where on the old planter they were 50 mm):
 |
In the corner of our garden we also had this mesh coiled up (I think it came from my father-in-law's shed, but I'm not certain).
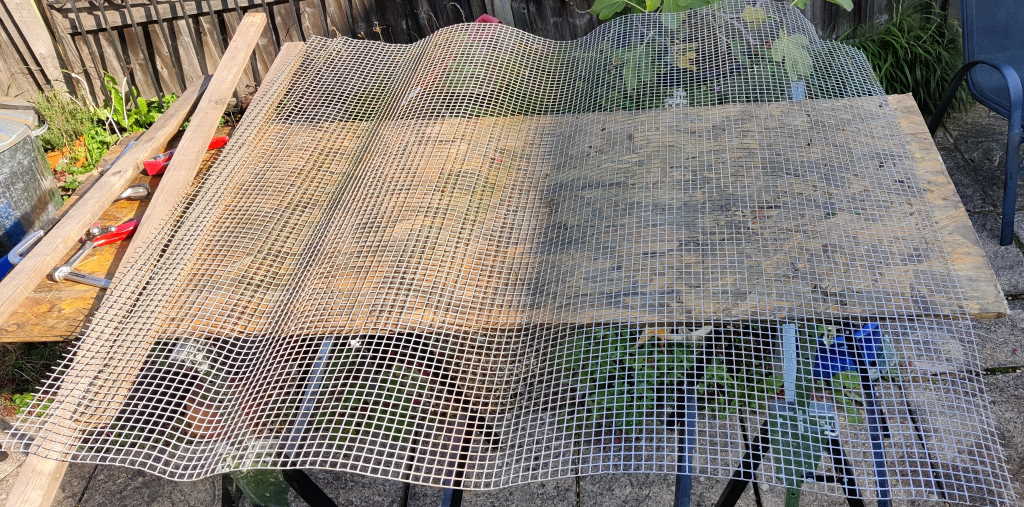 |
It's a much finer grid, but not quite as stiff as the stuff I got from the countryside store (although it was still very hard work to uncoil it!) Conveniently, I think there's just enough for both planters, so my plan now is to use the plastic-coated mesh as a structural base (with the cross pieces shown in the model to support it) and then put the finer mesh on top to stop stuff sagging through the big holes in the thicker mesh. I'll then add some weed-resistant fabric on top of that and I think that should give a fairly good and long-lasting base. I still haven't decided whether to line the sides with plastic (and if so, what to do about condensation forming between the plastic and the wood).
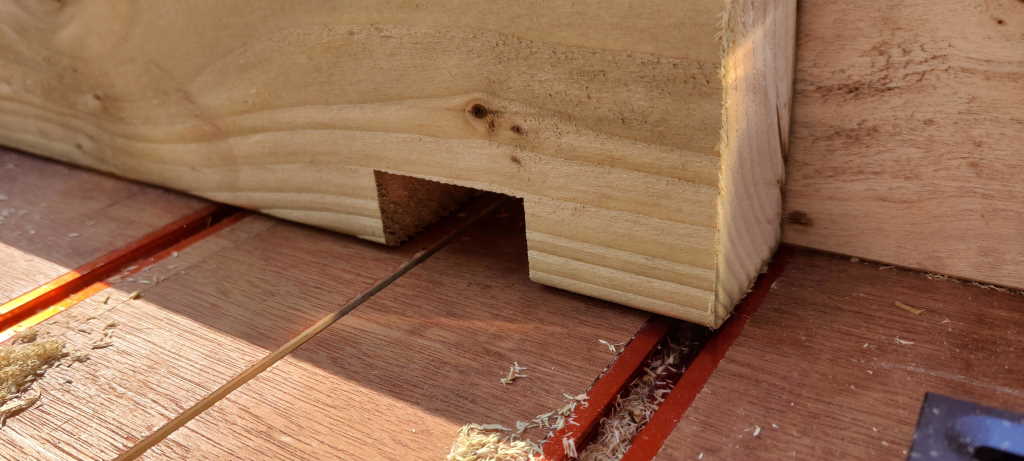
With all the dimensions finalised, I could start cutting the slots for the joints. I wheeled the table saw out of the shed and use my cheap copy of a kerfmaker on my cross-cut sled to ensure the positions of the two edges of the joint are in the right place (I think I can get away with this as I used a stop to cut all the pieces to the same length, so referencing off the ends should be accurate enough).
 |  |
After that, I used the table saw to do repeated passes to remove the stuff in the middle. The blade isn't a flat-top one, so I'll have to clean up the saw marks later.
 |
Having done the first eight pieces (which form the top and bottom planks of the short sides of the two planters, and which only have the joints cut on one side), I decided to do the remaining 22 short planks with just the edges of the joints cut. I haven't decided yet whether I'll use the table saw to cut out the middle bit or if I'll find another way.
 |
Page Navigation:
| First (#1) | Previous (#4) | Next (#6) | Last (#17) |
This website is free, but costs me money to run. If you'd like to support this site, please consider making a small donation or sending me a message to let me know what you liked or found useful.