Weighted Base Box Build Process
14/10/2021
I'd had a day of trigonometry and differential equations and felt like I needed a bit of hand tool time to settle my mind, so I decided to have another go at a test hinge fit. I'd managed to find some small-ish hinges available online:
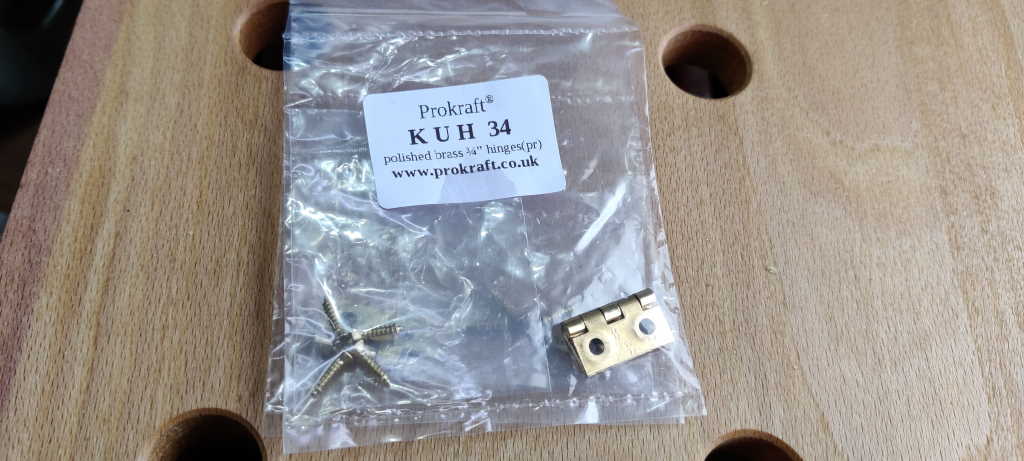 |
They're more than twice the size of the original ones (and come from a company that sadly seems to be stuck in the 19th century when it comes to measurement units), but they're just small enough to be plausible for the box. They're advertised as solid brass hinges on the website, although the screws that come with them are magnetic, so the screws definitely aren't solid brass! To be fair, they only say that the hinges are brass.
I started by getting a bit of cherry that is the same thickness as the box sides. I used a knife to mark the positions of the hinges, then chiselled out the slots.
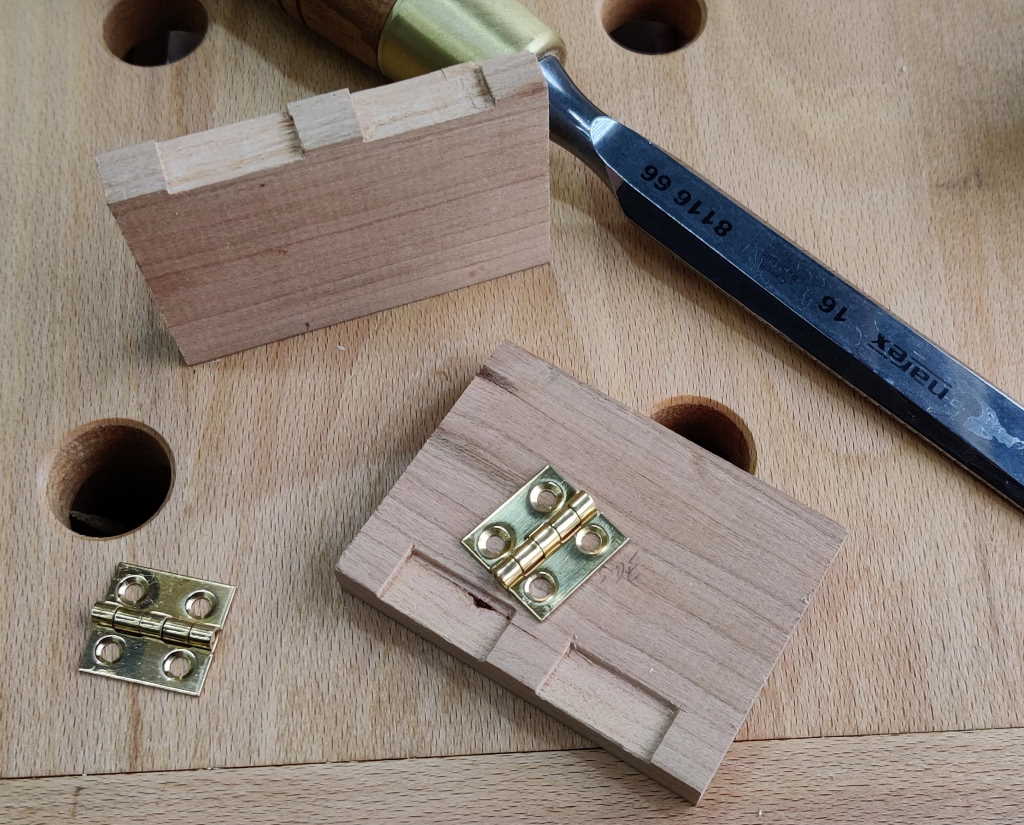 |
I chipped one corner off one of the pieces (visible by the bolster of the chisel in the photo above), but that's why I'm practising! I then measured the core diameter of the screws and on the basis of that chose a 1.5 mm drill to use as a pilot. I positioned the hinges in the slots, drilled the pilots, then fitted the hinges. Here it is open:
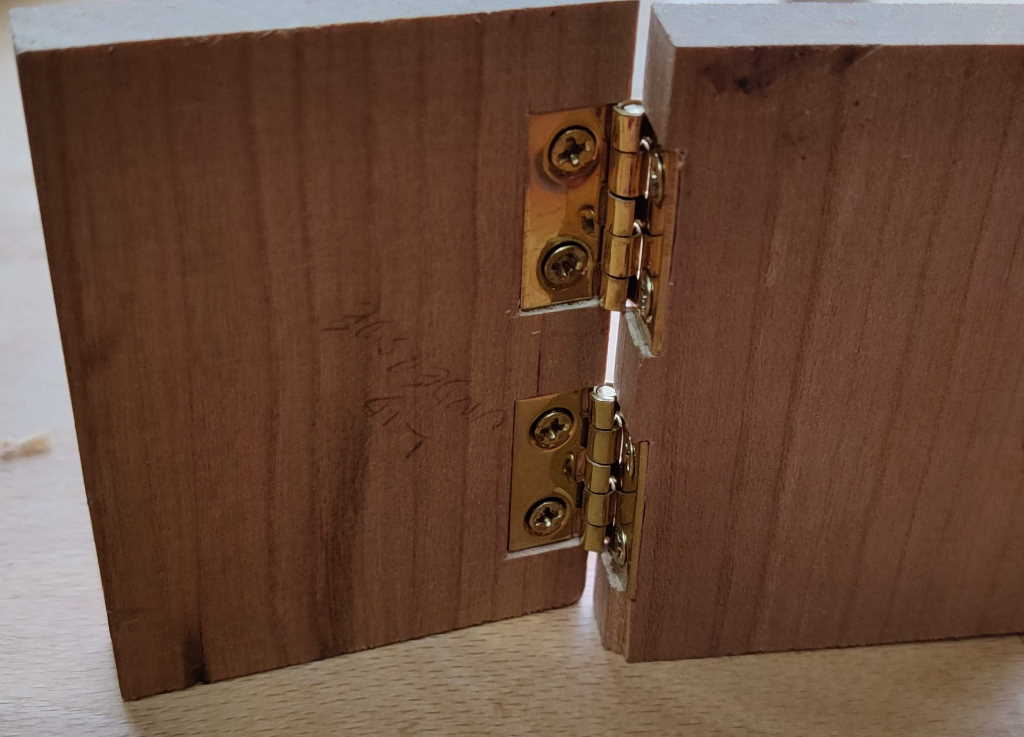 |
(the chipped off corner is probably more obvious in this photo). Here it is closed:
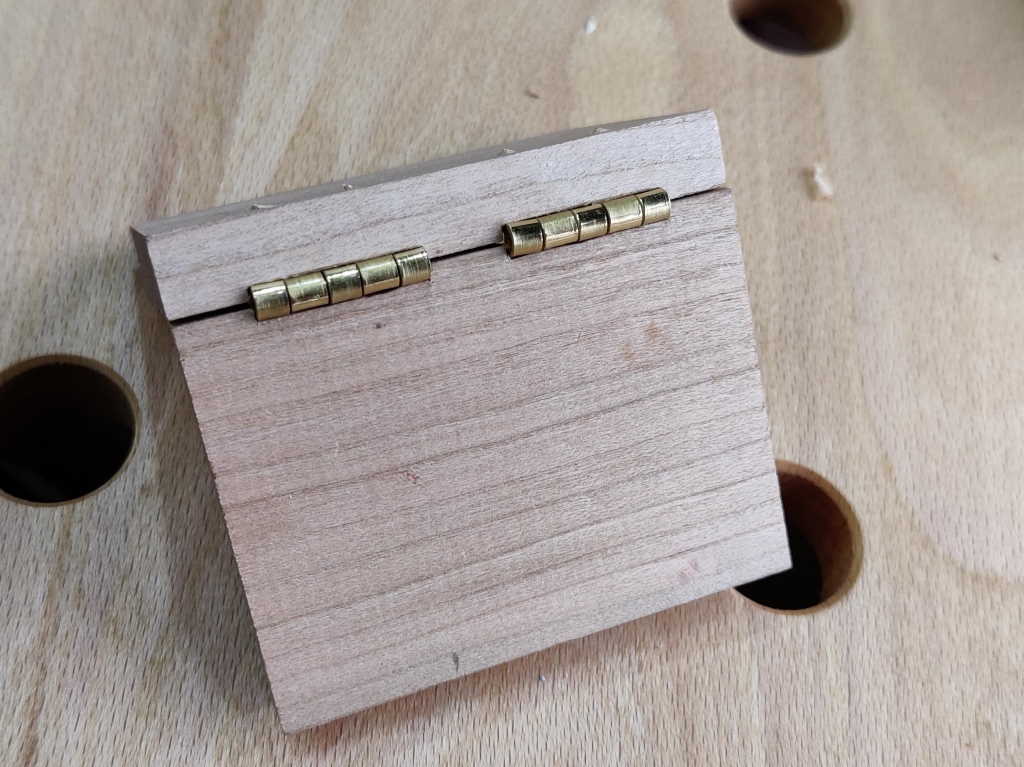 |
If you look at the top of the photo you'll see that the screws have come out of the top of the test piece. I knew this was going to happen, but decided to carry on anyway as I was more interested in practising the careful cutting out of the hinge slots. The box lid is less than half the thickness of this test piece, so if I do use these hinges, I'll have to fix them to the lid in a different way. That's going to be a problem with any butt hinge, but I doubt there's a different type of hinge for which it isn't true. Serves me right for wanting a thin lid but also wanting it to be hinged! The only thought I've had so far is to glue the hinge to the lid (the lid is light, so hopefully glue will be strong enough) and then cut the heads off the screws so the heads can be glued into the countersunk holes for aesthetic reasons.
I learnt a few things in this experiment:
- Be careful when chiselling near the end of a bit of wood!
- The screws are probably made in Japan: the head fits my JIS PH1 screwdriver much better than it fits my Wiha PH1 screwdriver.
- I need to be careful when marking out the holes to make sure the hinges go back in the same orientation: the holes in the hinges aren't the same distance from each edge (which doesn't say much for the quality of these hinges), so if I mark them in one orientation on the lid and a different one on the base, the holes won't line up!
- Getting the depth of the slot right is quite important: after marking it up based on half the barrel measurement, I had to go back and chisel a little more off to get the two parts to close properly.
Page Navigation:
| First (#1) | Previous (#14) | Next (#16) | Last (#18) |
This website is free, but costs me money to run. If you'd like to support this site, please consider making a small donation or sending me a message to let me know what you liked or found useful.