Portable Workbench Build Process
1/4/2021
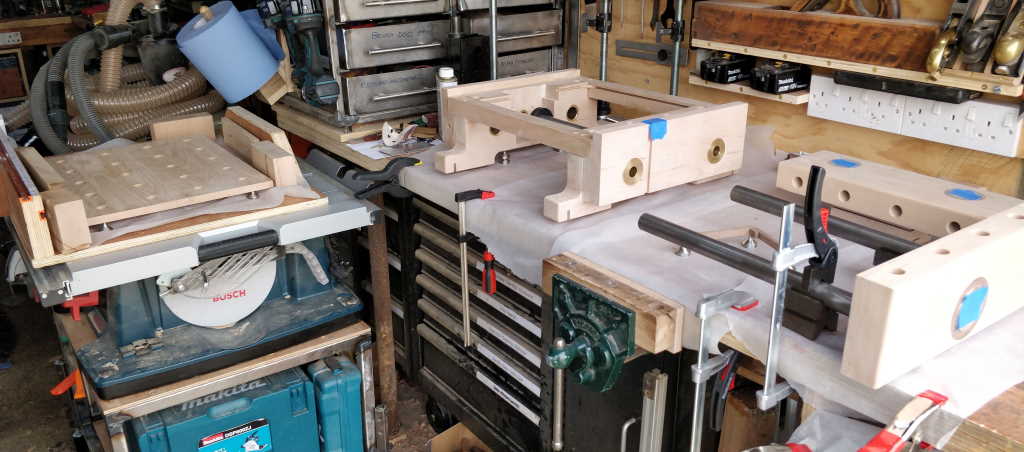
With the knot filled there was nothing for it but to get on with applying Danish Oil to all the beech parts. I sanded everything again to 120 grit, masked the inside faces of the moving jaws with masking tape (along with some masking tape on the outside of the holes that go through to the inside faces to prevent drip-through) and then laid out all the parts on some greaseproof paper on every available surface:
 |
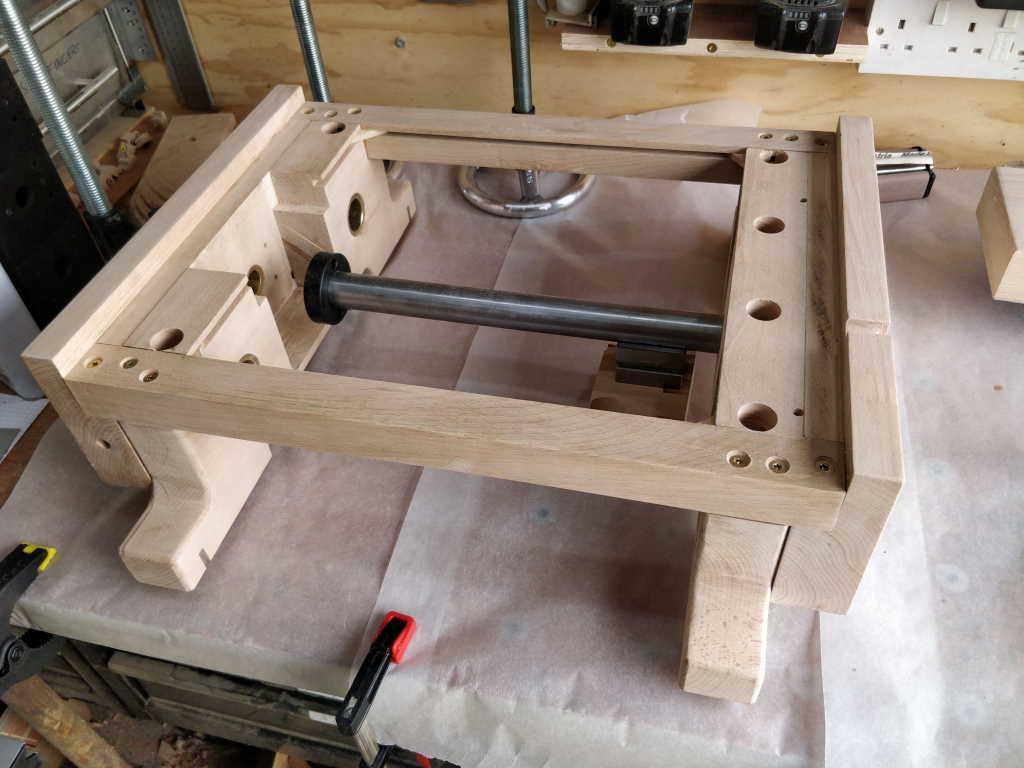
The body is held up at one end on a V-block on a piece of wood; the other end is sitting on some paint points on the underside of the cut-out of the foot:
 |
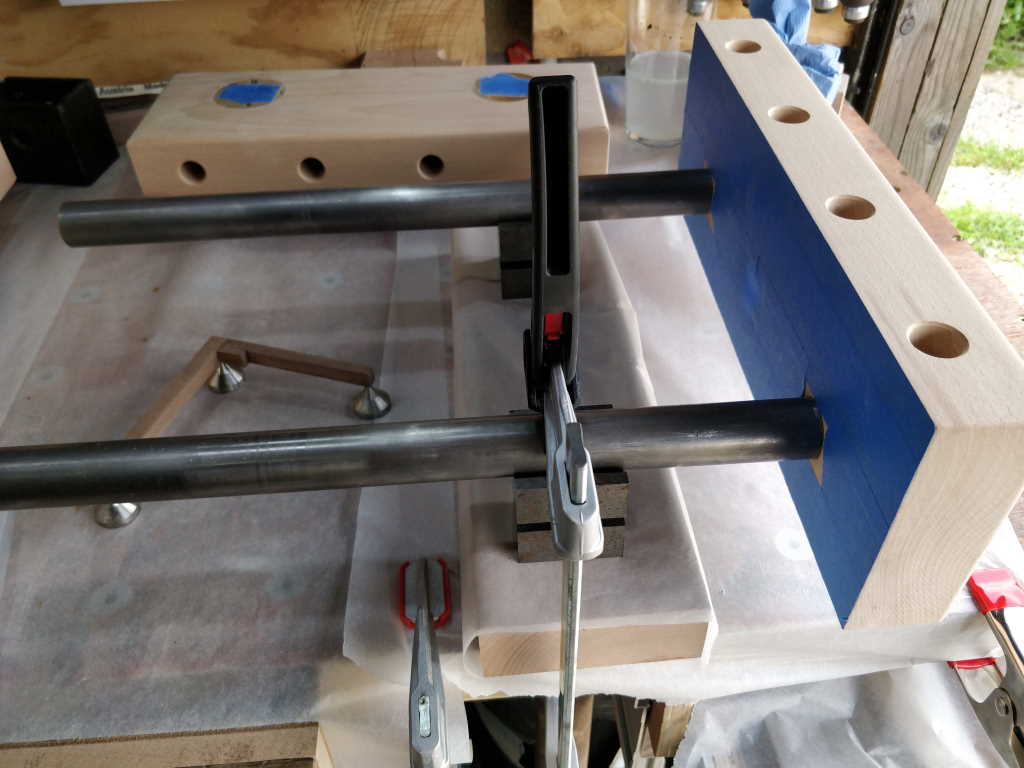
The moving jaw for the dual-screw vice is simply sitting on a block of wood (masking tape side down); the moving jaw for the standard vice was raised off the bench using a couple of V-blocks and a clamp (bearing down on a third V-block positioned upside-down):
 |
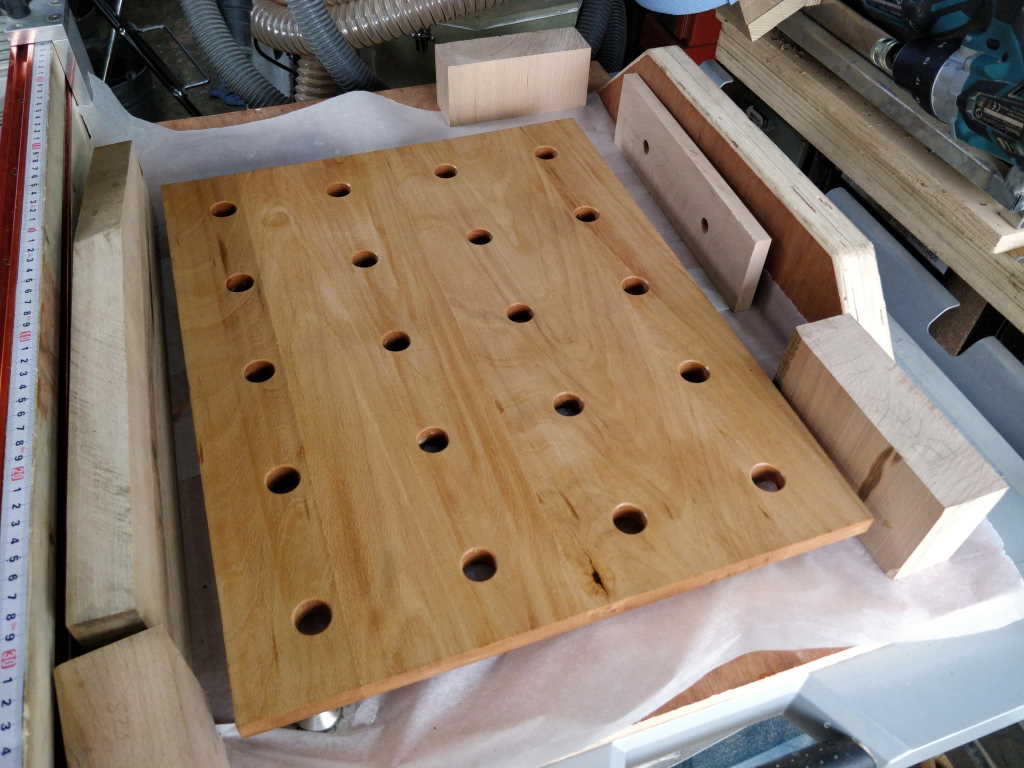
The top is sitting on top of my cross-cut sled on the table saw, on some paint points. This is what it looks like after the first coat:
 |
Here's the body and jaws after the first coat. Despite laying out the dovetail alignment thing for oiling, I completely forgot to do so and can't be bothered right now, so I'll do that when I do the second coat tomorrow.
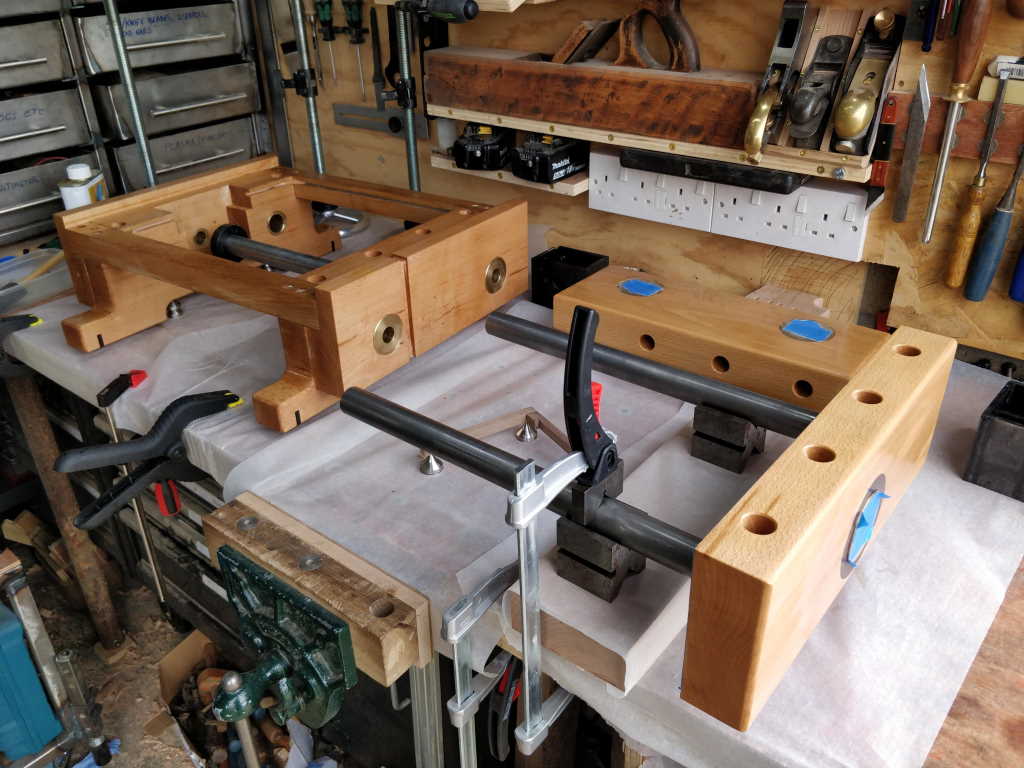 |
There are some areas where I obviously didn't sand enough to get rid of all the glue squeeze-out, but they're very minor so I'll sort them out before doing the second coat. I was expecting some issues but applying the first coat of oil is the easiest way to be sure of spotting them! I sometimes squirt wood with some water to look for blemishes, but it doesn't catch as much as the oil will.
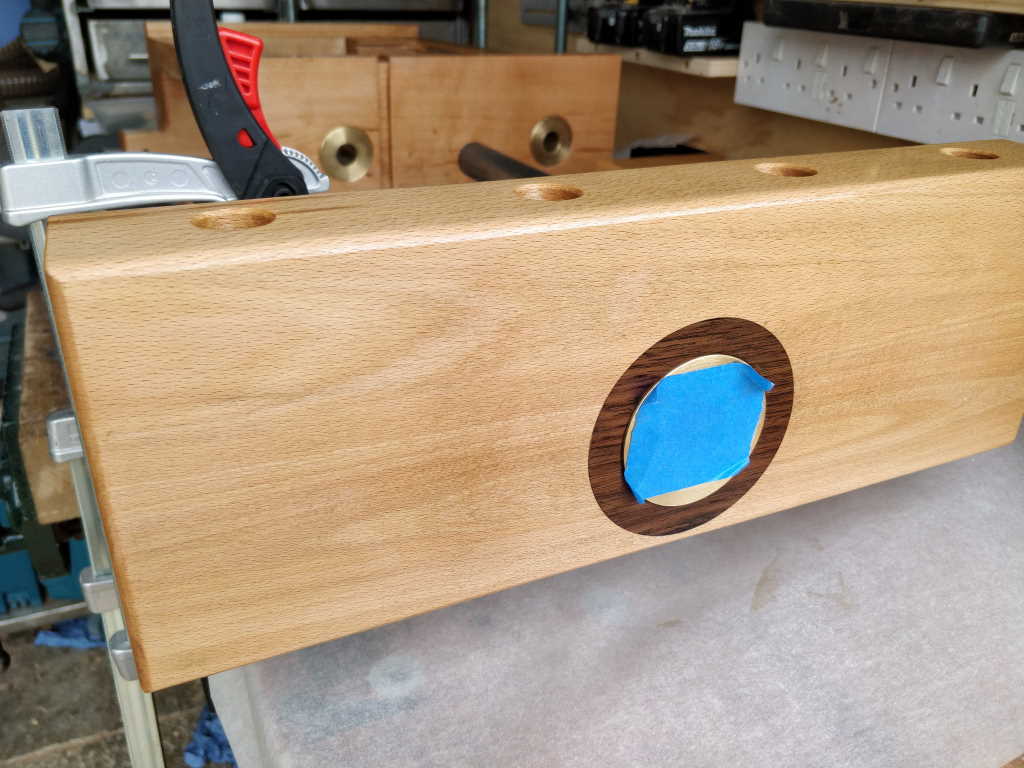
The walnut insert on the moving jaw for the standard vice looks lovely in my opinion:
 |
Page Navigation:
| First (#1) | Previous (#59) | Next (#61) | Last (#67) |
This website is free, but costs me money to run. If you'd like to support this site, please consider making a small donation or sending me a message to let me know what you liked or found useful.